
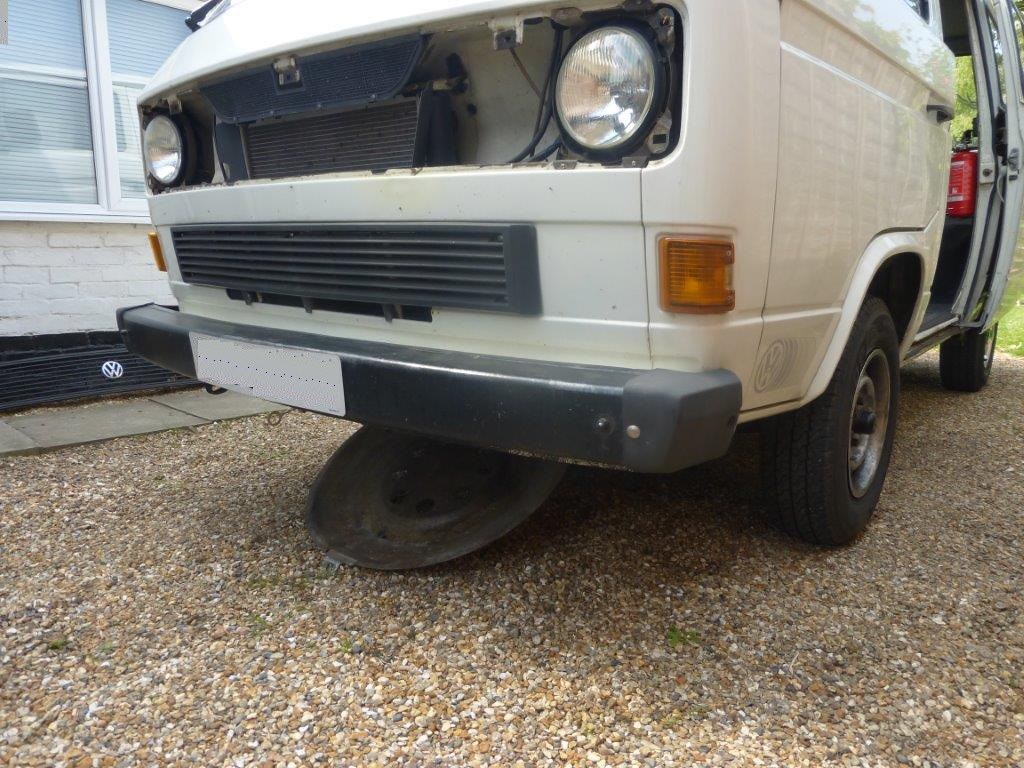
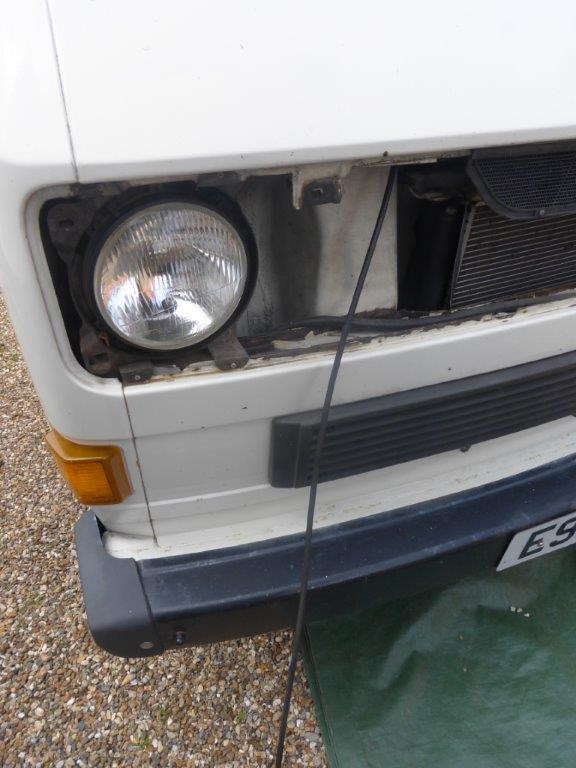
Spare wheel out, grill off hub cap off
 P1080284a by Paul_Barr, on Flickr
remove circlip from speedo cable( mine was missing)
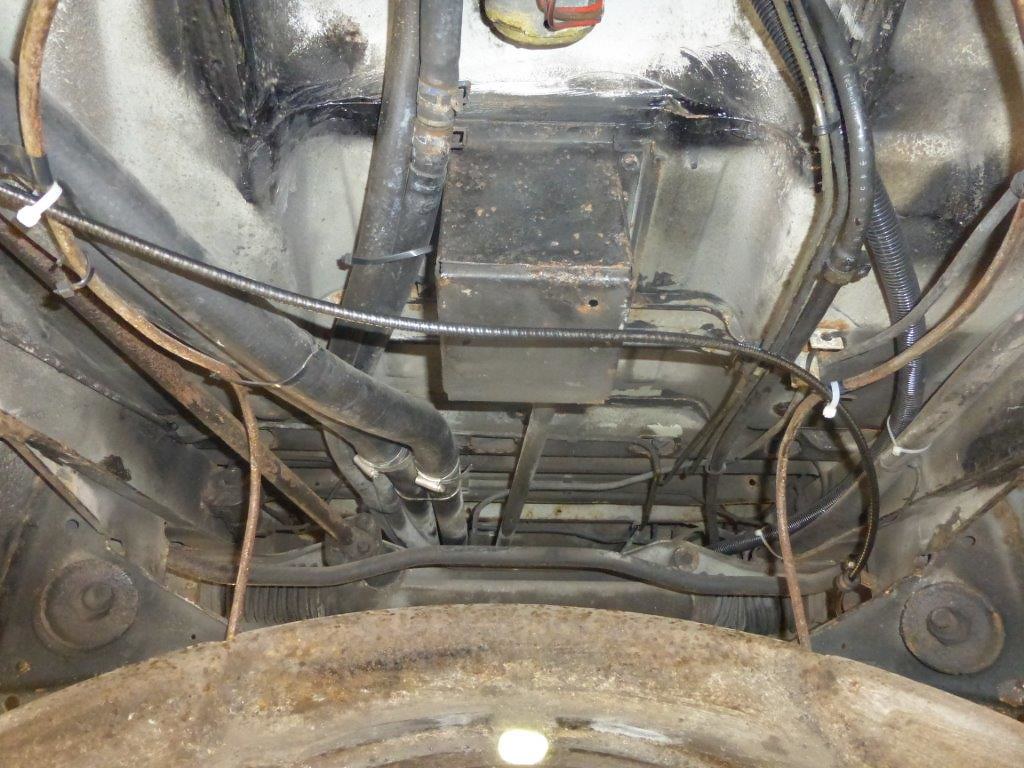
 P1080310 by Paul_Barr, on Flickr
make a note of where the cable ties are placed on the spare wheel rods and cut clips, I used tape to mark positions
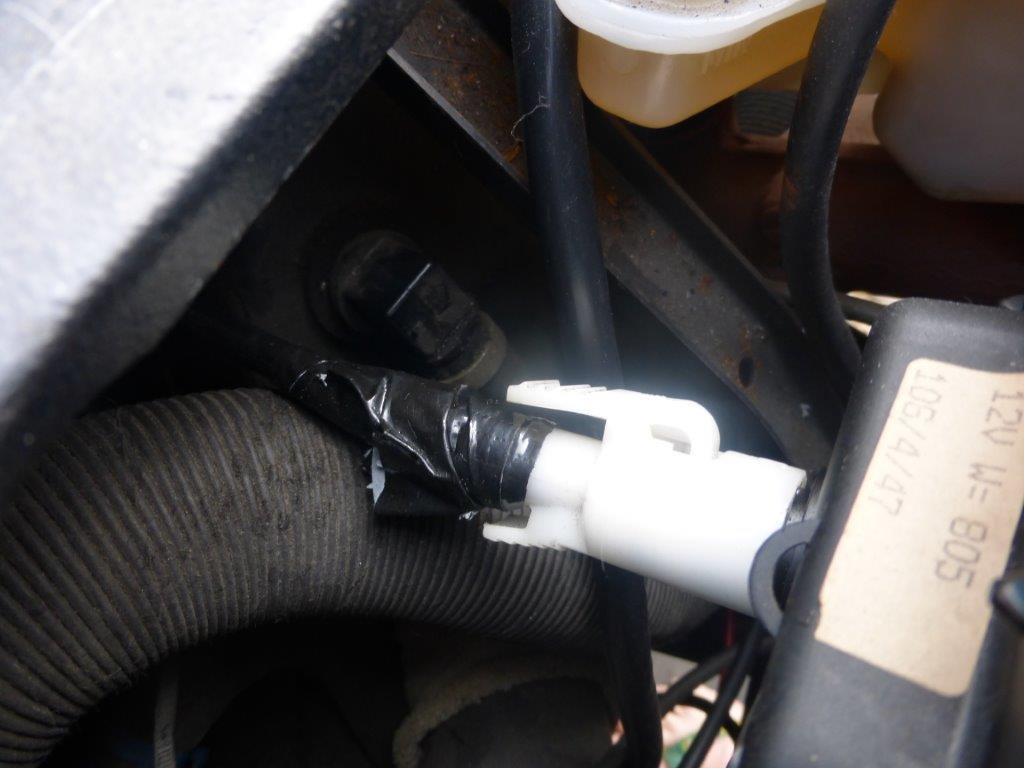
 P1080286 by Paul_Barr, on Flickr
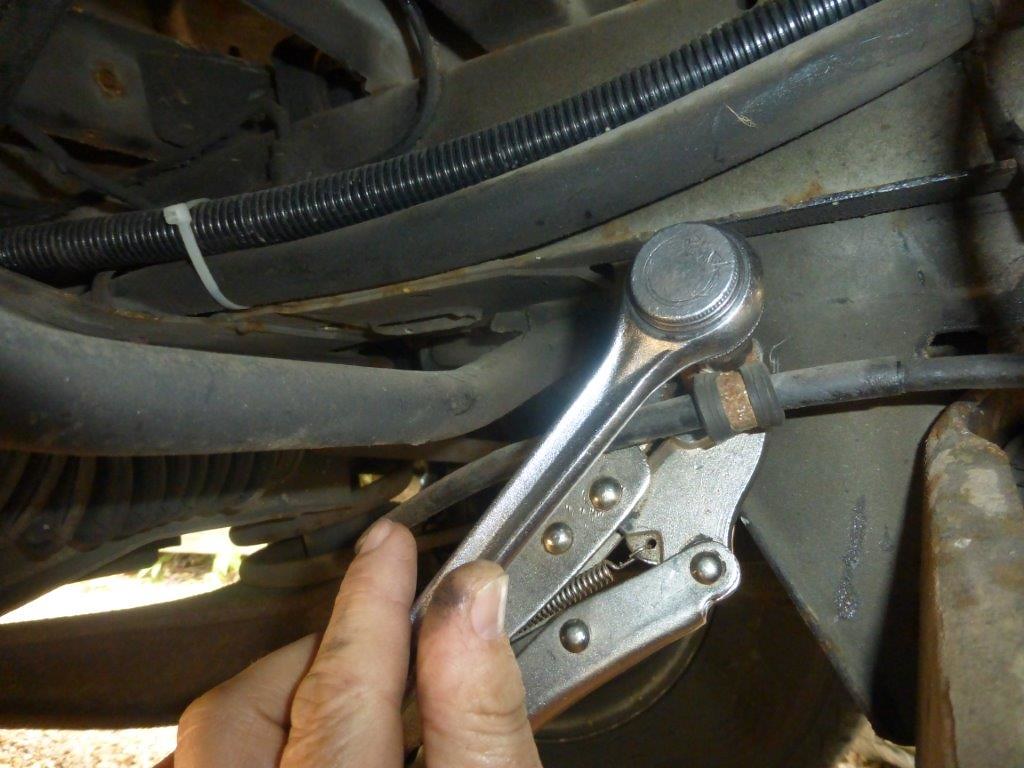
undo p clip nut 10mm socket, probably need mole grips to hold bracket or you will rip it off
 P1080288 by Paul_Barr, on Flickr
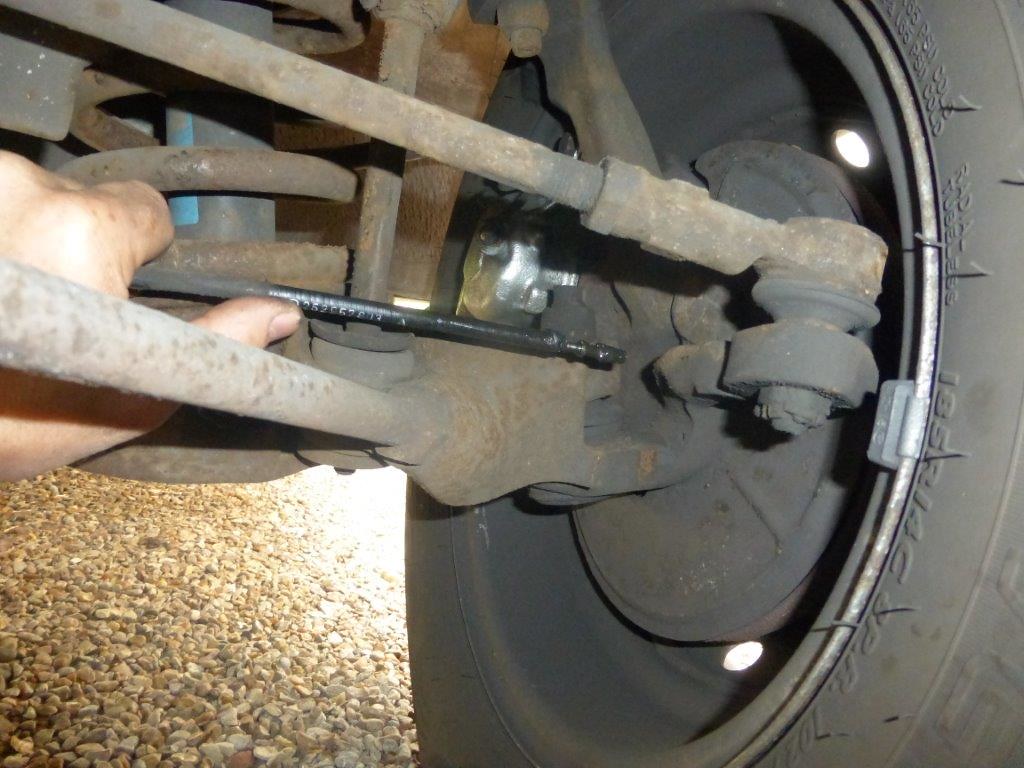
pull cable from hub, note cable route
 P1080291 by Paul_Barr, on Flickr
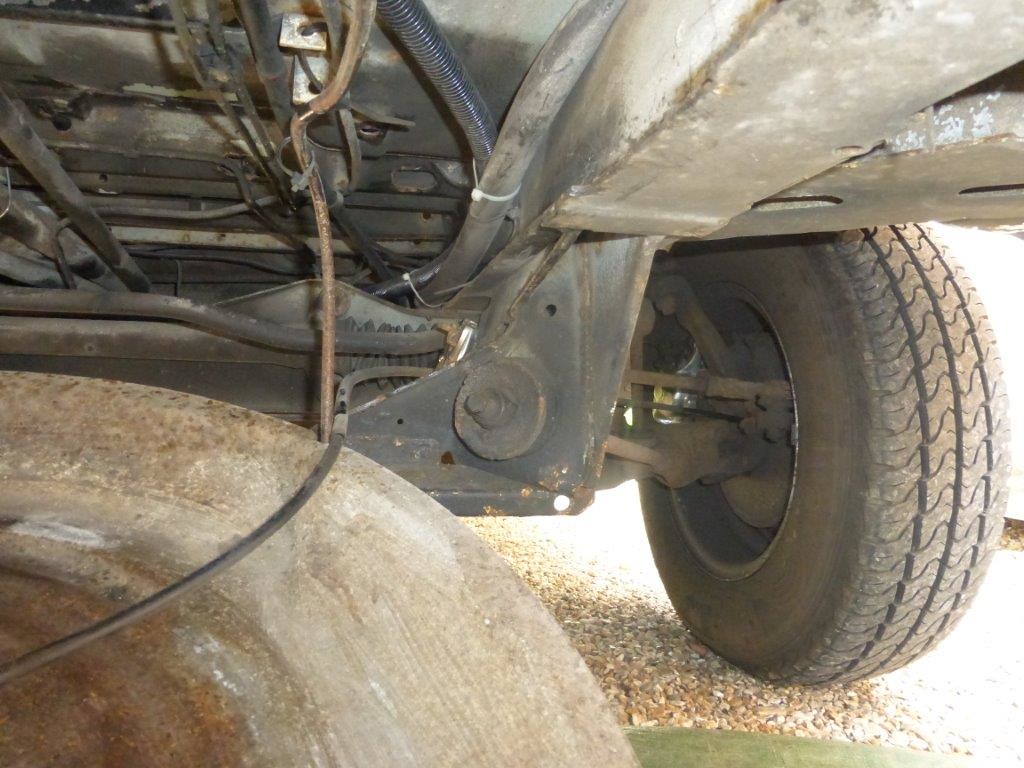 P1080292 by Paul_Barr, on Flickr
pull through note route
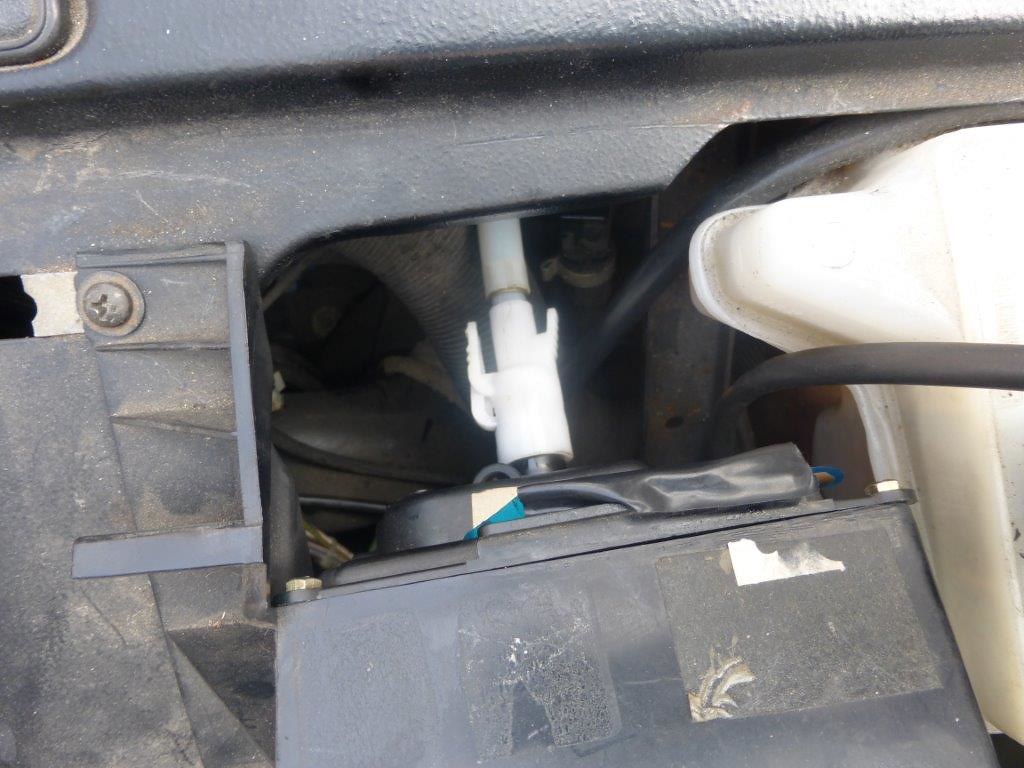
 P1080297 by Paul_Barr, on Flickr
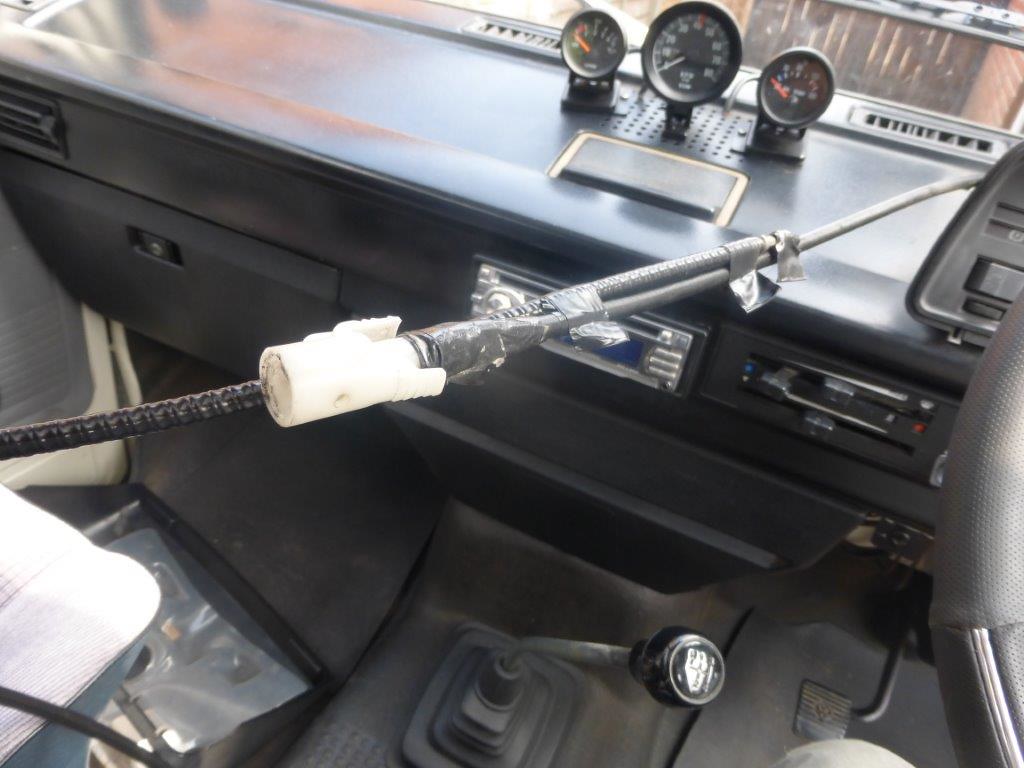
in cab, remove binicle cover and release speedo clip, pull cable through a few feet so it can't fall back inside dash by it's weight (this is a late push on type)
 P1080299 by Paul_Barr, on Flickr
attach new cable, I used tape
 P1080302 by Paul_Barr, on Flickr
remove gromet and pull new cable through
 P1080301 by Paul_Barr, on Flickr
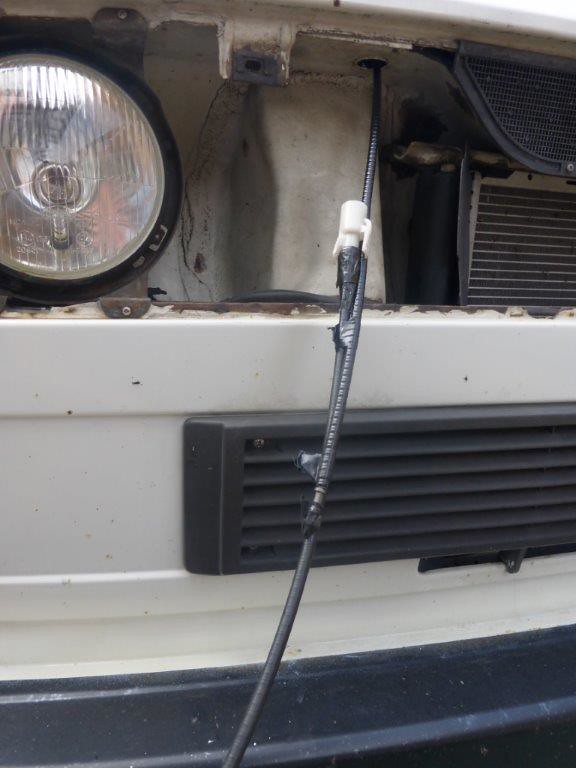 P1080303 by Paul_Barr, on Flickr
pull gromet into position from new cable
 P1080305 by Paul_Barr, on Flickr
clip onto speedo
 P1080307 by Paul_Barr, on Flickr
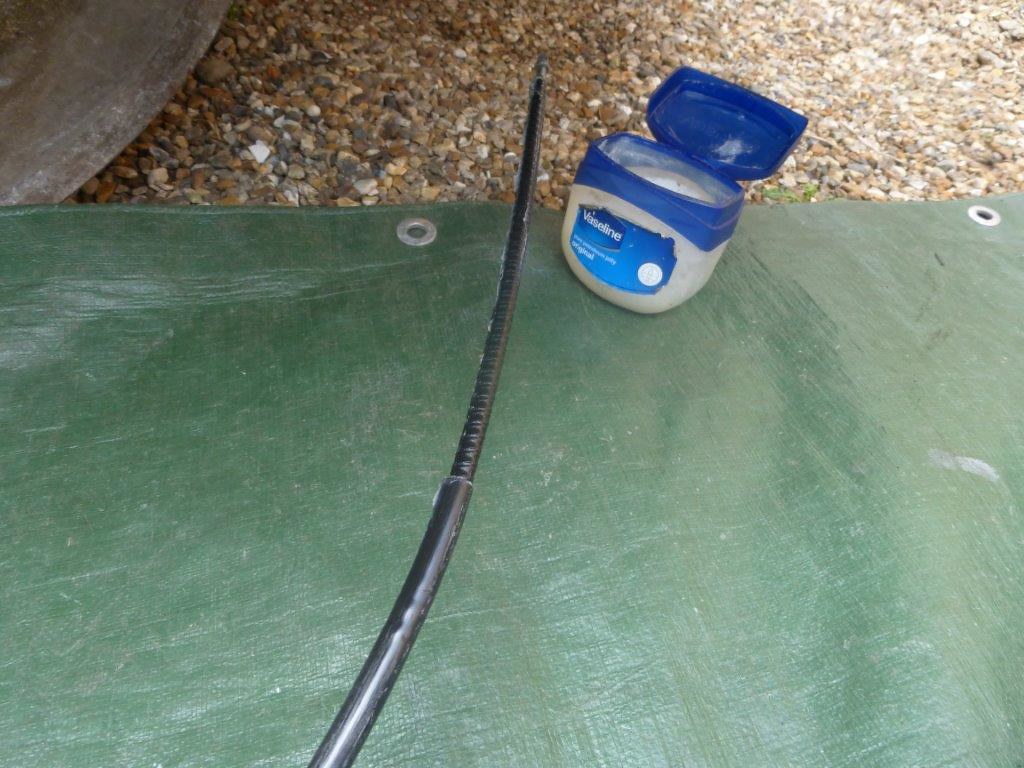
underneath, route cable back as noted, add some lube to cable and push through hub
 P1080308 by Paul_Barr, on Flickr
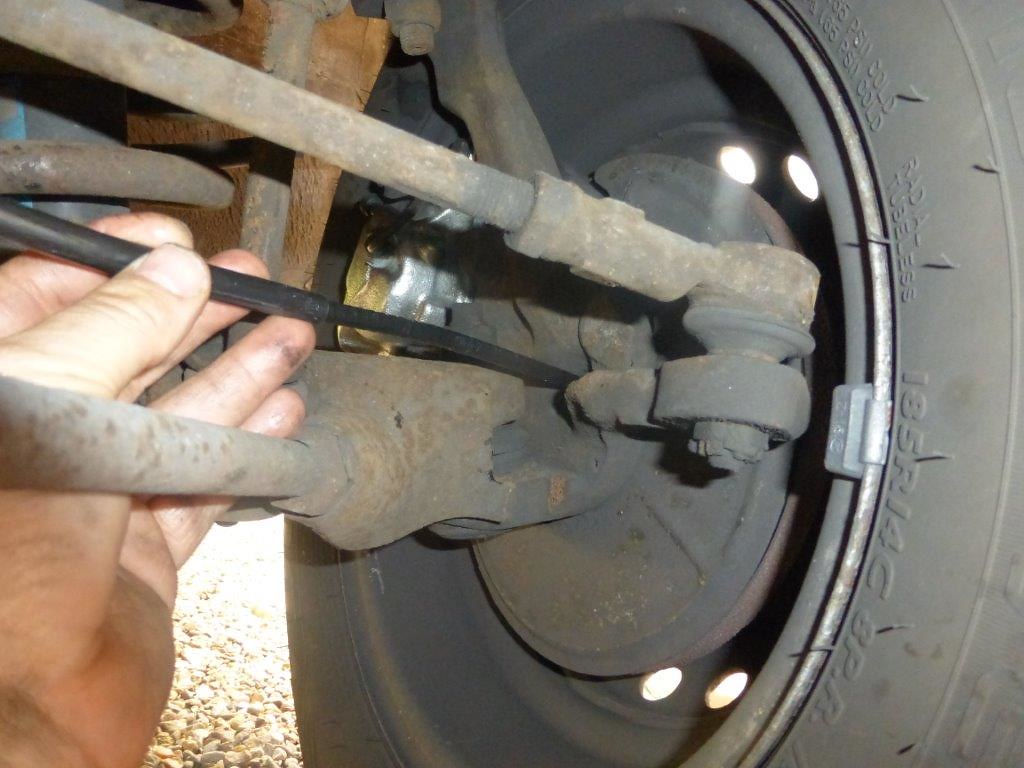 P1080309 by Paul_Barr, on Flickr
make sure protective sheath is in position slid down to hub
 P1080311 by Paul_Barr, on Flickr
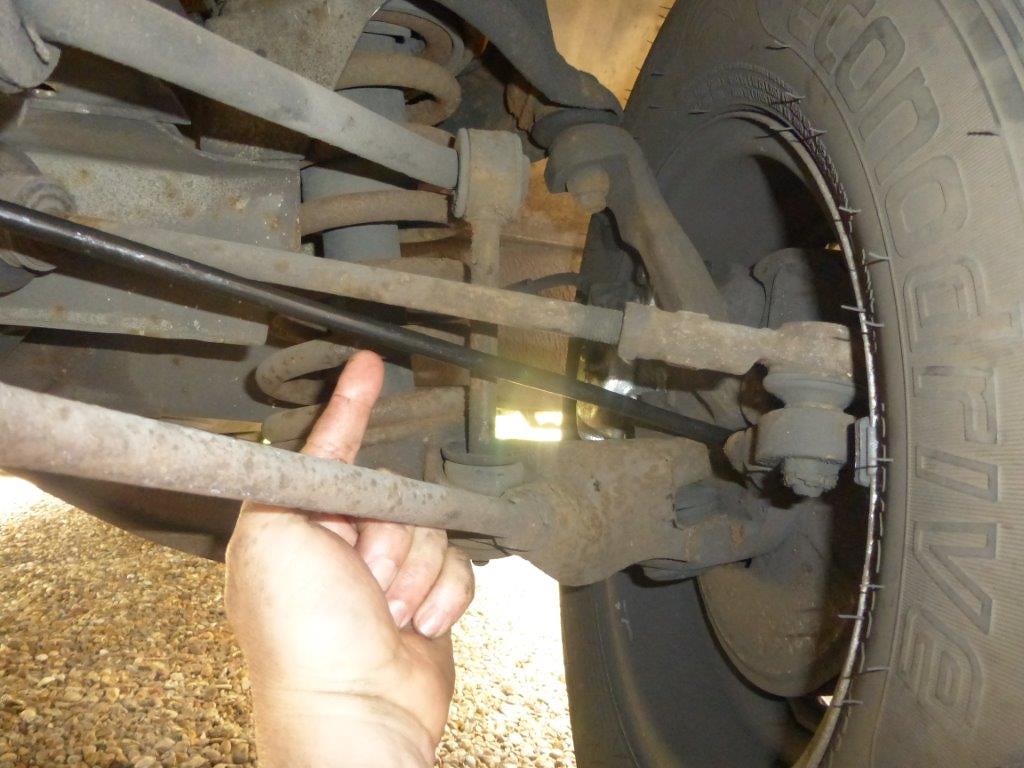
To get the cable through the grease cap hole you will need to jack and rotate wheel, I use a small screwdriver you can get one hand behind to push cable while using the screwdriver to encourage it through, not too hard.
Made a temporary clip from 0.6mm welding wire until I can order one.
 P1080315 by Paul_Barr, on Flickr
fit pclip but don't tighten until cable ties fitted back where they were
 P1080313 by Paul_Barr, on Flickr
Job done.


