Blunderbus

Thin bits of metal and bright blue light.

Moderators: User administrators, Moderators

jimpainter
Registered user
Posts: 418
Joined: 25 Aug 2009, 06:47
80-90 Mem No: 0
Location: crewe

Re: Blunderbus

Post by jimpainter »

Well its been a while since i last updated but i have been drilling hundreds of spot welds out of used good panels. The weather hasnt been brilliant either but im hoping for a better week next week or my unit to be finished so i can move the van inside.
Image

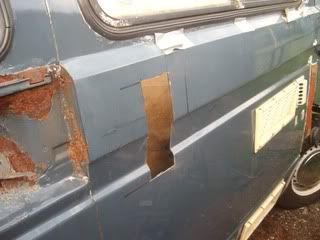
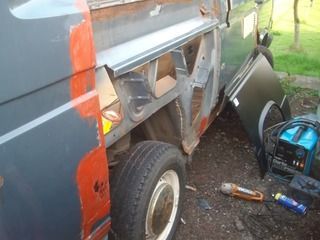
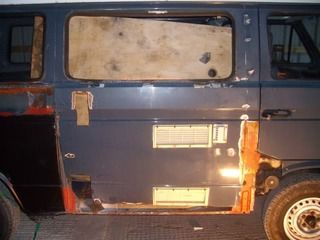
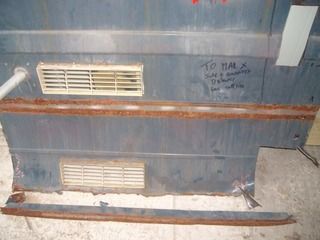
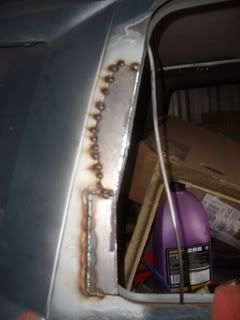
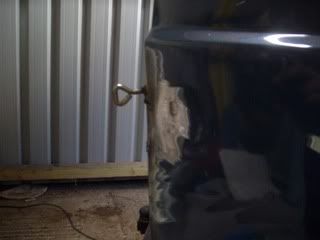
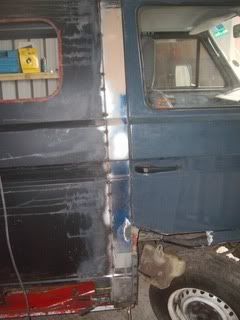
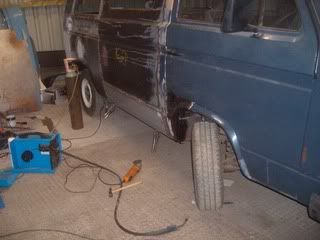
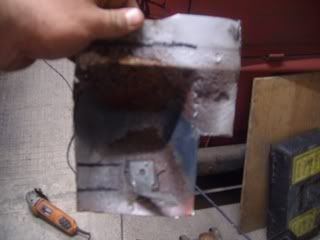
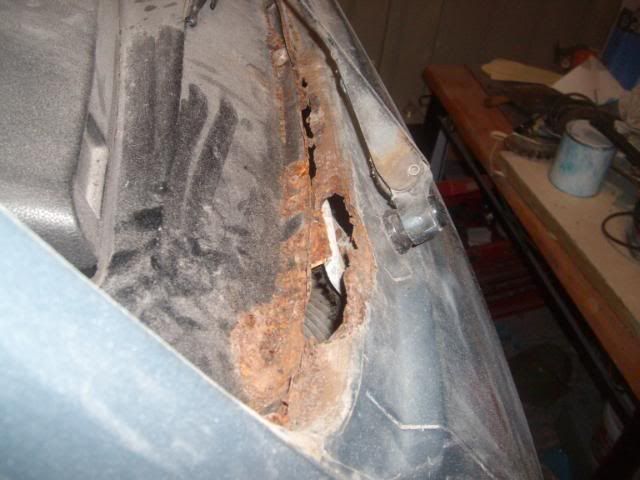
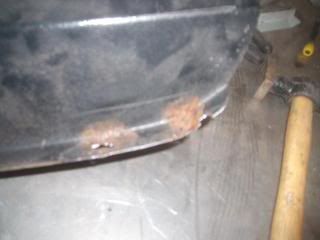
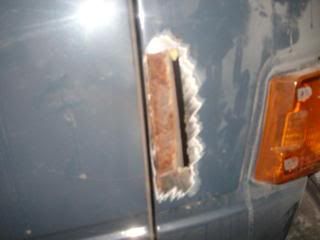
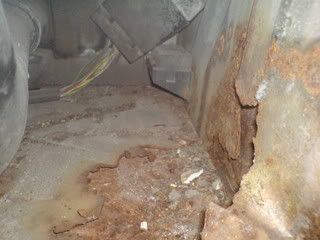
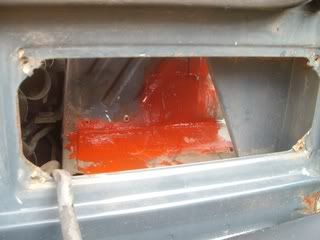
This is where we finished off last time. With the offside battery tray knackered and had been patched poorly.

Image

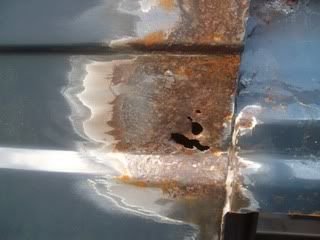
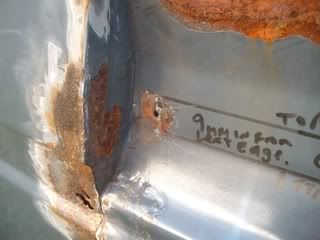
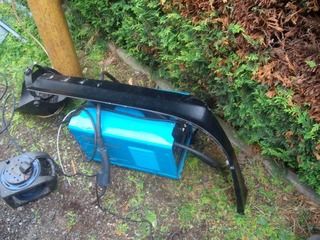
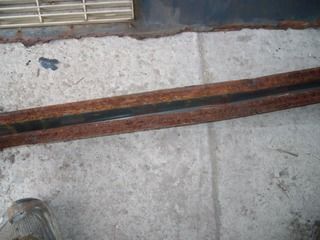
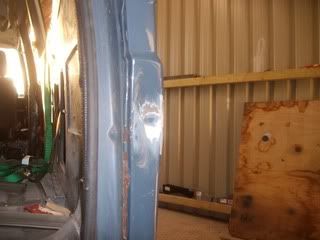
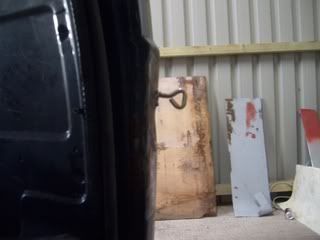
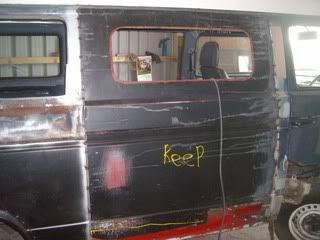
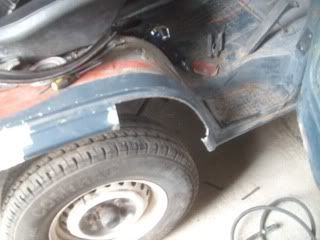
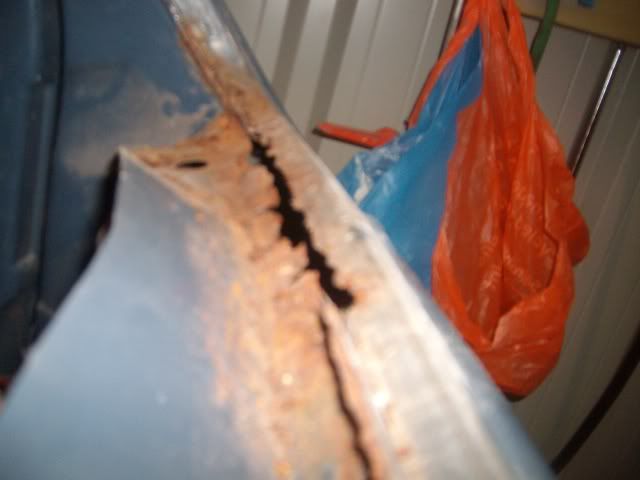
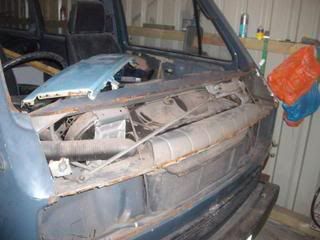
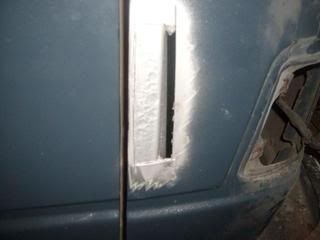
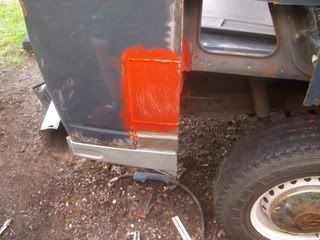
Marking off how much metal i need to move to erradicate the rust off the rear corner.

Image

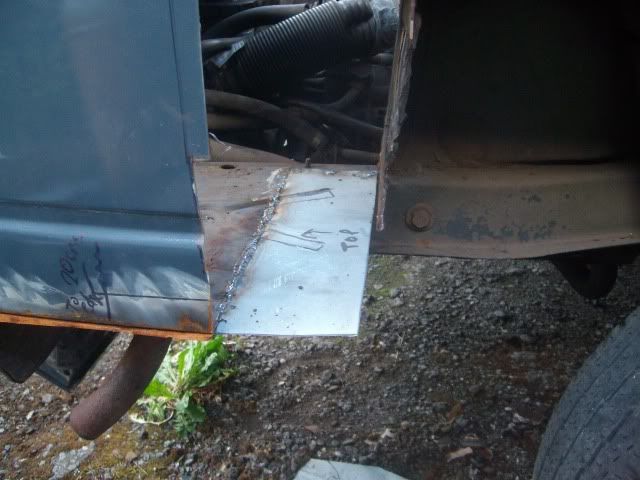
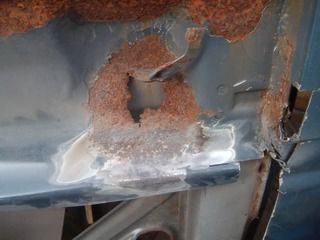
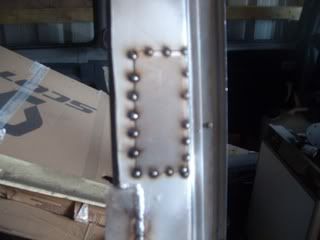
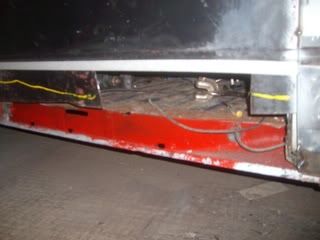
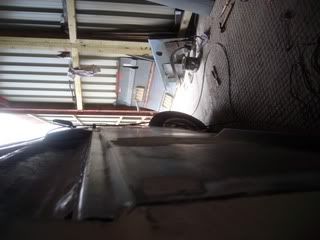
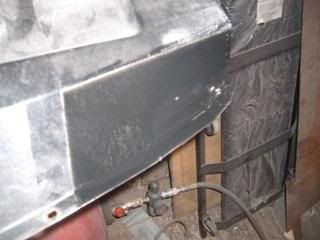
Started to make up a battery tray. i made it too short but didnt realise until i had welded it in. (Thicko)

Image

I dont have a bead roller (yet) so all swages were made by hand.

Image

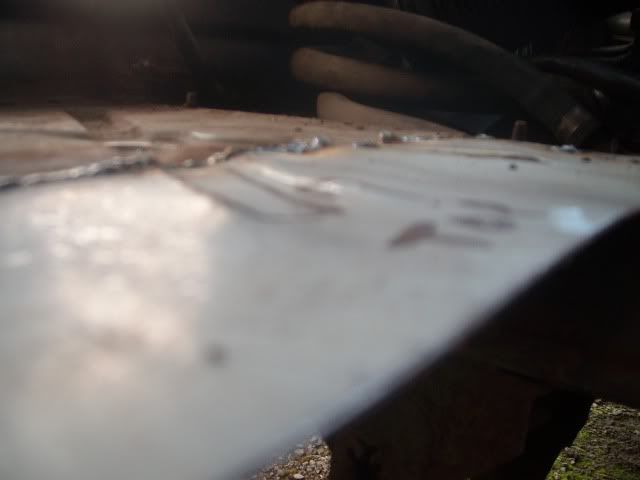
A couple of peices needed letting in to make this solid.

Image

Image

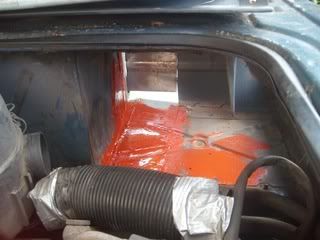
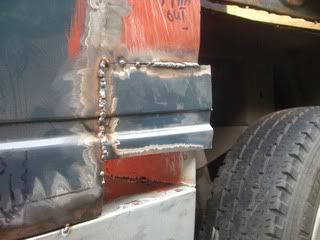
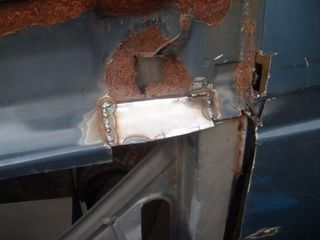
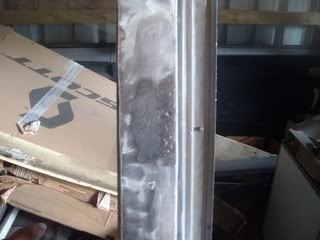
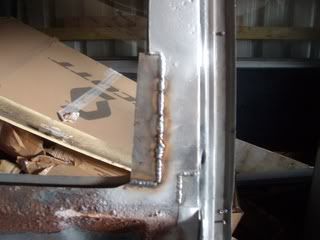
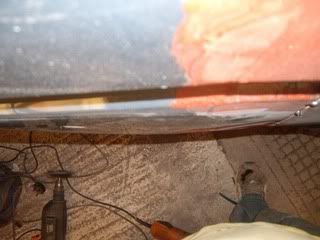
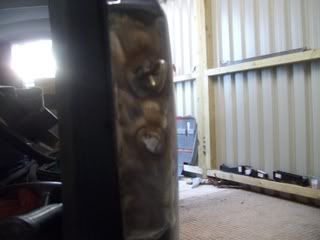
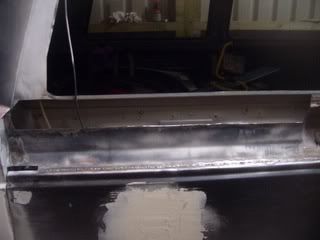
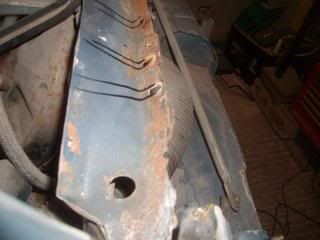
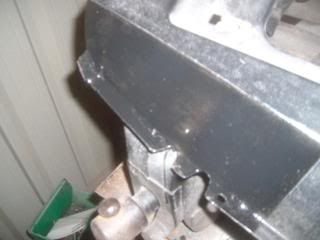
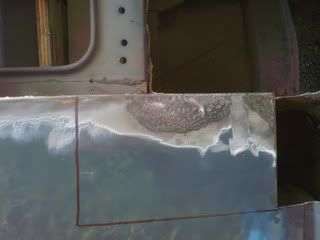
Battery tray finished and oxided. I did dress the first weld but the second weld where i had to add the bit i didnt bother as its covered by the air filter tube and the ignition system gubbins.

Image

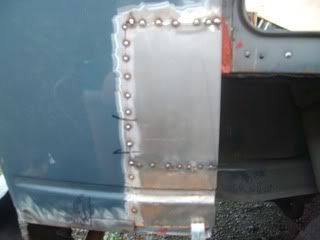
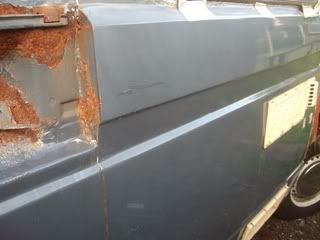
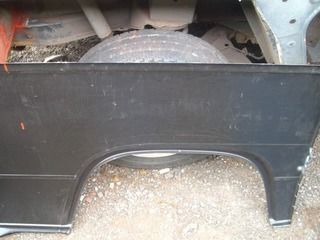
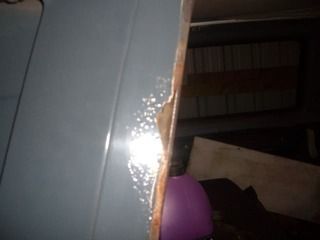
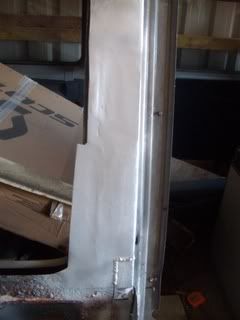
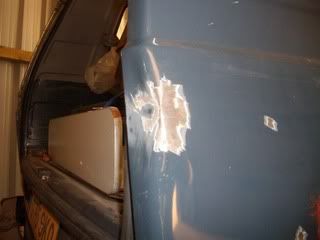
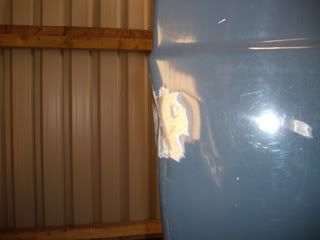
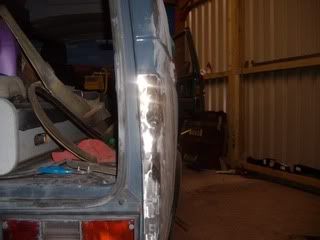
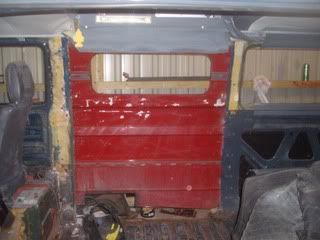
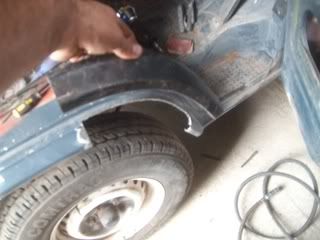
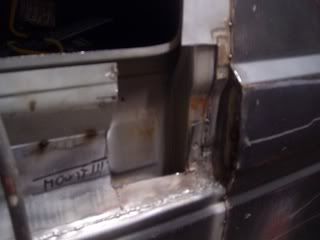
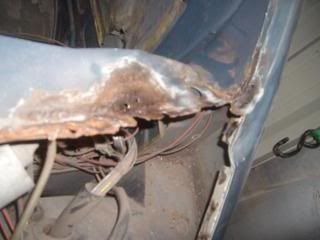
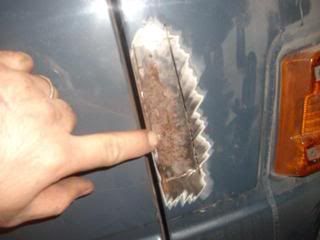
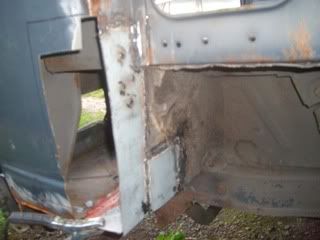
And letting in a piece that was getting rid of the rust. Not the easiest panel to get to line up due to it being double curvature. It is pretty close though and will only need a thin skim of filler to get right.

Image

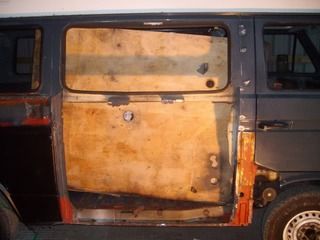
And thats where we are at for now.

Happy days
JRP Automotive welding,bodywork, resprays, servicing and repair.
Classic Vw's
Cheshire
07854516387

fidget
Registered user
Posts: 126
Joined: 04 May 2010, 20:45
80-90 Mem No: 9027
Location: Braintree, essex

Re: Blunderbus

Post by fidget »

Crikey :o

how much of the van is left. looks like a challenge

James
If Pac-Man affected us as kids, we'd all be running around in darkened rooms, munching magic pills and listening to repetitive electronic music

jimpainter
Registered user
Posts: 418
Joined: 25 Aug 2009, 06:47
80-90 Mem No: 0
Location: crewe

Re: Blunderbus

Post by jimpainter »

Lets just say i havent finished on this side yet. I still have a side panel to put in and a complete outer b post. :roll:
JRP Automotive welding,bodywork, resprays, servicing and repair.
Classic Vw's
Cheshire
07854516387

fidget
Registered user
Posts: 126
Joined: 04 May 2010, 20:45
80-90 Mem No: 9027
Location: Braintree, essex

Re: Blunderbus

Post by fidget »

Could have done with a complete b-post meself :D

James
If Pac-Man affected us as kids, we'd all be running around in darkened rooms, munching magic pills and listening to repetitive electronic music

User avatar
Cyrus
Registered user
Posts: 616
Joined: 22 Jan 2011, 09:26
80-90 Mem No: 9165
Location: Hastings, E/Sussex

Re: Blunderbus

Post by Cyrus »

Good work on the battery tray, mine was rusted at the same place but I decided to just cut and weld a plate as I have little means of forming metal, especially the x that is indented into the tray. Don't forget to drill a hole in the center of the x indentation to let water out as it enters tho the air vent and sits on the tray rotting it out. :ok

jimpainter
Registered user
Posts: 418
Joined: 25 Aug 2009, 06:47
80-90 Mem No: 0
Location: crewe

Re: Blunderbus

Post by jimpainter »

The centre part is the original piece and has the hole there already. :D As for forming it i just used a straight piece of 2mm metal and a chisel and bent it that way.

Re: the b post. Trying to find a good second hand one proved really difficult. The one i have is solid apart from the very lower peice that will need repairing. Nevermind, at least it will be consistent with the repairs. :rofl
JRP Automotive welding,bodywork, resprays, servicing and repair.
Classic Vw's
Cheshire
07854516387

jimpainter
Registered user
Posts: 418
Joined: 25 Aug 2009, 06:47
80-90 Mem No: 0
Location: crewe

Re: Blunderbus

Post by jimpainter »

Only a short update for now.
I wasnt too keen on the lower swage line.

So i used this which is being totally removed anyway

Image

And welded it here.

Image

And then i started on this which is the second swage line.

Image

I removed the little tag that holds the cover panel on, it allows better access

Image

I used this

Image

Image
JRP Automotive welding,bodywork, resprays, servicing and repair.
Classic Vw's
Cheshire
07854516387

User avatar
Cyrus
Registered user
Posts: 616
Joined: 22 Jan 2011, 09:26
80-90 Mem No: 9165
Location: Hastings, E/Sussex

Re: Blunderbus

Post by Cyrus »

I like the way you're repairing holes by cutting more holes. :idea

jimpainter
Registered user
Posts: 418
Joined: 25 Aug 2009, 06:47
80-90 Mem No: 0
Location: crewe

Re: Blunderbus

Post by jimpainter »

Its recycling. The side panel is being replaced from top to bottom so i can use the cuts. :ok
JRP Automotive welding,bodywork, resprays, servicing and repair.
Classic Vw's
Cheshire
07854516387

jimpainter
Registered user
Posts: 418
Joined: 25 Aug 2009, 06:47
80-90 Mem No: 0
Location: crewe

Re: Blunderbus

Post by jimpainter »

Remember the last bit i cut out of the side panel. Well its been let in here
Image
I did a small repair ready for just tacking the rear quarter on for moving to my unit. Obviously the rusty bit above is going to be sorted.
Image
Image

With the rear quarter i also needed to replace the inner arch as it was well beyond repair. Luckily i had access to a quarter panel and a rear arch complete with inner arch. So the plan was to remove the inner arch from the rear arch panel and tack it on to the quarter panel.
Image
Image
Image

I started to remove the side panel once the van was at my unit
Image
Image

You can see now how the sealer splits and allows moisture between the strenghtening bar and the side panel causing rot
Image
Image

I removed the side windows and found this on the rear one
Image
Most of it was filler... :roll:

And also the reason why there was so much filler between the side panel/b post....... A poor repair. You can see a gap where the post wasnt welded right. :?
JRP Automotive welding,bodywork, resprays, servicing and repair.
Classic Vw's
Cheshire
07854516387

jimpainter
Registered user
Posts: 418
Joined: 25 Aug 2009, 06:47
80-90 Mem No: 0
Location: crewe

Re: Blunderbus

Post by jimpainter »

Just a quick couple of pics. I should keep up to date but i dont find the time to upload pics etc at the min. :roll:

Window frame repairs.
Image
Image
Image
Image
Image

Had this dent to sort out. I couldnt get inside to knock it out so a bit of inginuity needed

Image
Image
Image

The dent caused this bulge

Image

So i used some hooks, welded them to the panel and used the heat to help pull the panel out.

Image
Image
Image
Image
Image

Thats all for now. I hope to update more again soon. :ok
JRP Automotive welding,bodywork, resprays, servicing and repair.
Classic Vw's
Cheshire
07854516387

User avatar
Cyrus
Registered user
Posts: 616
Joined: 22 Jan 2011, 09:26
80-90 Mem No: 9165
Location: Hastings, E/Sussex

Re: Blunderbus

Post by Cyrus »

With the rear quarter i also needed to replace the inner arch as it was well beyond repair. Luckily i had access to a quarter panel and a rear arch complete with inner arch. So the plan was to remove the inner arch from the rear arch panel and tack it on to the quarter panel.
That how I tackled mine on the OS. Used an inner arch and tacked it to the full quarter. Took a bit of trimming but works great. :ok
Keep up the good work.

jimpainter
Registered user
Posts: 418
Joined: 25 Aug 2009, 06:47
80-90 Mem No: 0
Location: crewe

Re: Blunderbus

Post by jimpainter »

Right update time. I have almost finished this side but my updates are lacking. :oops:

Complete 2nd hand b post fitted, just needing a small repair at the bottom
Image

Also got the centre panel fitted
Image
Image

Lower repair was fabricated and fitted on the b post
Image

Lower repair panel being fitted onto the middle panel. The tape is my cut line.
Image
Image
Image

Not looking too bad now
Image

Had a piece to repair on the front arch. So used a repair panel and cut the piece out i needed
Image
Image
Forgot to get a pic of it welded in.

Next piece up was the lower window/sliding door track cover piece.
Image

Made a repair section up. I dont have a bead roller (yet) so i had to press the little step in the metal myself.
Image

Offending section removed and the new piece ready to go in
Image
Image


I also need to replace the recessed piece where the door cover mount is fitted.
From this
Image

To this
Image

And this is what i have to fab up
Image

Thats it for now im afraid,
JRP Automotive welding,bodywork, resprays, servicing and repair.
Classic Vw's
Cheshire
07854516387

jimpainter
Registered user
Posts: 418
Joined: 25 Aug 2009, 06:47
80-90 Mem No: 0
Location: crewe

Re: Blunderbus

Post by jimpainter »

More updates, i'm slow with these i know :oops:
Took the windscreen out and found a little more than a couple of small holes
Image
Image
No wonder there was a leak :rofl
So the front panel was removed (note the new (2nd hand) panel waiting to go in.)
Image
Once the front panel was removed I found the inner part had also rotted away quite badly.
Image
Image
I forgot to take pics of the repairs.... Or there still on my camera. Not too sure.
The dash itself had started to rot as well
Image
The other side was the same so both ends were repaired
Image
Image
And last for now the piece just behind the front indicator that always seems to rot :roll:
How it started
Image
With the outer panel removed
Image
And after being wire brushed, blasted and then treated with jenolite and finally sprayed with zinc rich primer.
Image
JRP Automotive welding,bodywork, resprays, servicing and repair.
Classic Vw's
Cheshire
07854516387

User avatar
Mickyfin
Registered user
Posts: 1395
Joined: 18 Jul 2011, 08:26
80-90 Mem No: 10312
Location: Kuopio, Finland

Re: Blunderbus

Post by Mickyfin »

Some good work there Jim, impressed. :ok
Owner of Flintstone, our T3/25 Caravelle C Syncro 1.9 Petrol.

Locked