The problem.
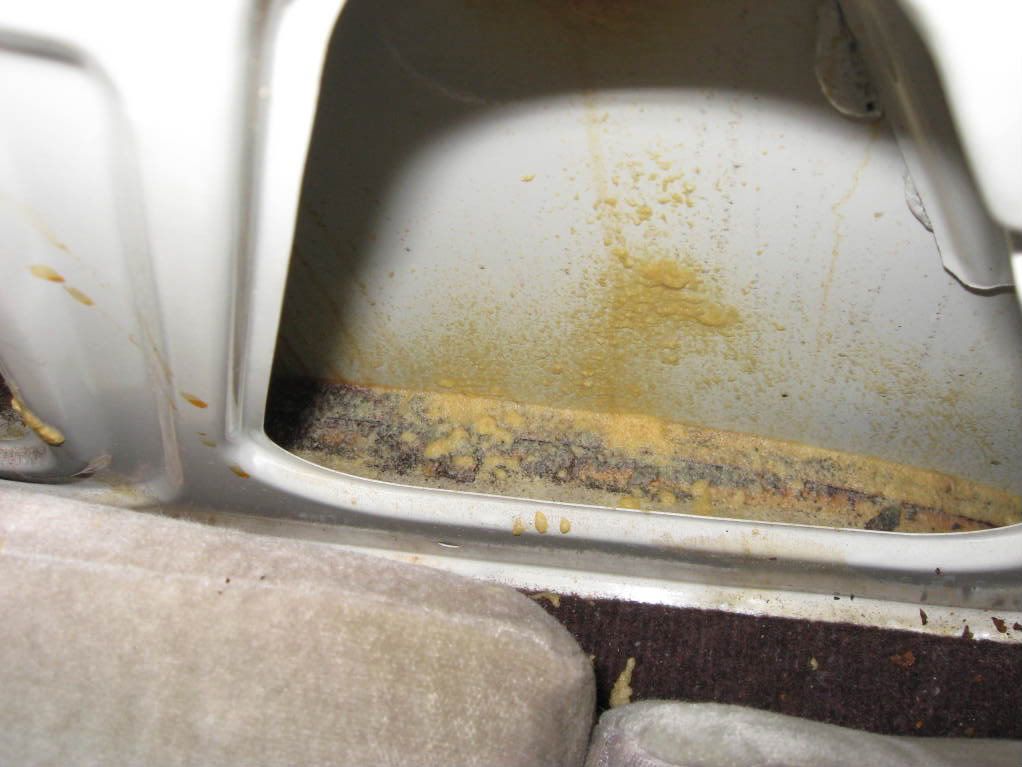
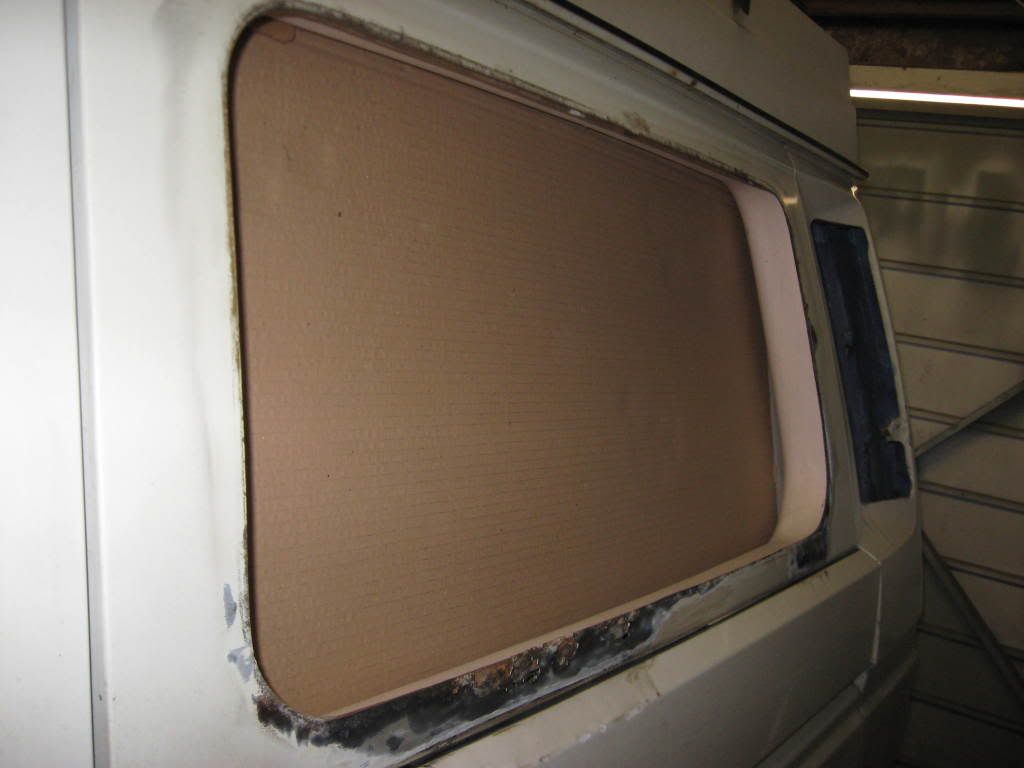
The rubber window seals go hard and shrink this allows water to enter under them which rusts the window surrounds. Another knock on effect of this is water gets into the panels rusting the seams from the inside, check behind your interior panels to see how bad it is.
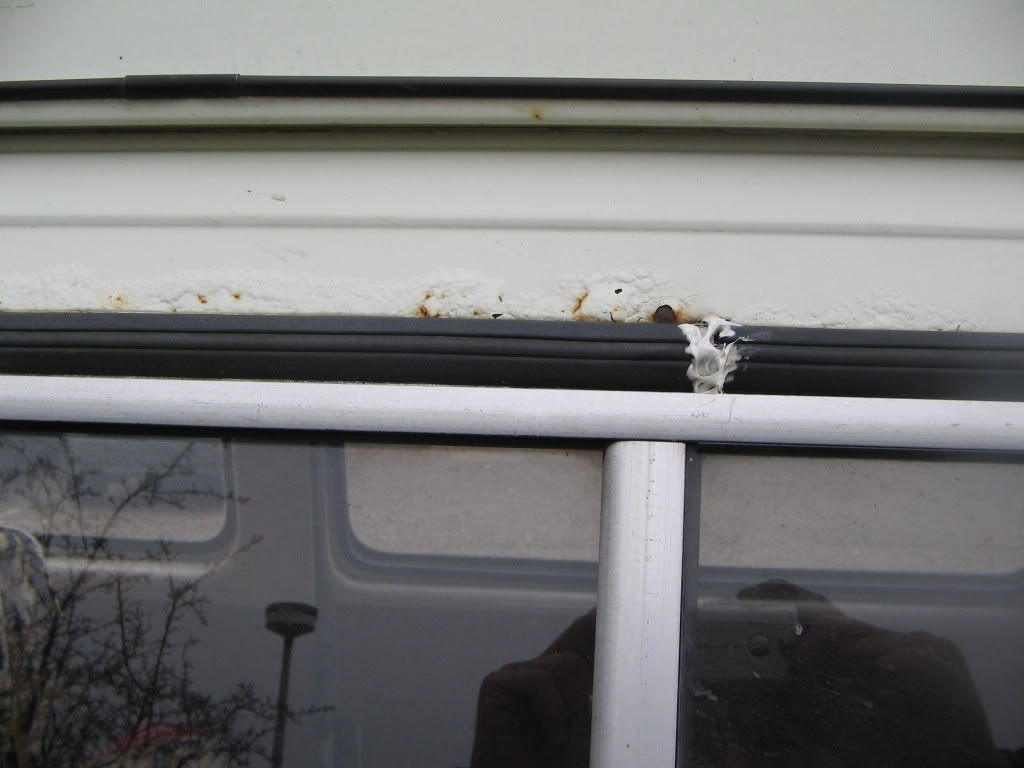
I took these pictures quite a while ago. The o/s window had to be repaired in an emergency when i blew a hole in it using a power washer.
Step one, removing the windows.
Using a screw driver pull out the rubber strips.
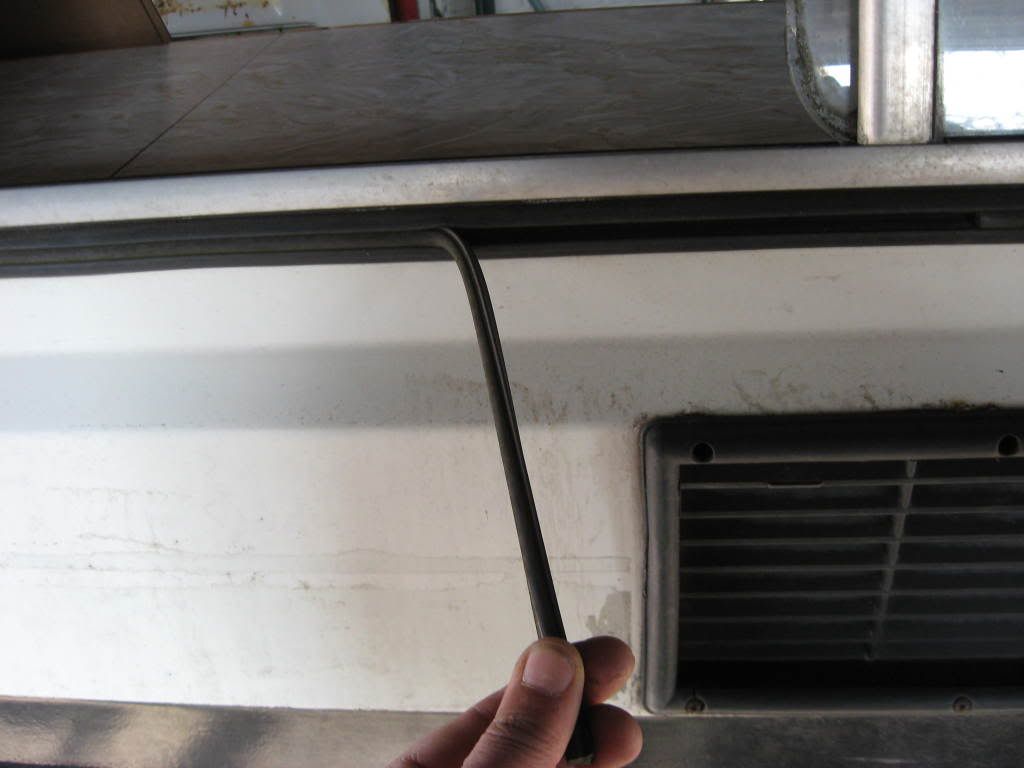
Then using a stanley knife cut the seal around the window and then you should then be able just take the window out. Doing it this way is a one man job.
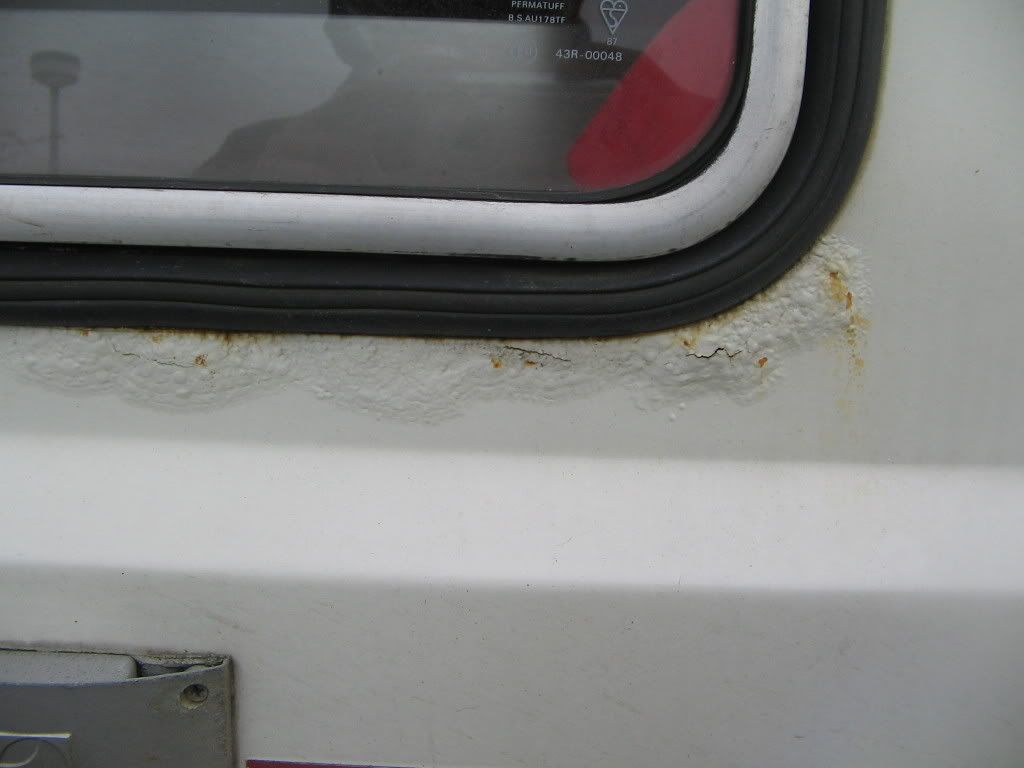
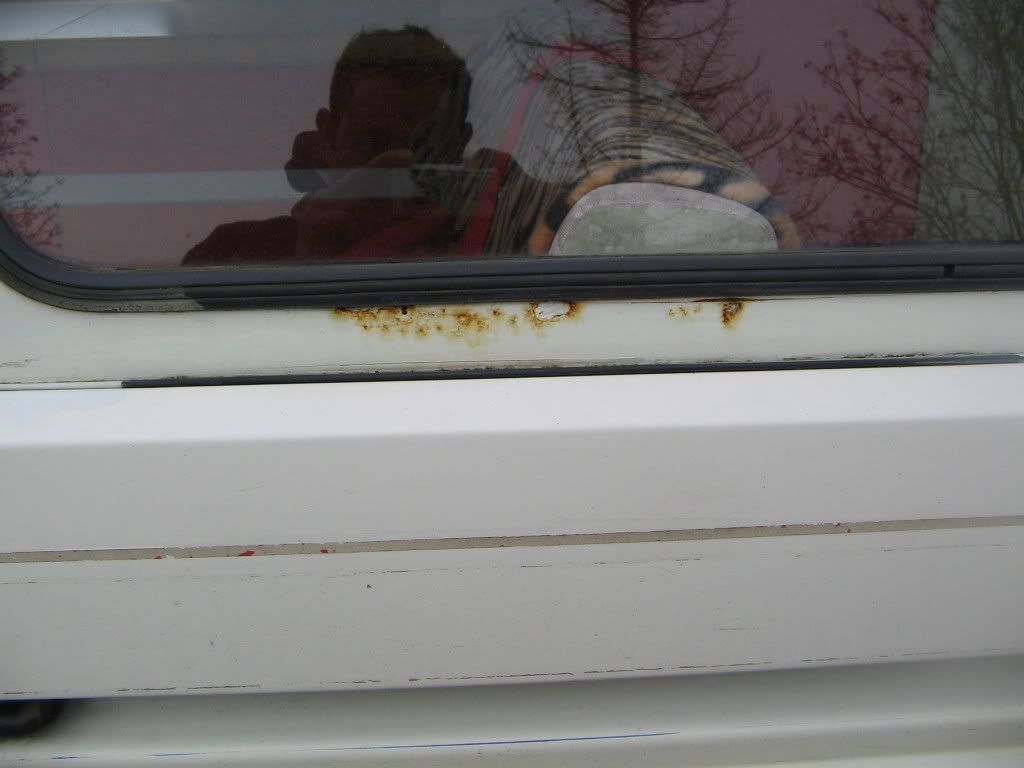
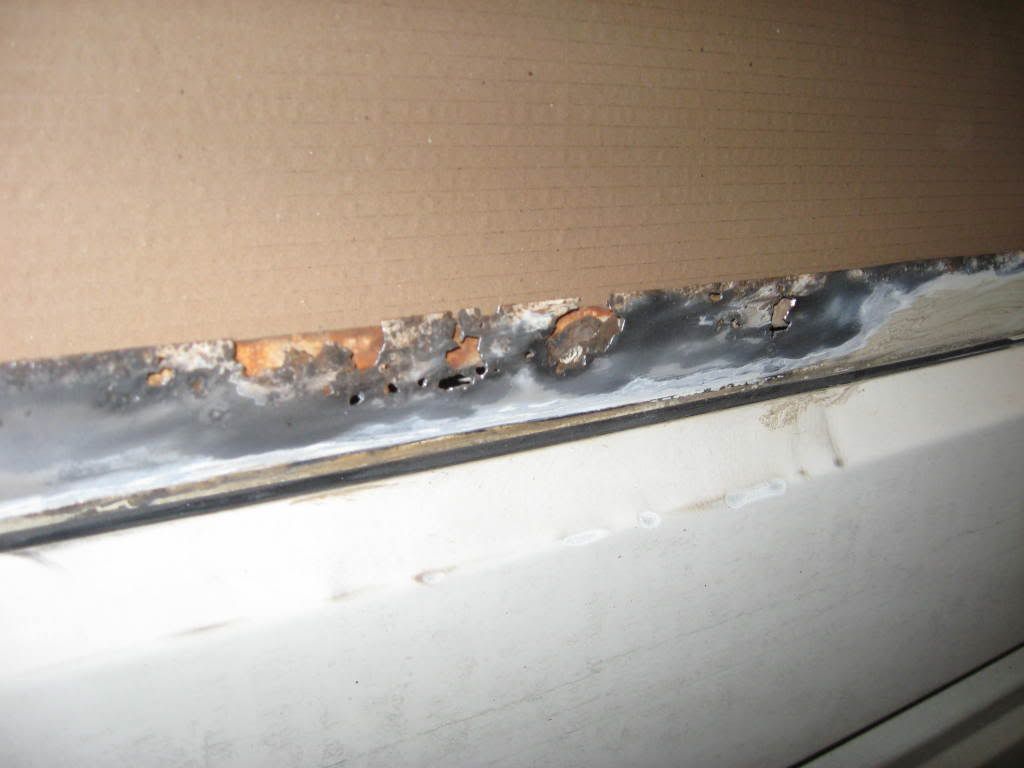
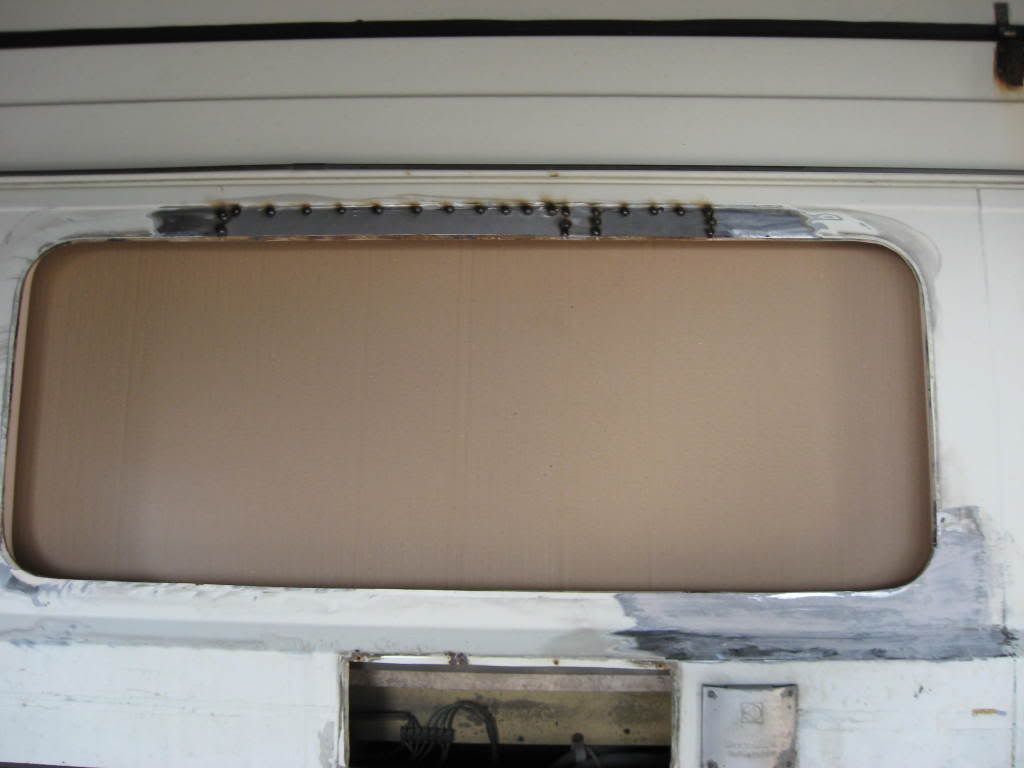
Step 2. Stand back and admire. Or assess how bad the rust is.

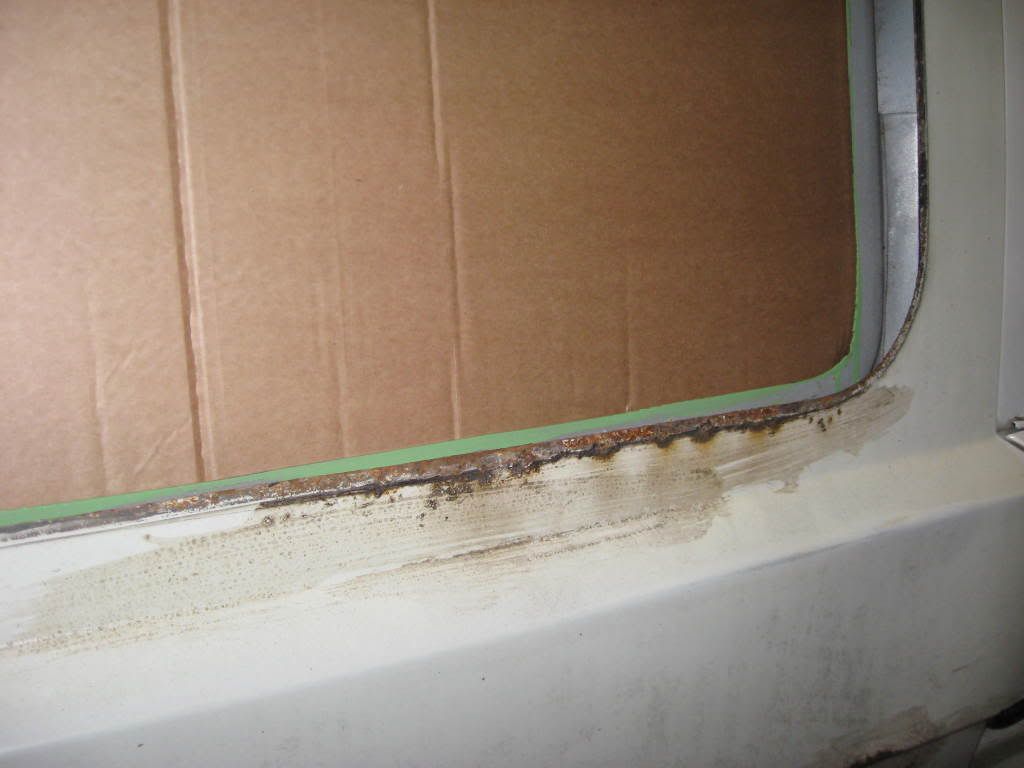
At this point it may not appear too bad!!!!
Step 3 The clean up. I tried a wire brush on a drill for this as i didn't want to be too aggressive with it but had to resort to using a knotted wire brush on my angle grinder. clean up beyond the rust as you will need clean metal later to weld to.
H&S WEAR PPE. a minimum of goggles and rigger gloves. A full coverage mask is a good idea as flying rust and wire hurts. Top tip buy goggles with yellow lenses as this brightens thing up if light isn't great. Disconnect the batteries, remove the gas bottles and anything that is combustable. Keep a fire extinguisher handy and top tip keep spray bottle of water handy as this is less messy for dousing those little smoulders.
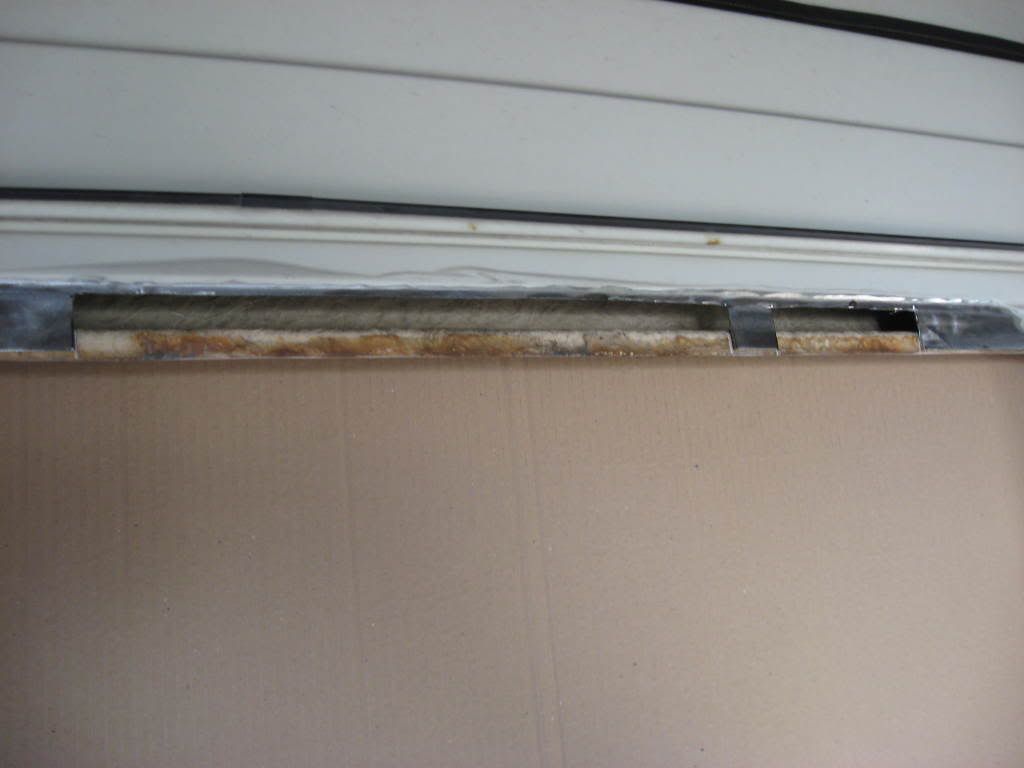
Step 4 Cutting the rust out. Using a jigsaw or angle grinder cut out the rust. Mark the area you want to cut with a marker pen using a straight edge. Then file the edges.
Step 5 Making repair panels. You can use old panels for this or do as i did, buy some some 1mm sheet metal off of the bay of flea's. Six sheets of 450mm x 400mm for £10, This makes things easier for measuring, cutting and it's less to clean up. Measure the hole you have cut, mark the sheet and measure the hole again. As the old saying goes measure twice cut once. This saves on wastage. Top tip Cut to the outside of the marker line so that the repair panel is slightly too big. Its easier to file it down to fit than having to do the whole job again because it's too small. Then trial fit your repair panel.
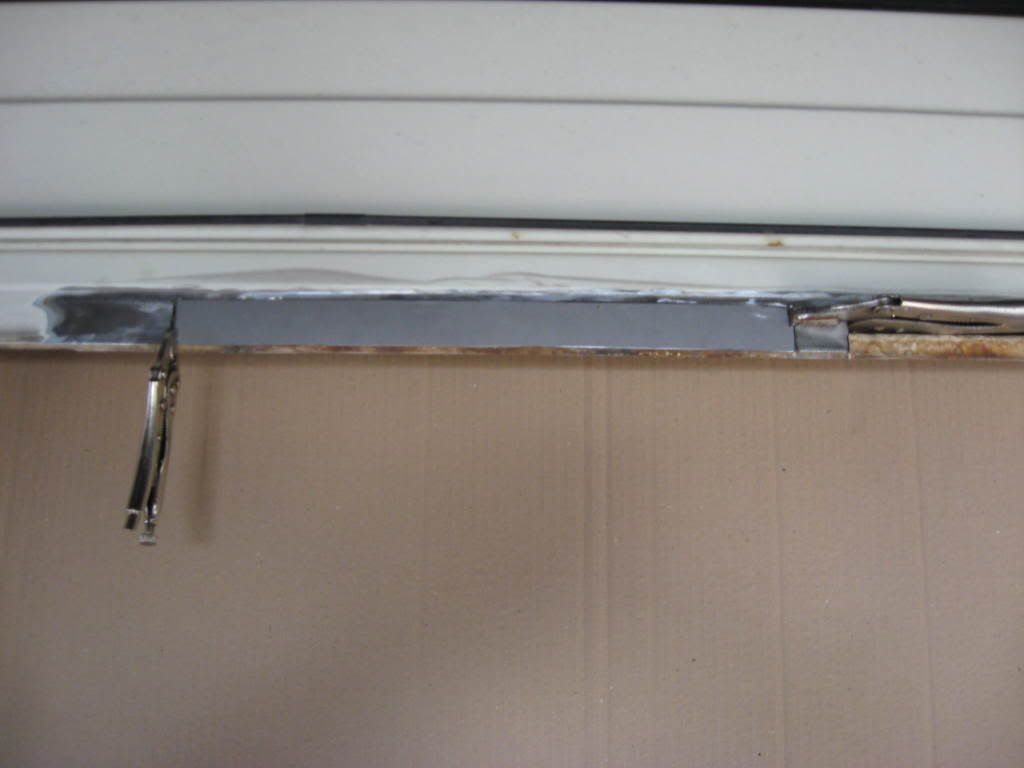
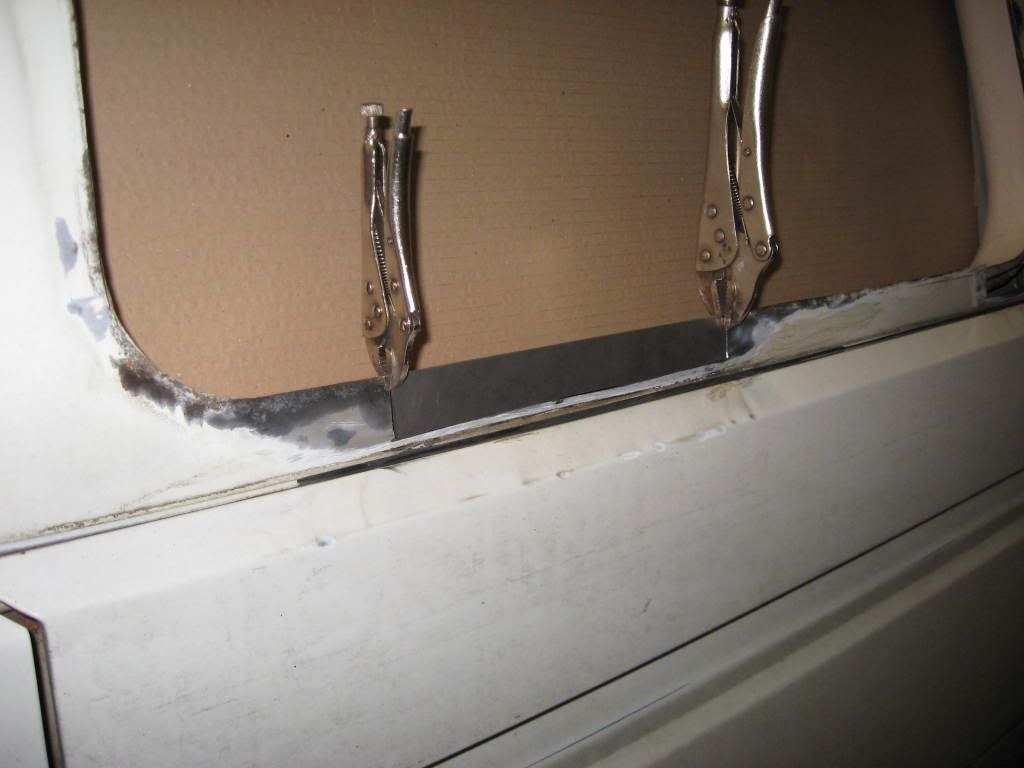
Step 6 Welding. I used 0.06mm wire and argon/co2 mix gas on advice from my tutor. Setting up your welder should be done on scrap metal not your bus. Practice first to get it just right. When you are happy Tack weld your repair panel in place. Top tip do one tack on the left then the right then dont just start at one end and finish at the other. This helps keep the heat down therefore helping prevent warping the metal.
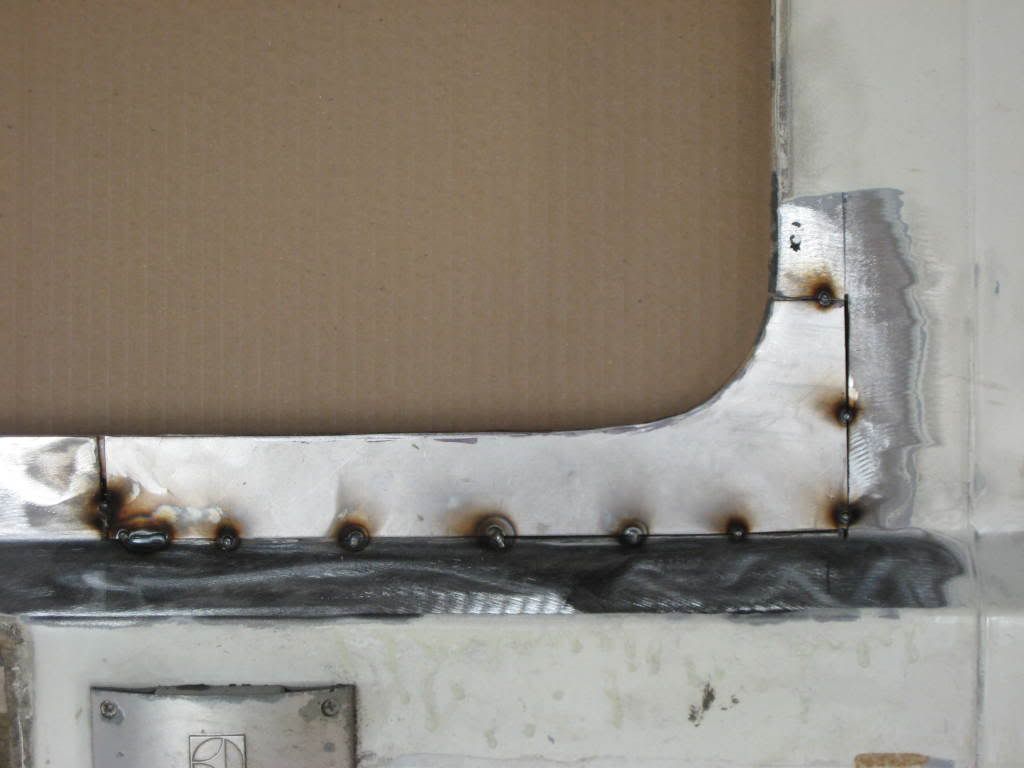
Then grind down the tacks. Take your time doing this as grinding creates heat. If your welder is set up well you should have had enough penetration. If not the panel will fall out. When you have ground down the tacks it should look like this. You can just about make out where the tacks were.
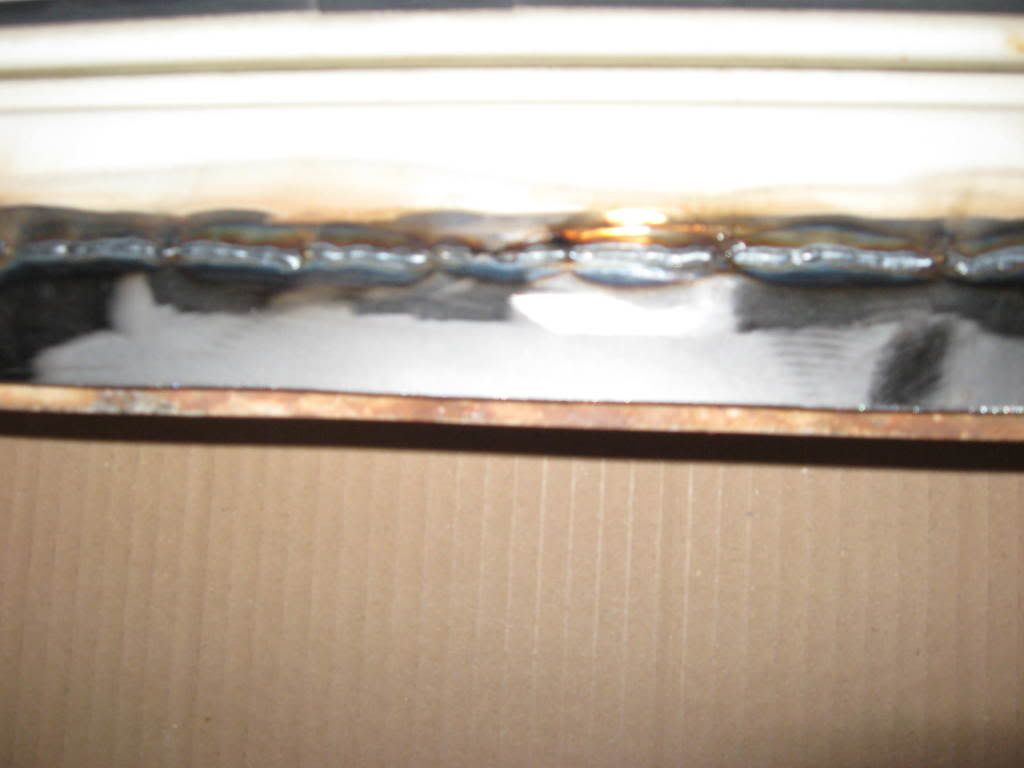
Then comes the tricky bit, Seam welding the panel in. This is tricky because of the incredible amount of heat the welder creates. Top tip weld small bits at a time ie 25mm welds allowing to cool down between welds. Dont get too worried about how it looks at this stage because it all has to be ground down.
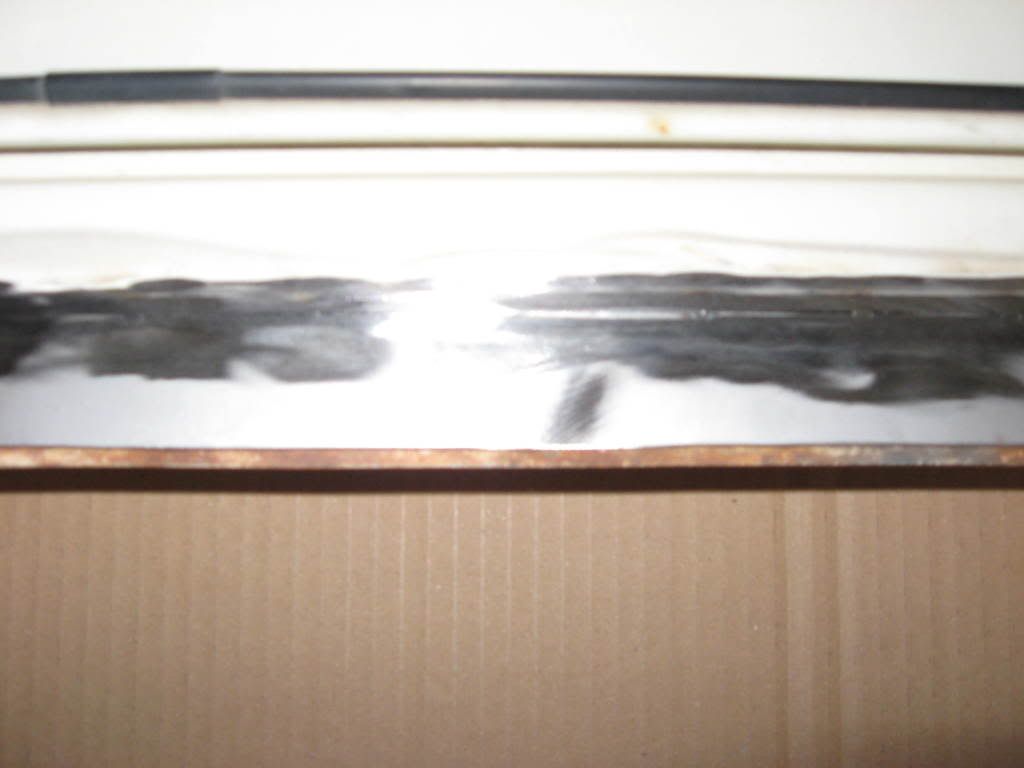
Then grind the welds down flat
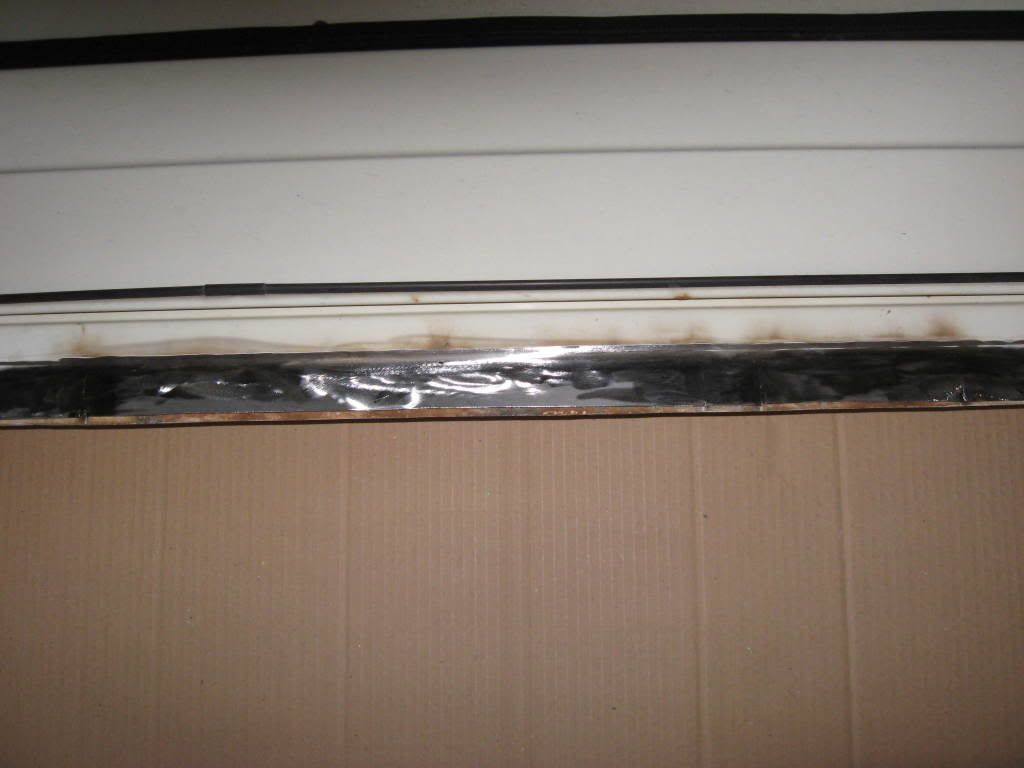
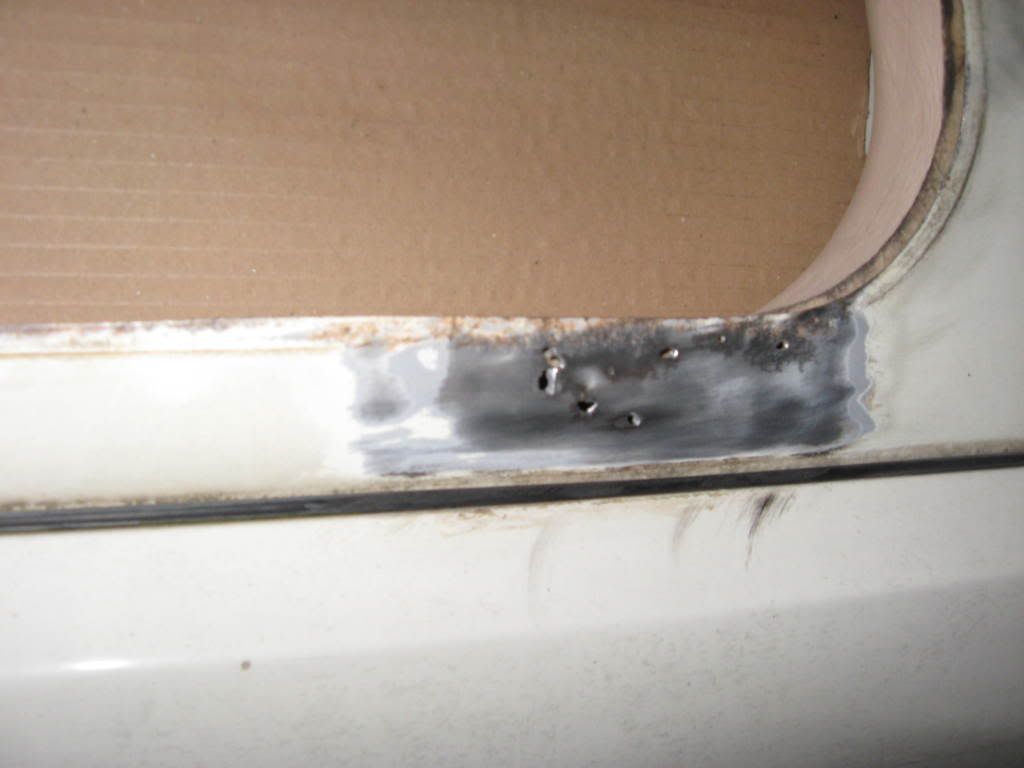
Doing it this way means you have to use minimal filler. When you are happy with this apply a small layer of filler. Sand flat. Stand back and admire.
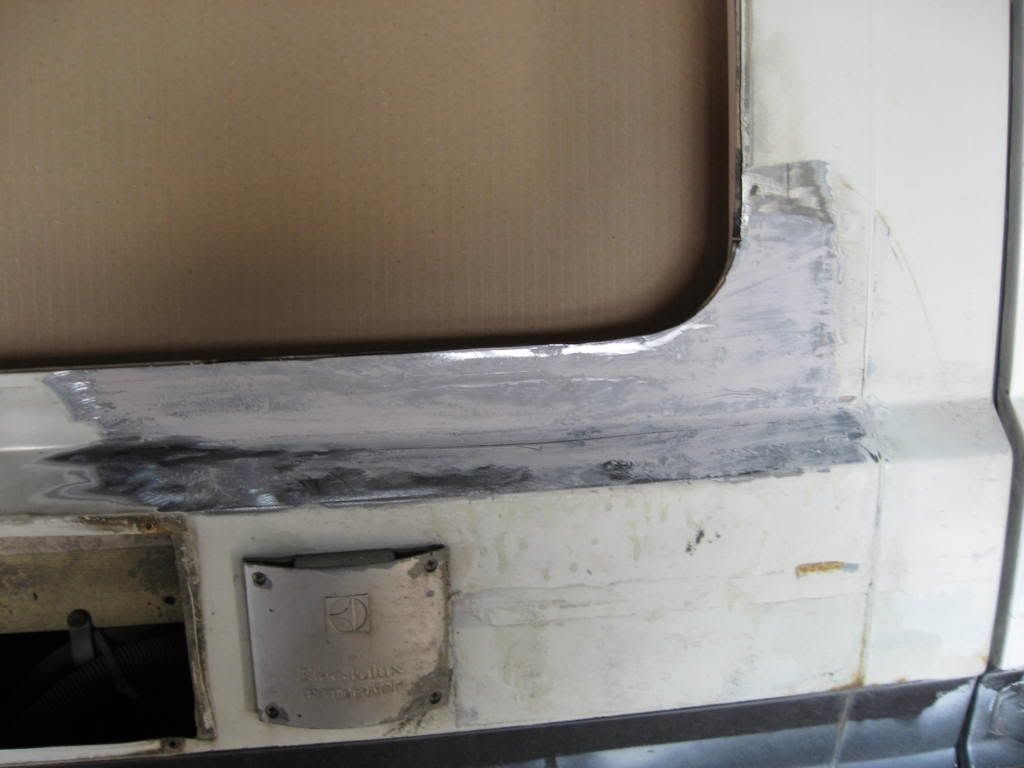
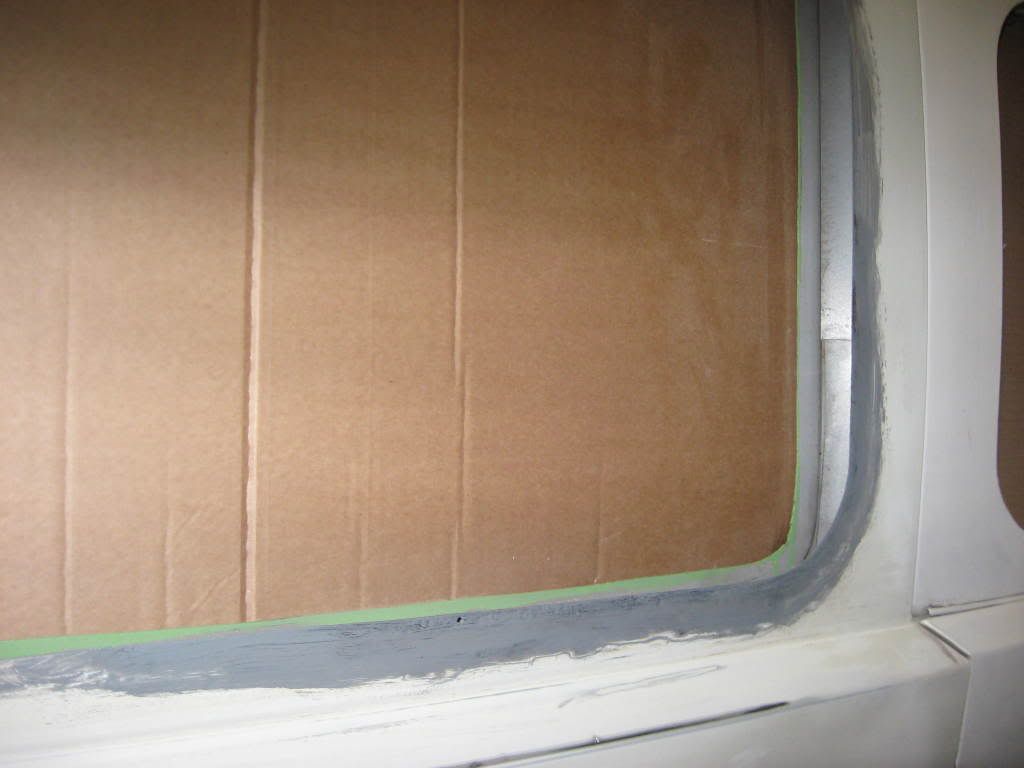
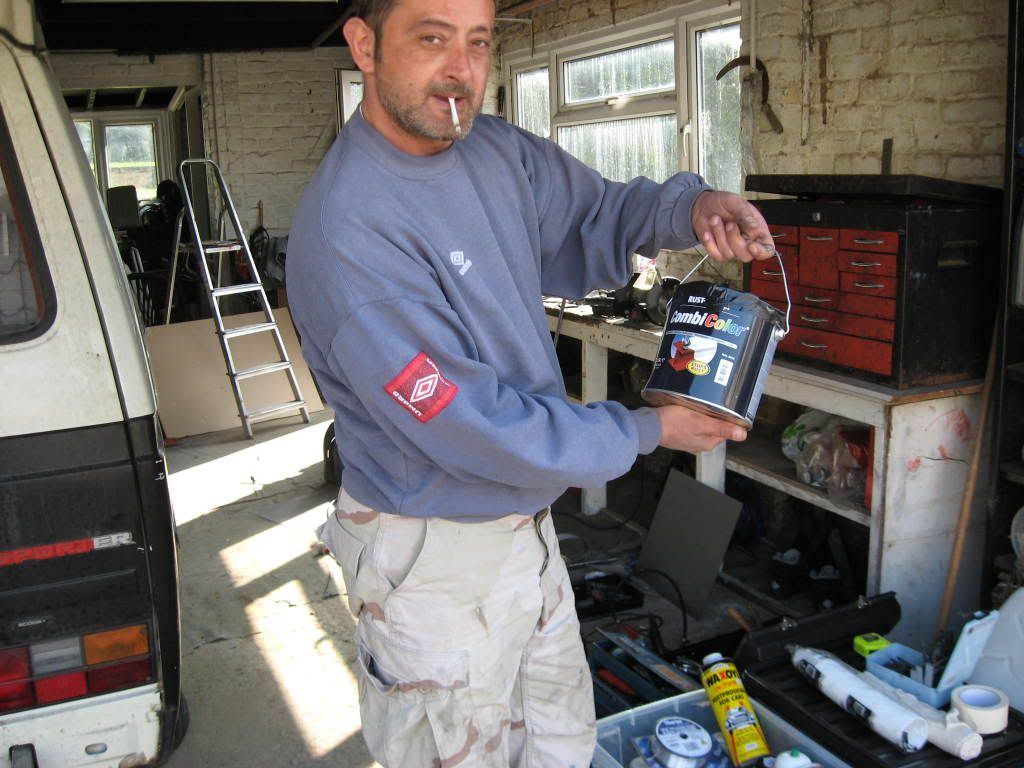
Step 7 Paint with whatever you like. This is my chosen paint.
Step 8 refitting the windows. My advice here is pay someone to do it. It turned out i was sold the wrong seals which is why we couldn't get the window in. The man who came out on Saturday afternoon charged me £10 per window and £20 for new seals which was a bargain. He also noted i had attempted the old string trick but said this should only be done with caravelle windows not van windows.
I hope this helps anyone interested in having a go at their own windows. It isn't very difficult and probably only amounts to a three spanner job. If i have missed anything out or you have any questions fire away. Tony


