So they are going to have to be replaced. Not too painful though.
This is one side being stripped being careful to keep everything in order:
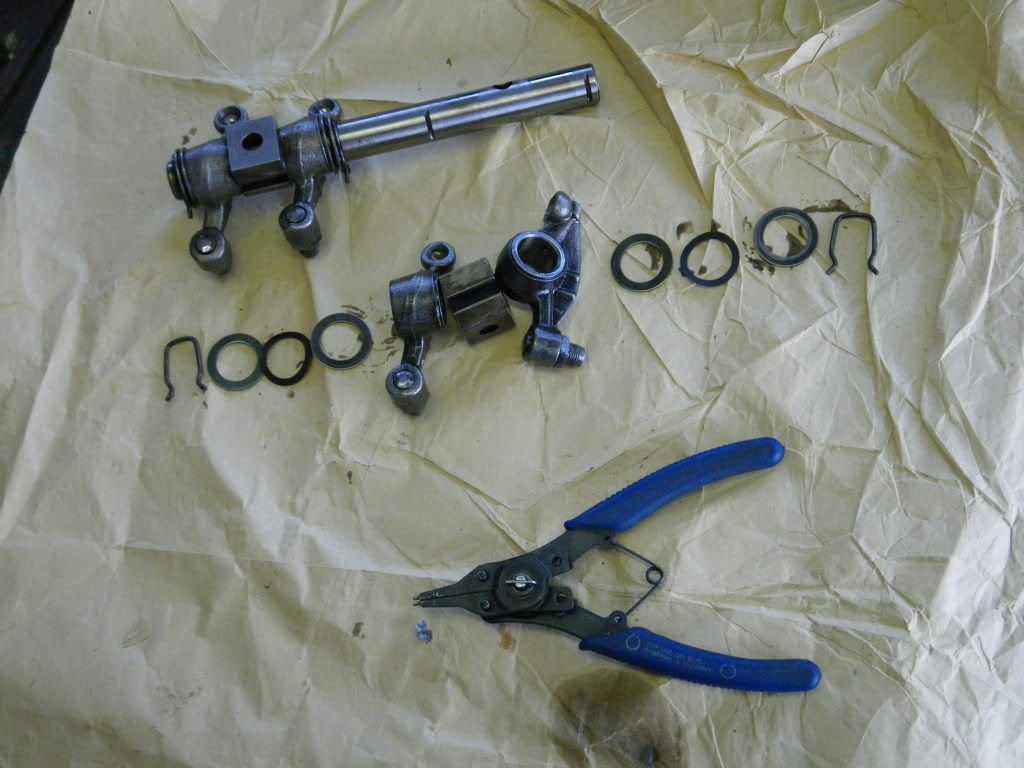
And this is it cleaned up, lubed and back together before being placed in a ziplock bg to keep the moisture away and keep everything together:
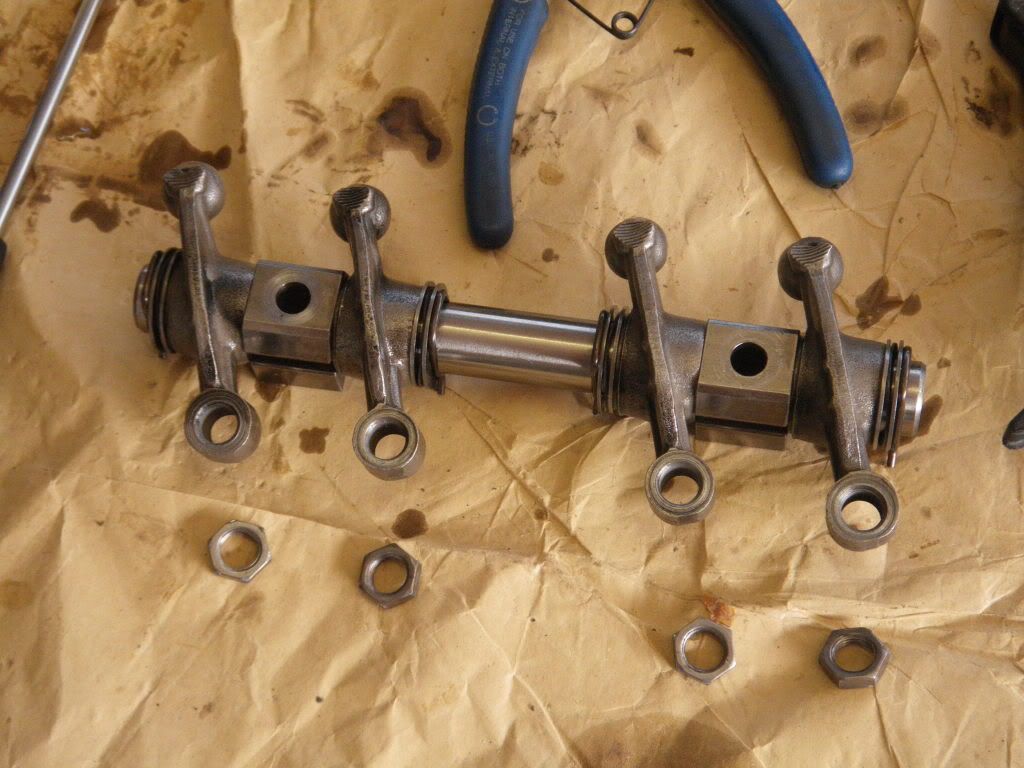
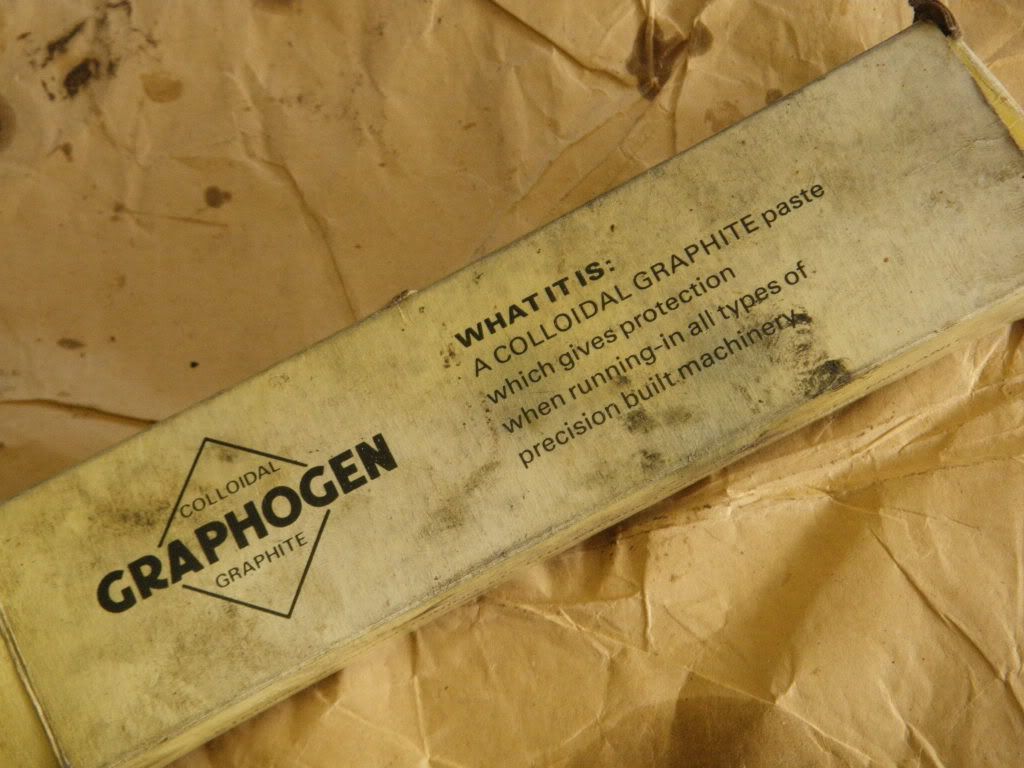
BTW I've previously used Graphogen as an an assembly lube and had good results with it. Its helpful if, like me, it is often some weeks between the first bits going back together and the finished article!
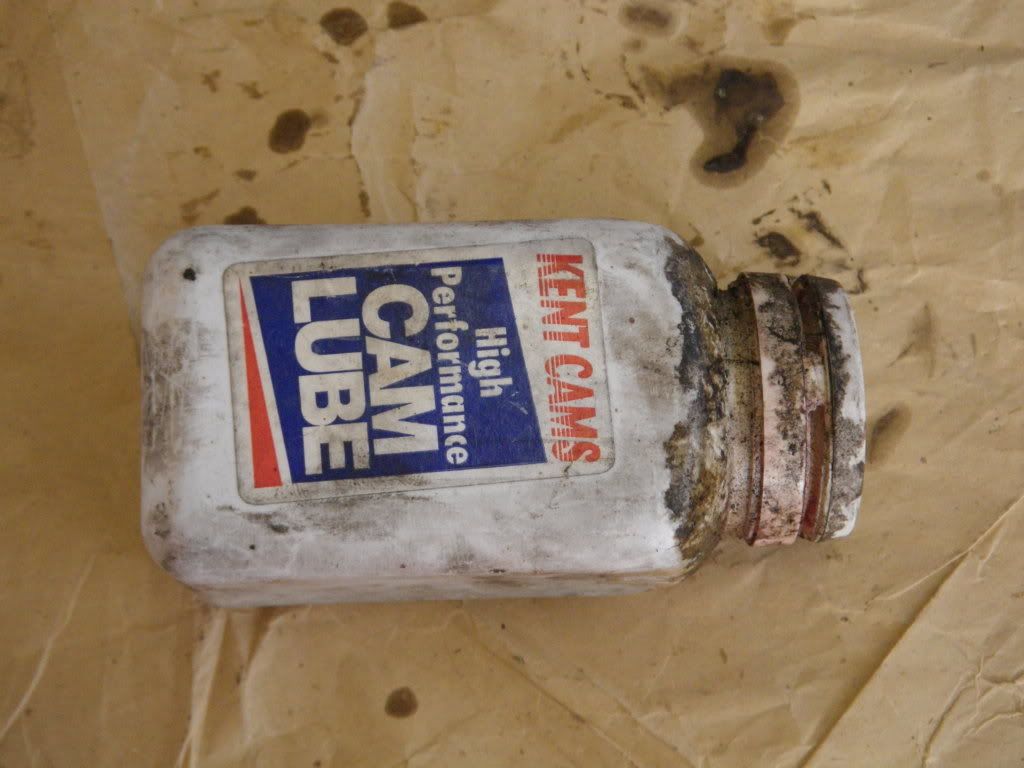
This is what I've previously used for camshafts:
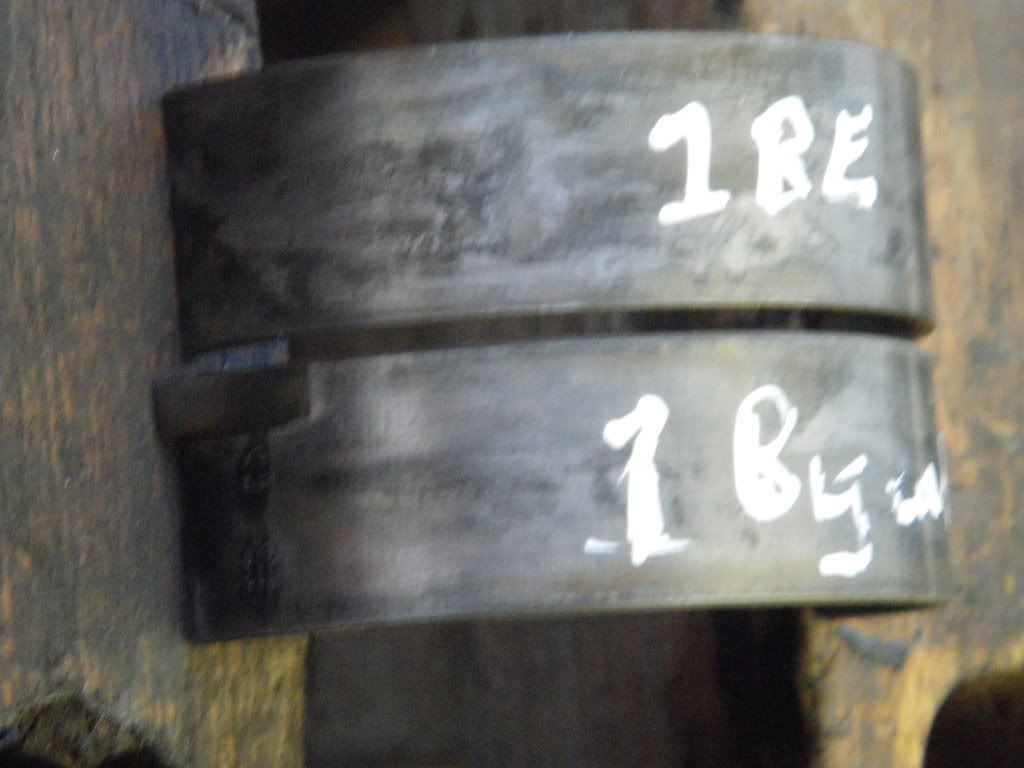
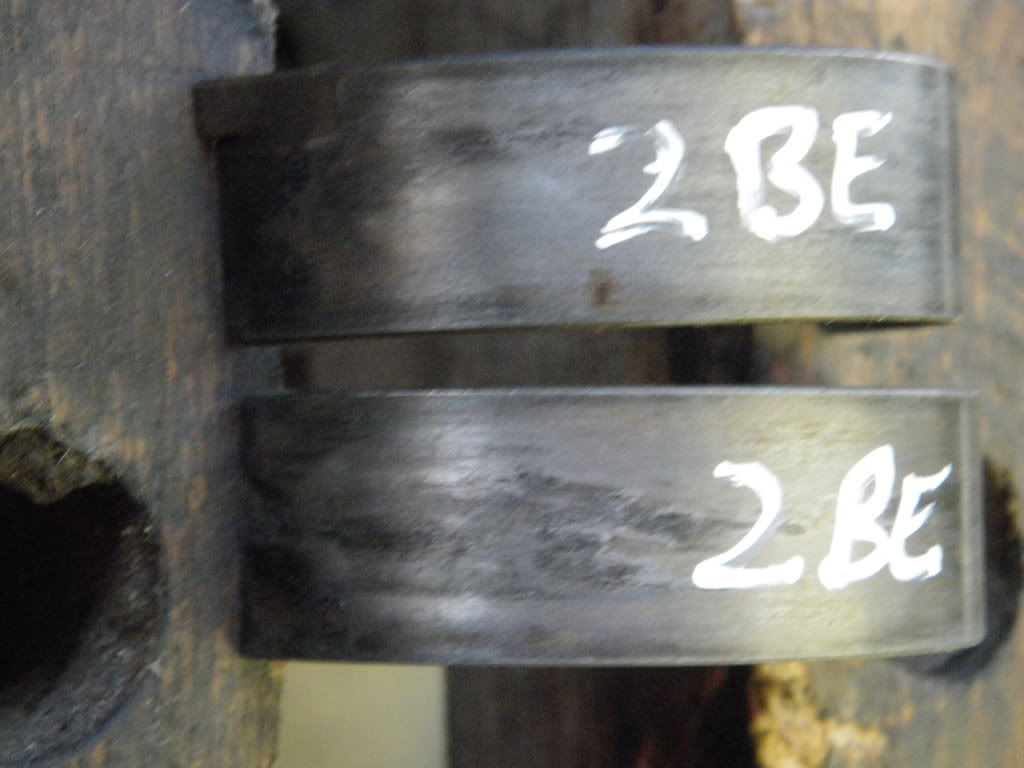
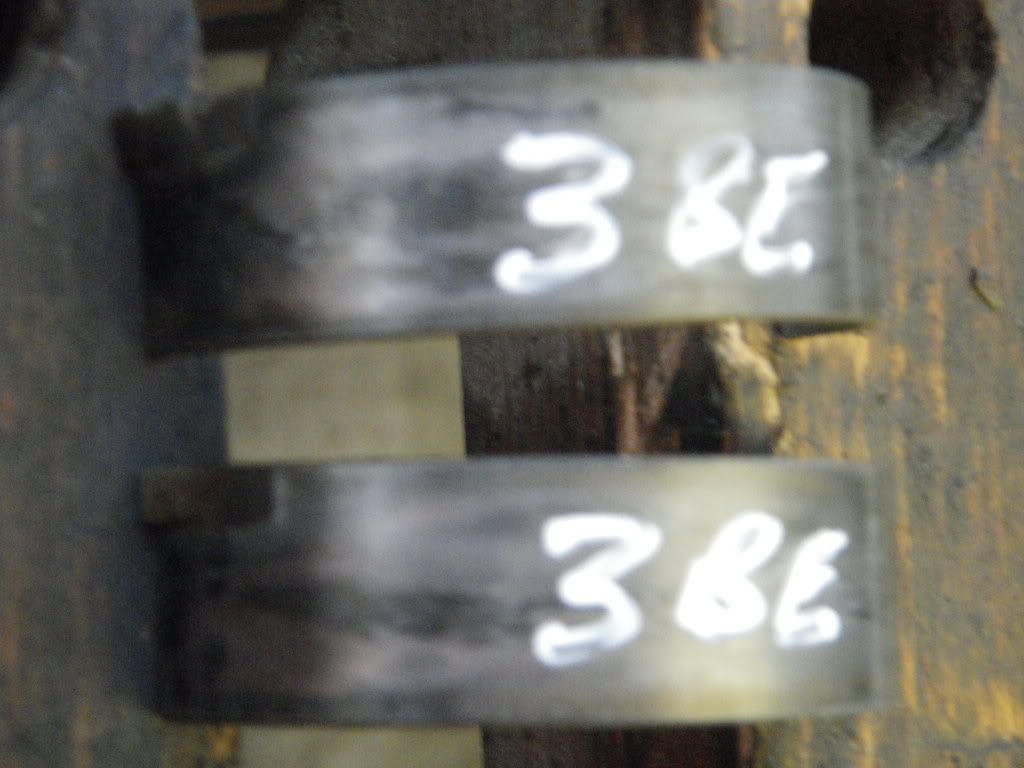
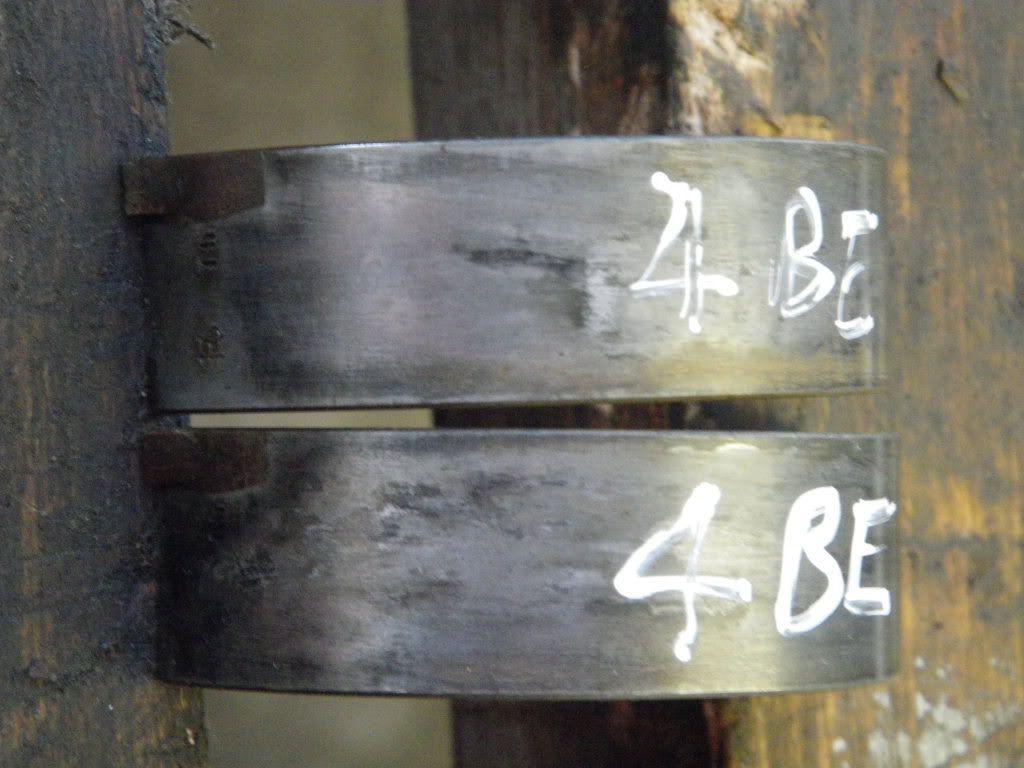
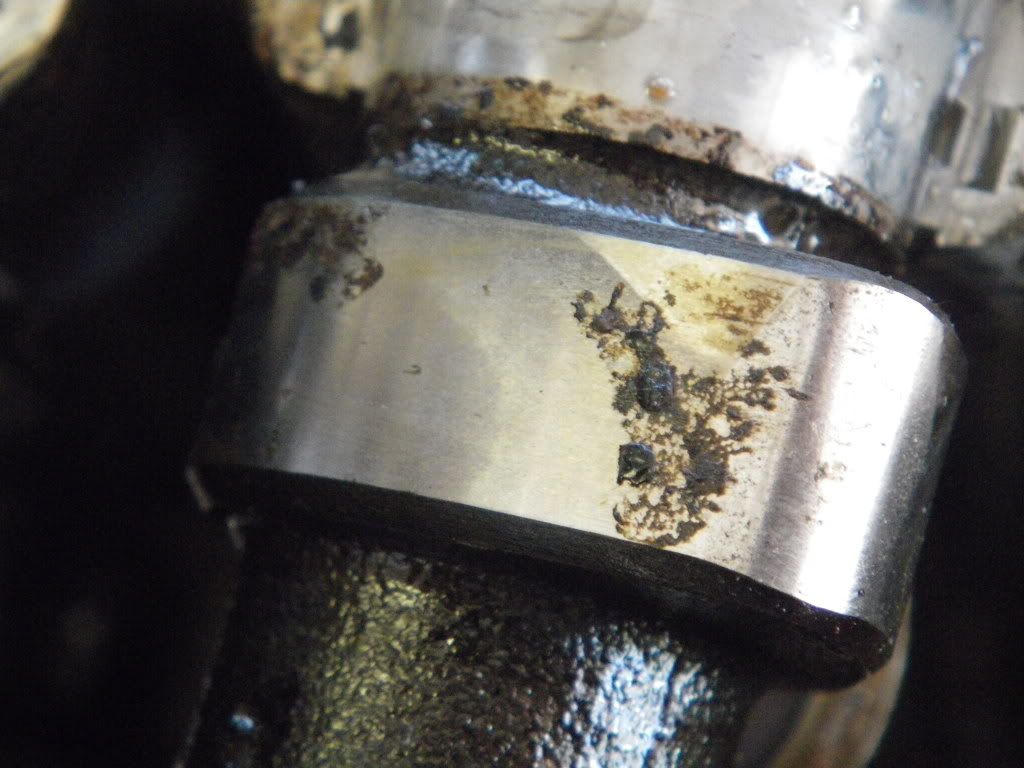
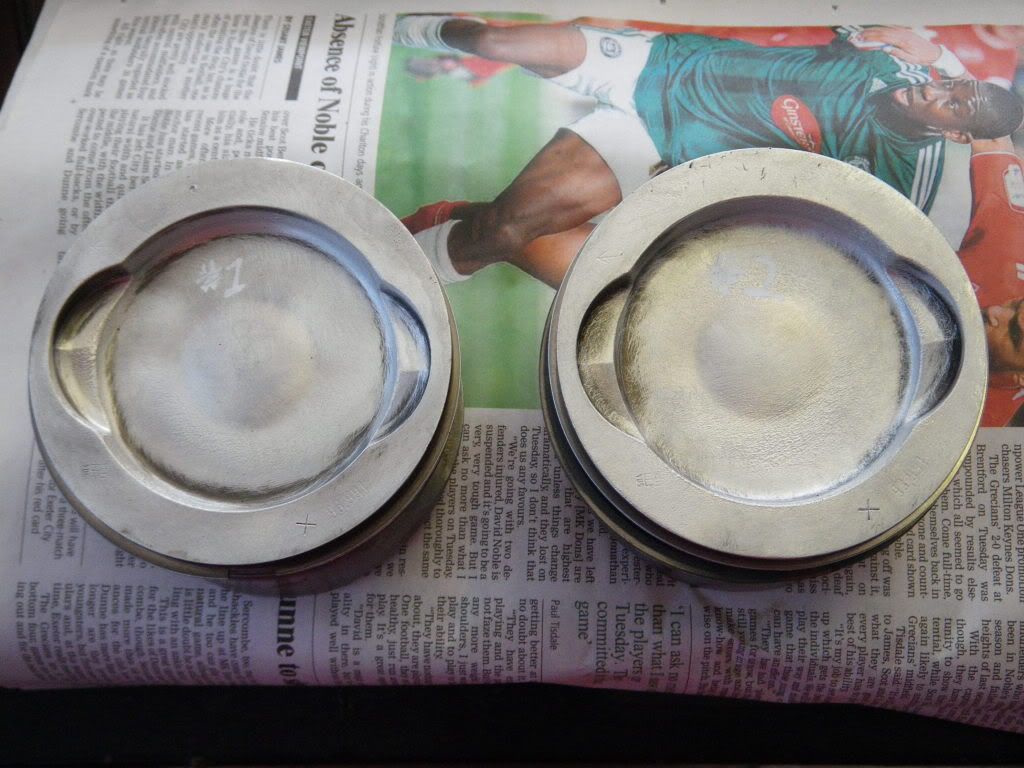
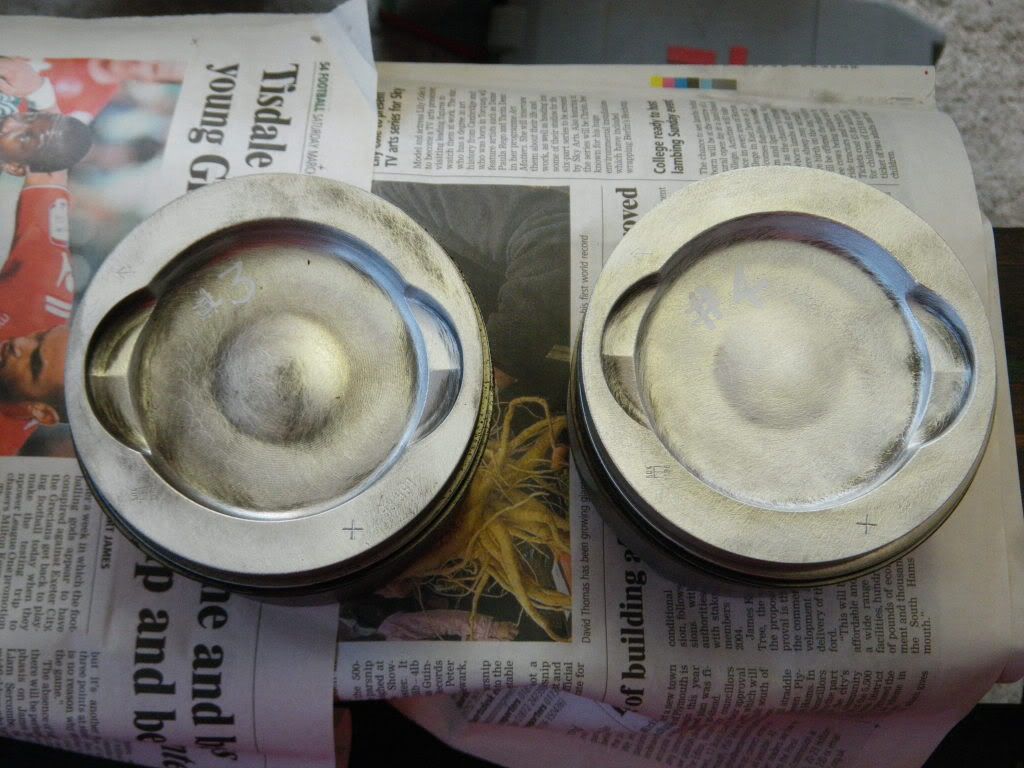
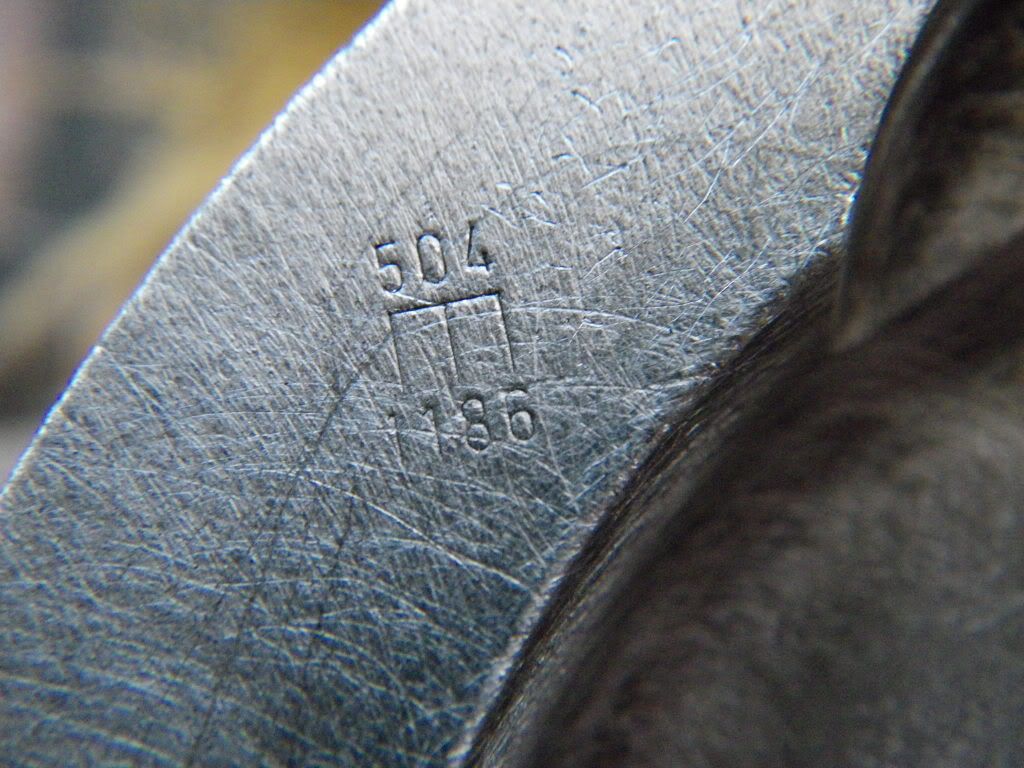
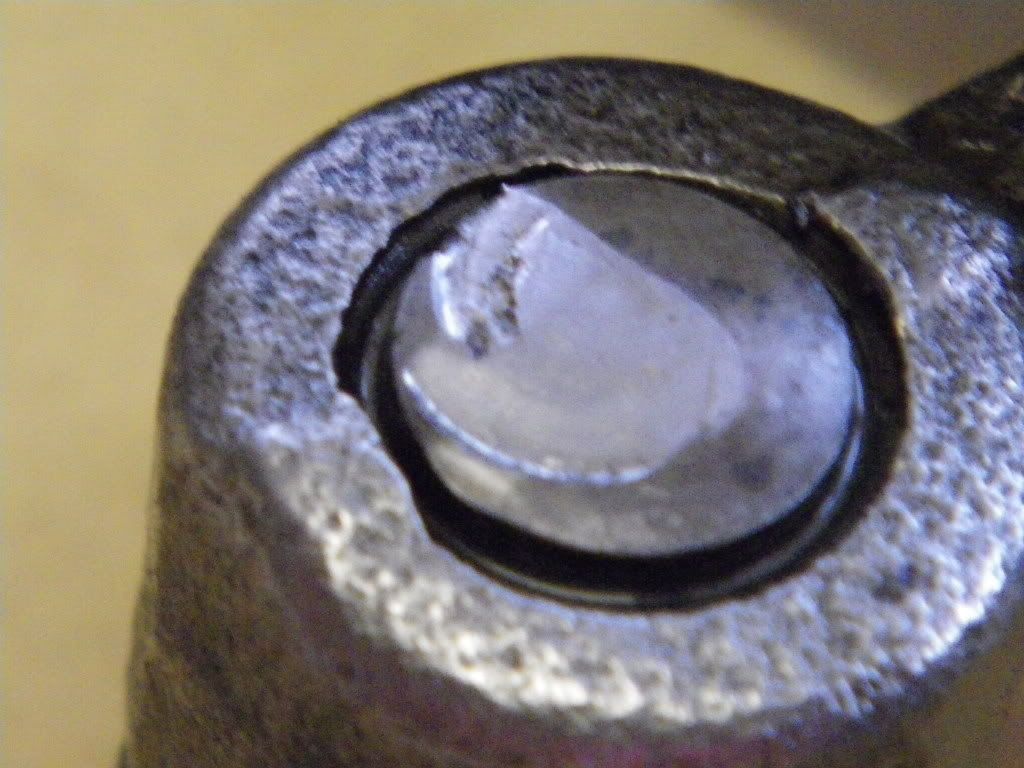
Then set about stripping the crank down. Made a note of the unique ID of each conrod and where each fits before taking them off. The next four pics are the big end bearings in order from #1 - #4
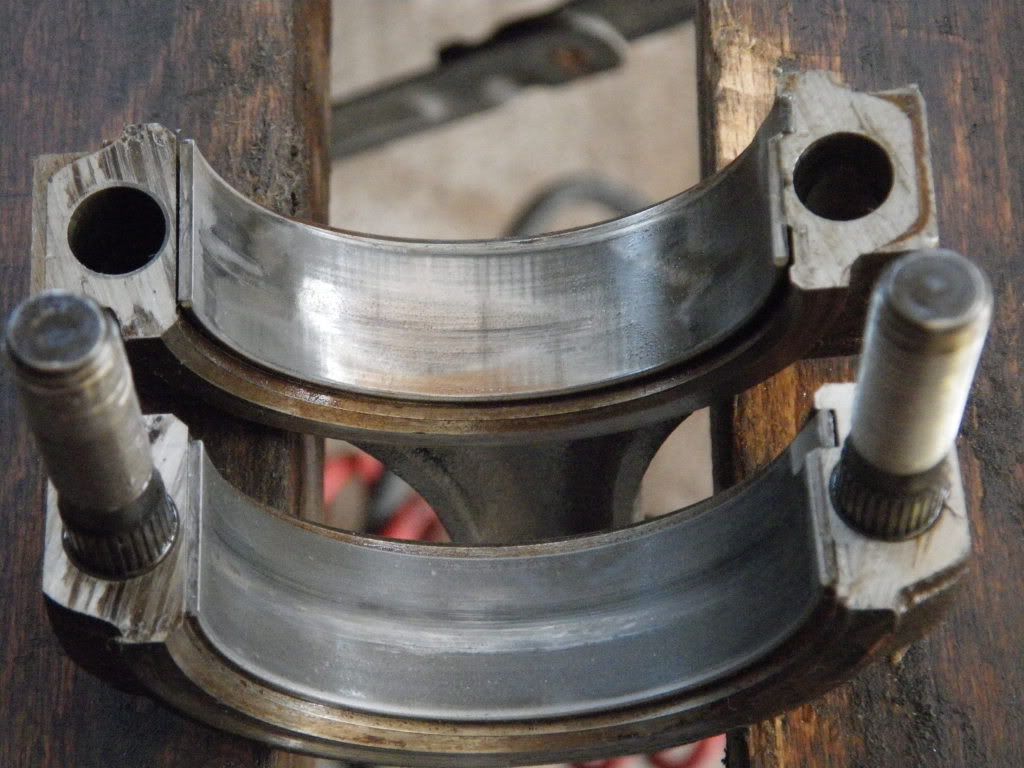
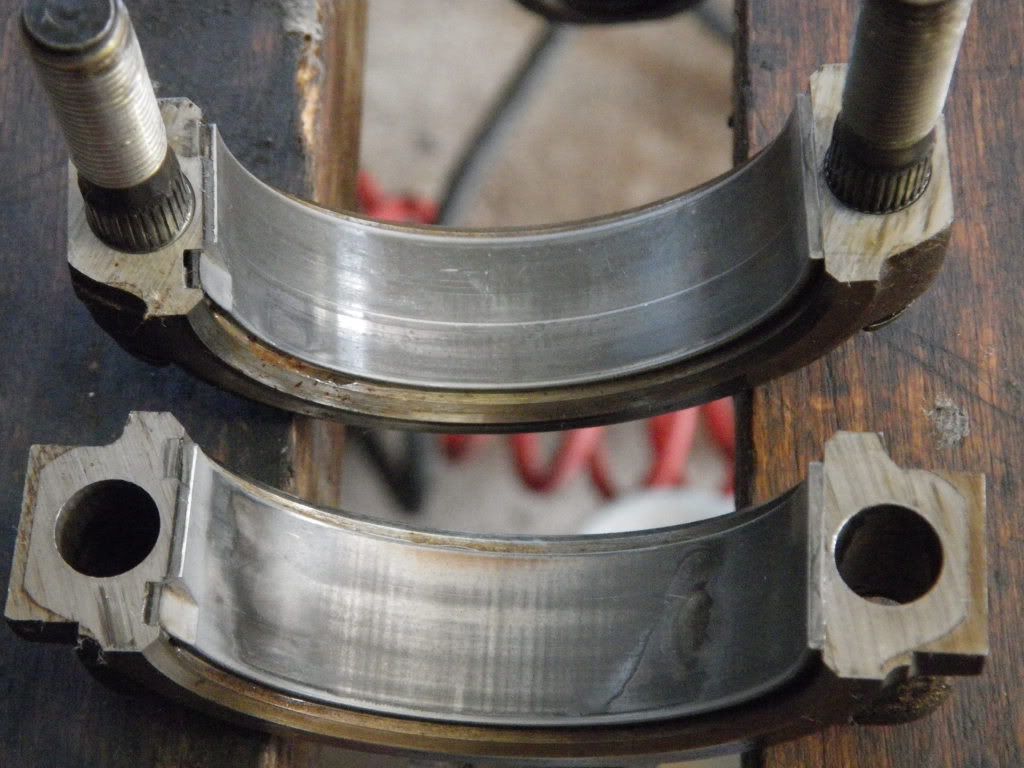
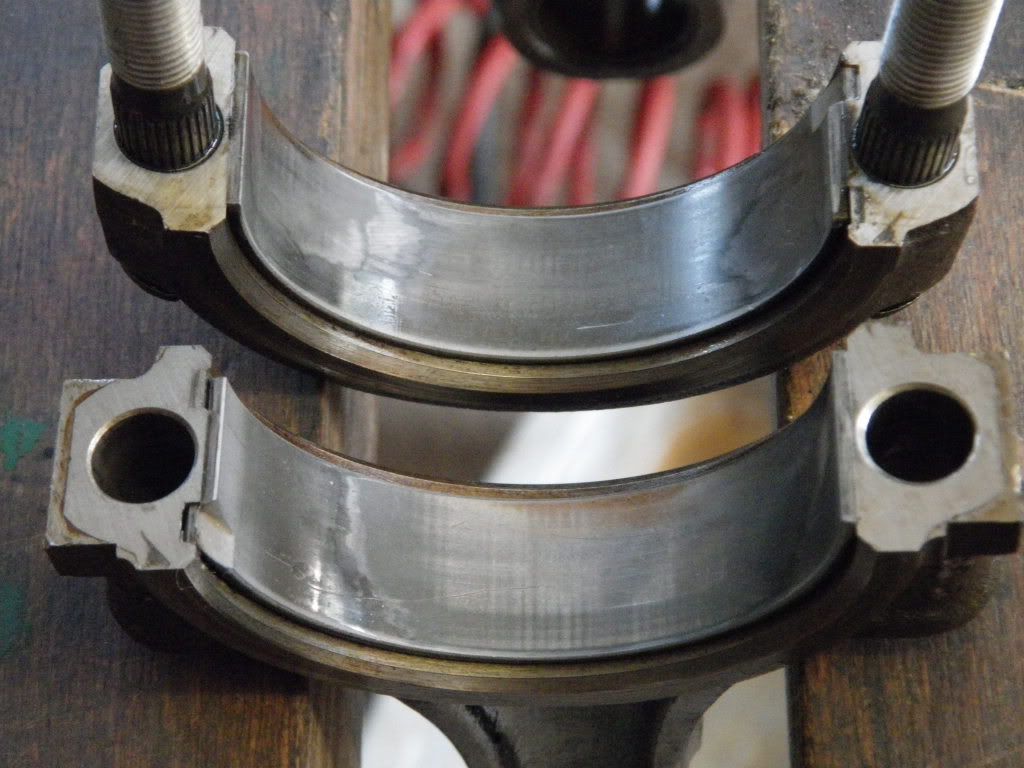
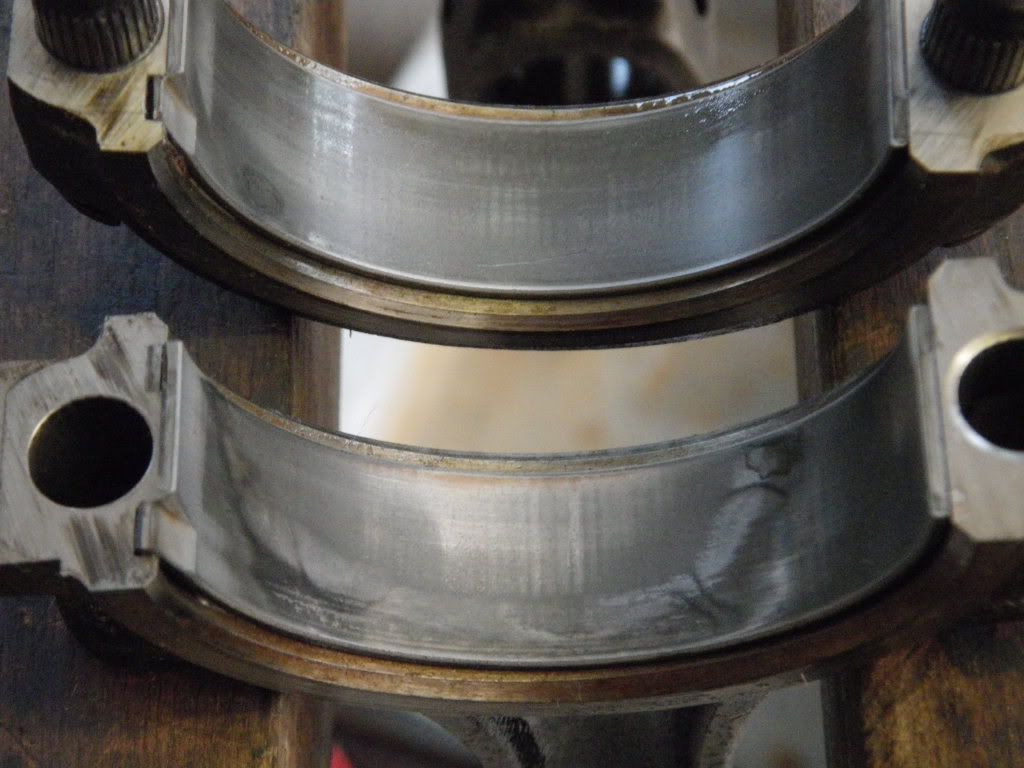
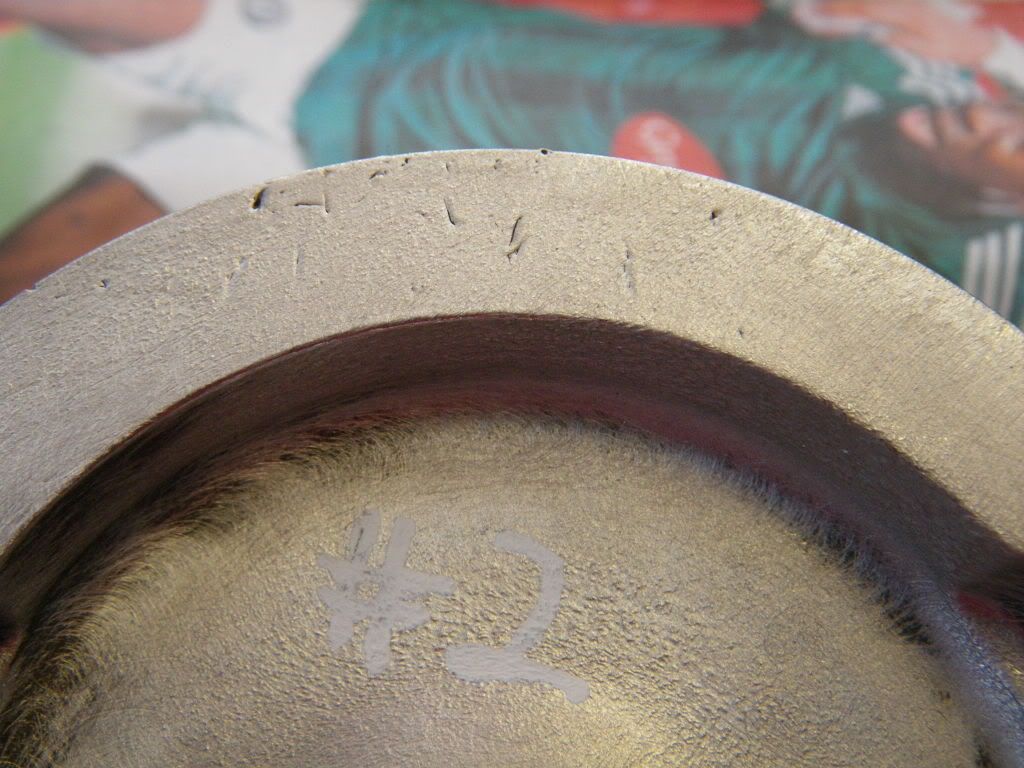
Then these are the big ends with bearings removed in the same order:
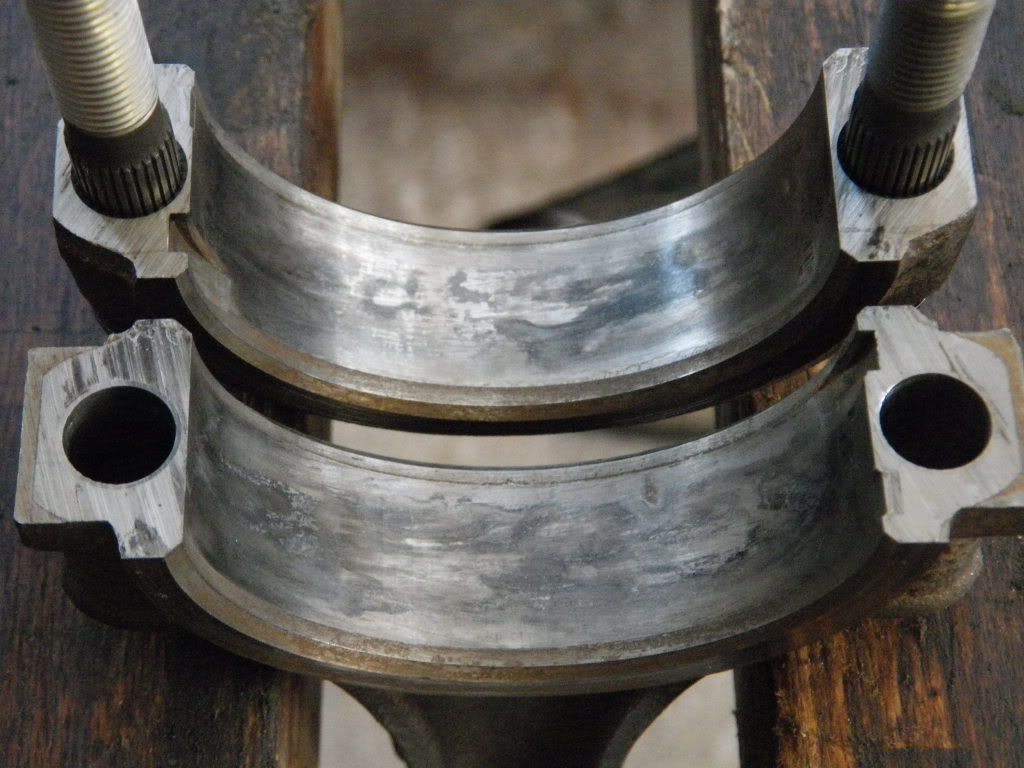
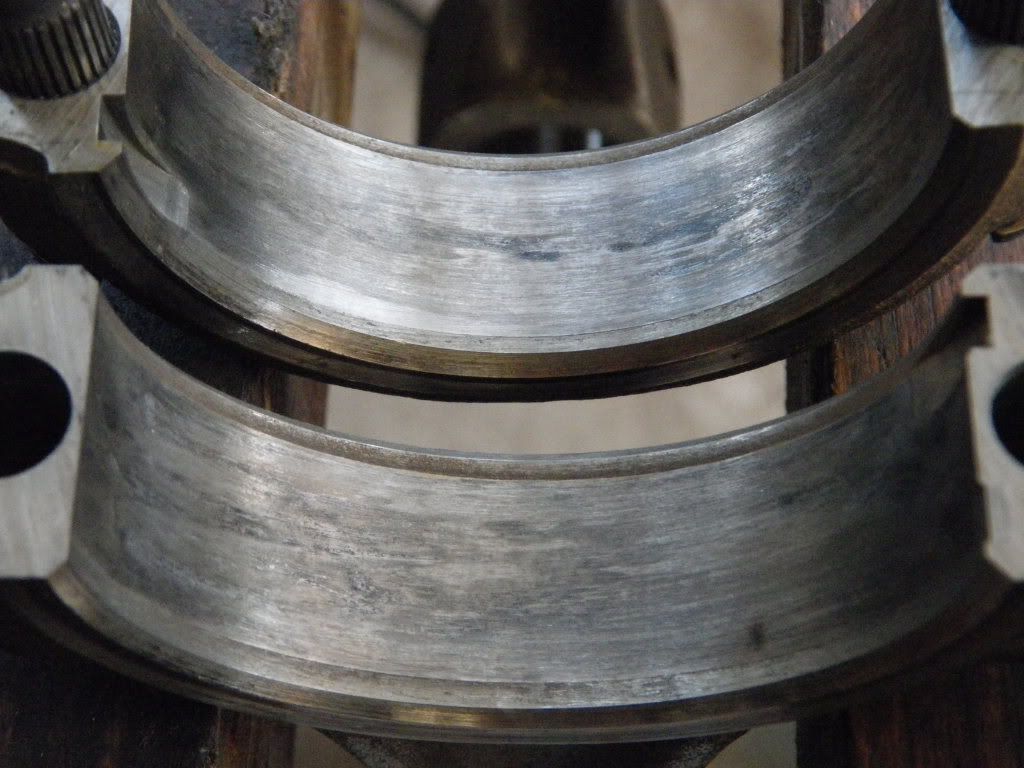
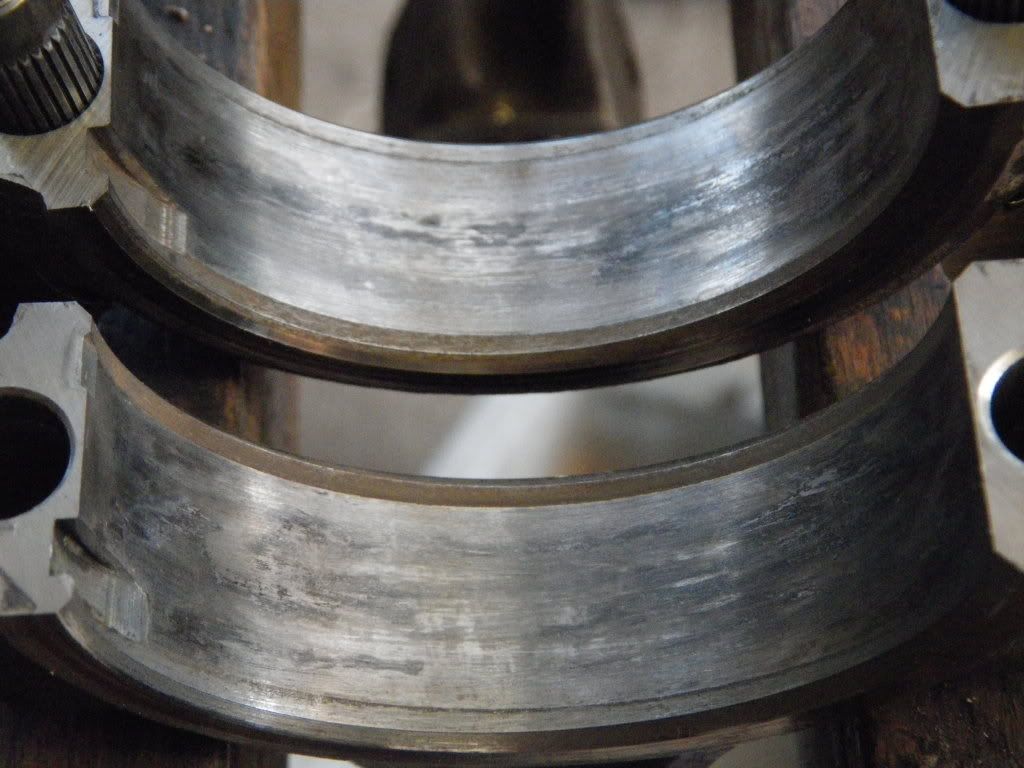
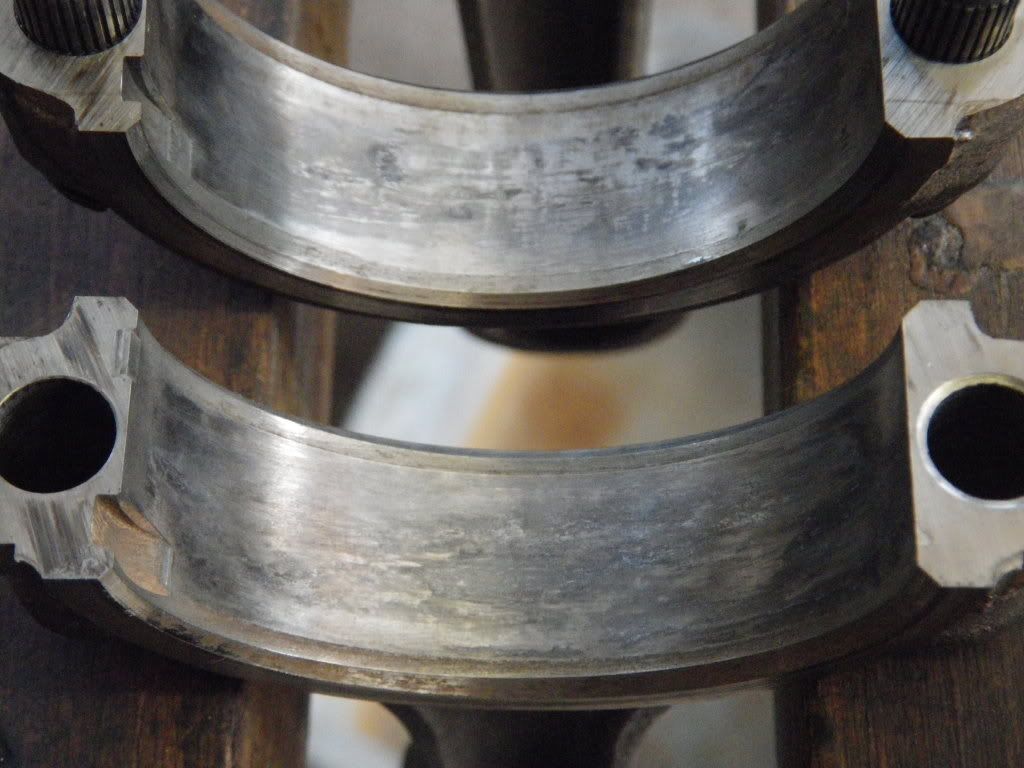
Obvious signs of age and wear on all four. What I'm not so good at is interpreting likely cause, prognosis and what remedial action needs taking - so any suggestions would be really helpful.
The conrods are fully cleaned and blown dry with an air line (including particularly the small end oil ways). Talking of small ends, I'm planning on leaving the bushes in place as there was no discernible play when I took the gudgeon pins out and Ian (Silverbullet) says they seldom wear. They are now ready to be packed up and hopefully sent up to Silverbullet to have some magic dust sprayed on them
If anyone has a few minutes to look at the above posts I'd be very grateful for some feedback.
Off to clean up the crank now.