Replacing Outer Rear Trailing Arm Mount aka jacking point
Posted: 28 Jan 2019, 21:16
Hi,
I am in the process of replacing the Outer Trailing Arm Mounts on my 14" Syncro. They were both quite badly rusted and not held onto the van by much so I bought 2 new replacements from Brickwerks. Before cutting the old one off I made a jig and welded it to the van. Also I fabricated the repair for the chassis member and used Clecos to attach it to the Van. This is shown in the following image.

Once I was happy I carefully cut the remaining threads of metal still holding the old mount and removed it. However when I put the new mount on the jig I can see immediately that all is not well. Something in the dimensions does not match up.


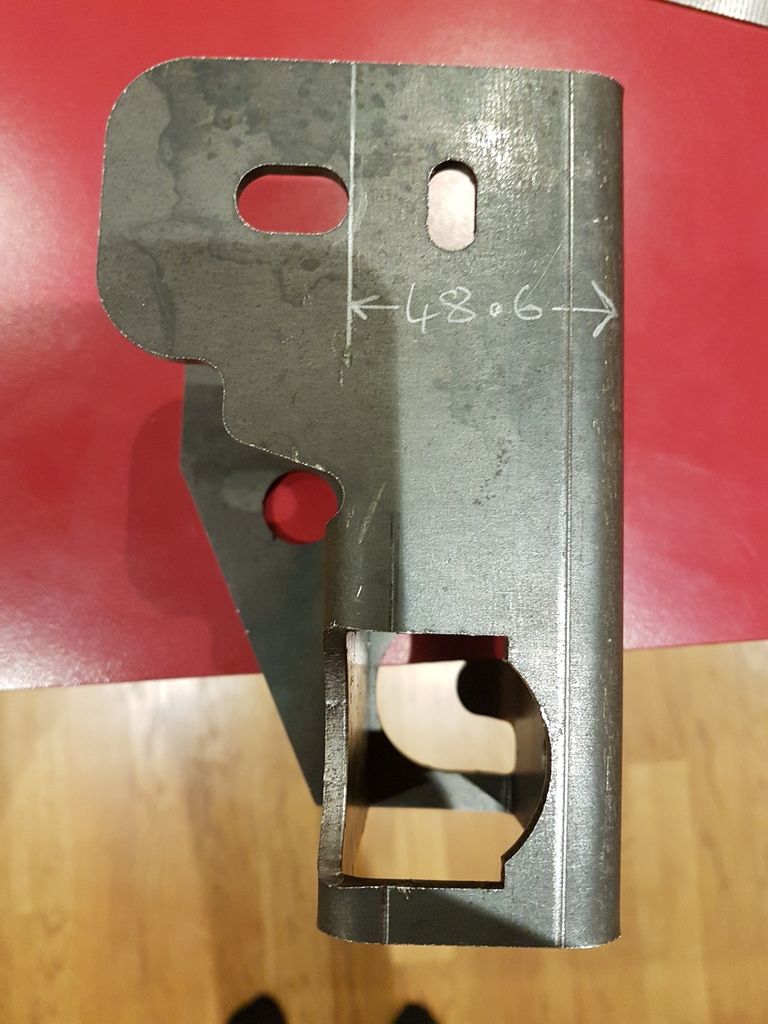
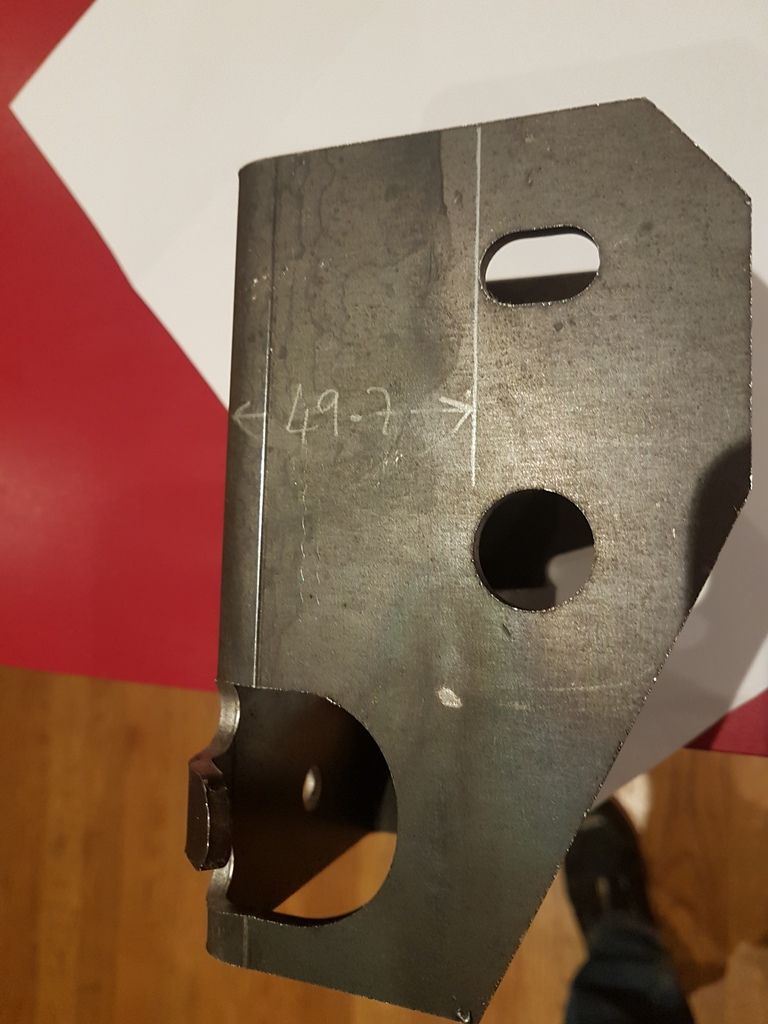
Comparing it with where the old one matched up with the repair piece there is approximately a 9mm difference.

Comparing the new and the old even accounting for a bit of corrosion there is approximately a 9mm difference.

So here's the thing the helpful guys at Brickwerks measured an original one which seems to be ~47mm which still seems a way of my original. All the reproduction replacements seem to measure about 50-51mm
My only solution appears to be to have my new ones modified by having the slots milled longer until they are closer to the original. I think I may need to have the small horizontal slot welded in as the modified slot may be a little close for comfort. As far as I know it doesn't actually do anything on the van, perhaps it was used as a original jig point.
Any views or experience of this gladly received.
Peter
I am in the process of replacing the Outer Trailing Arm Mounts on my 14" Syncro. They were both quite badly rusted and not held onto the van by much so I bought 2 new replacements from Brickwerks. Before cutting the old one off I made a jig and welded it to the van. Also I fabricated the repair for the chassis member and used Clecos to attach it to the Van. This is shown in the following image.
Once I was happy I carefully cut the remaining threads of metal still holding the old mount and removed it. However when I put the new mount on the jig I can see immediately that all is not well. Something in the dimensions does not match up.
Comparing it with where the old one matched up with the repair piece there is approximately a 9mm difference.
Comparing the new and the old even accounting for a bit of corrosion there is approximately a 9mm difference.
So here's the thing the helpful guys at Brickwerks measured an original one which seems to be ~47mm which still seems a way of my original. All the reproduction replacements seem to measure about 50-51mm
My only solution appears to be to have my new ones modified by having the slots milled longer until they are closer to the original. I think I may need to have the small horizontal slot welded in as the modified slot may be a little close for comfort. As far as I know it doesn't actually do anything on the van, perhaps it was used as a original jig point.
Any views or experience of this gladly received.
Peter