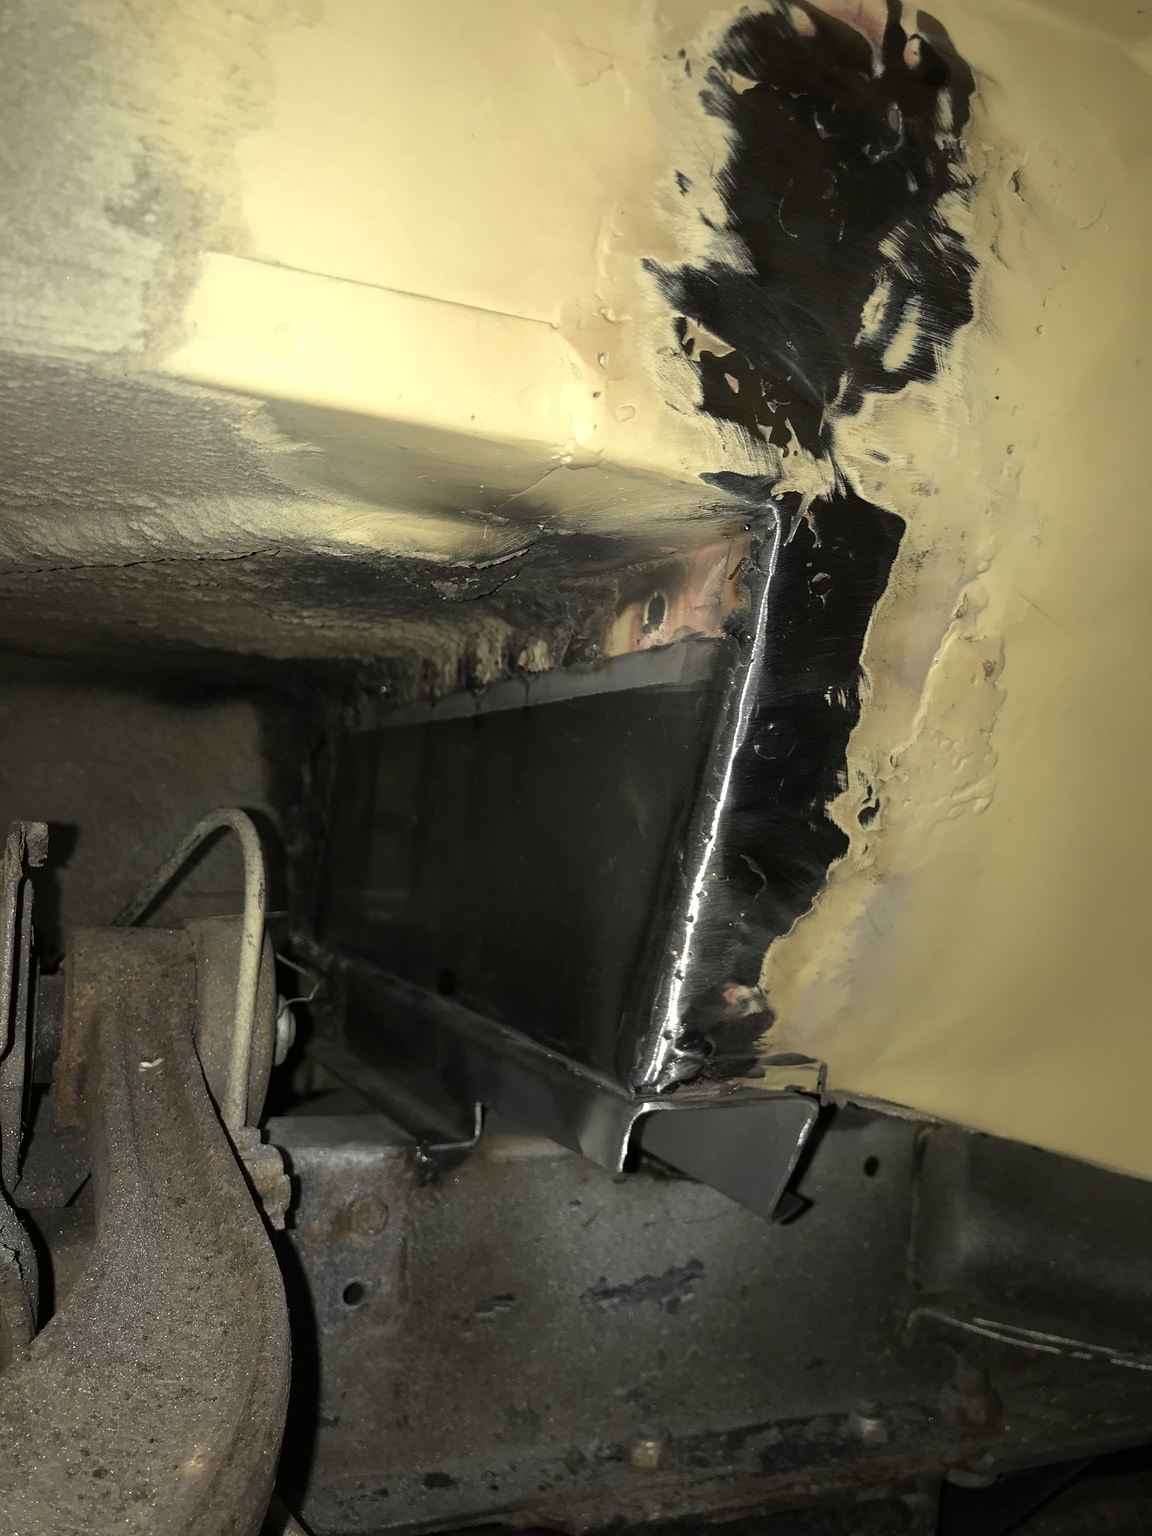
I then progressed to the classic fridge panel repair. Once the side panel and sill was removed it looked like this
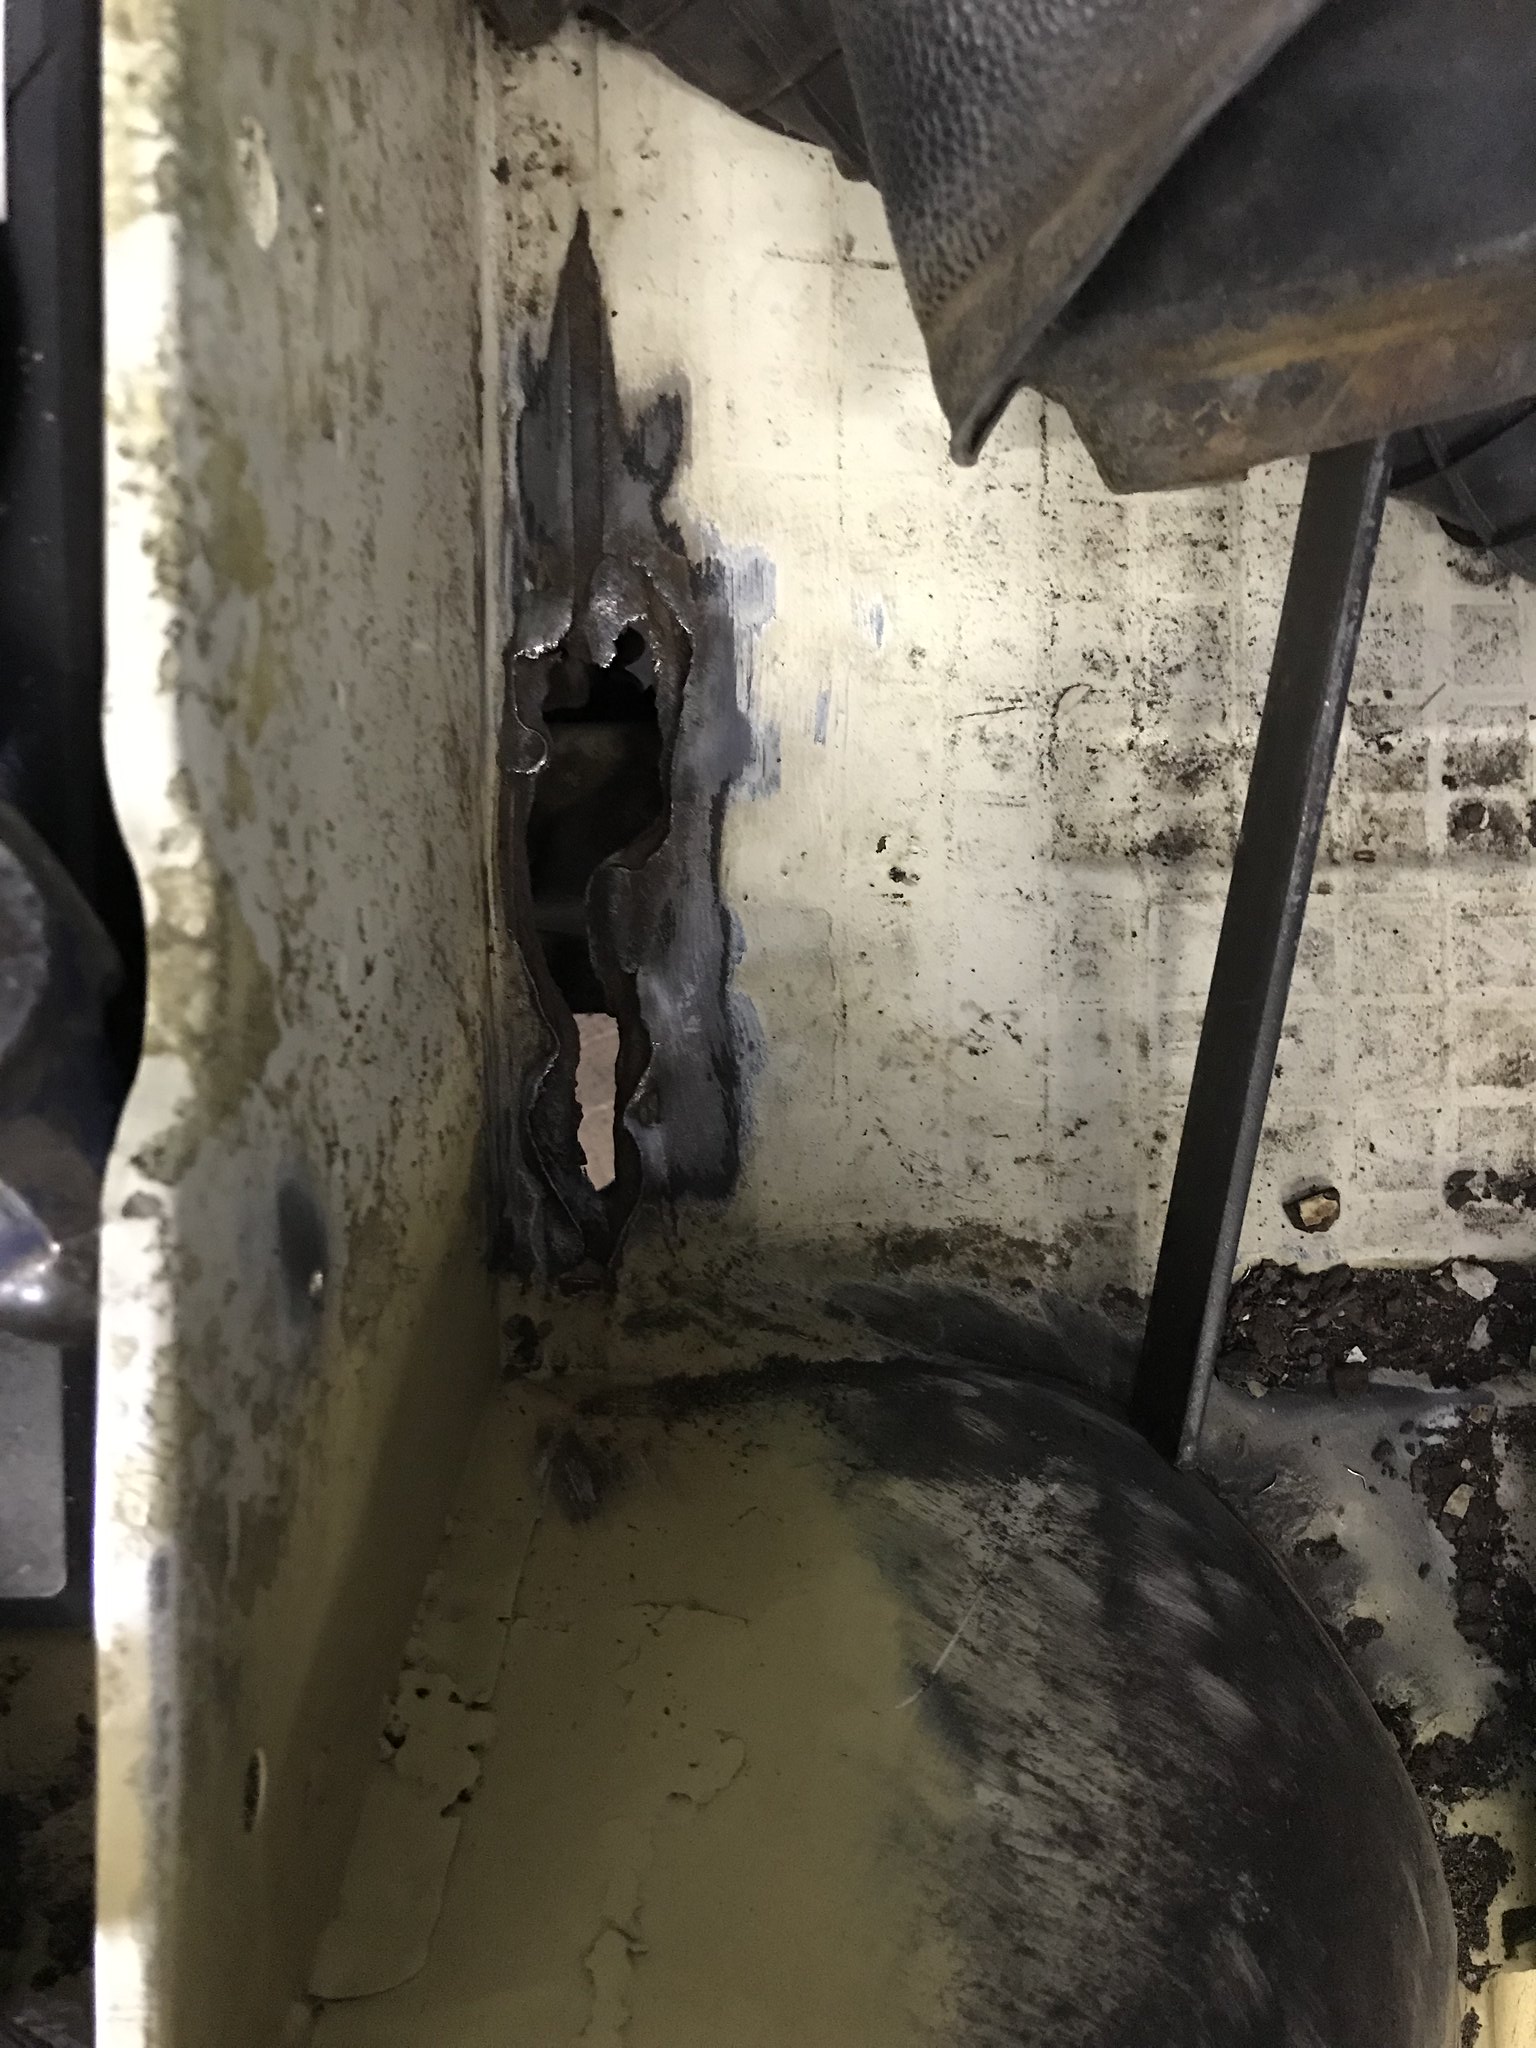
The c pillar was passable from a previous repair but the b pillar was
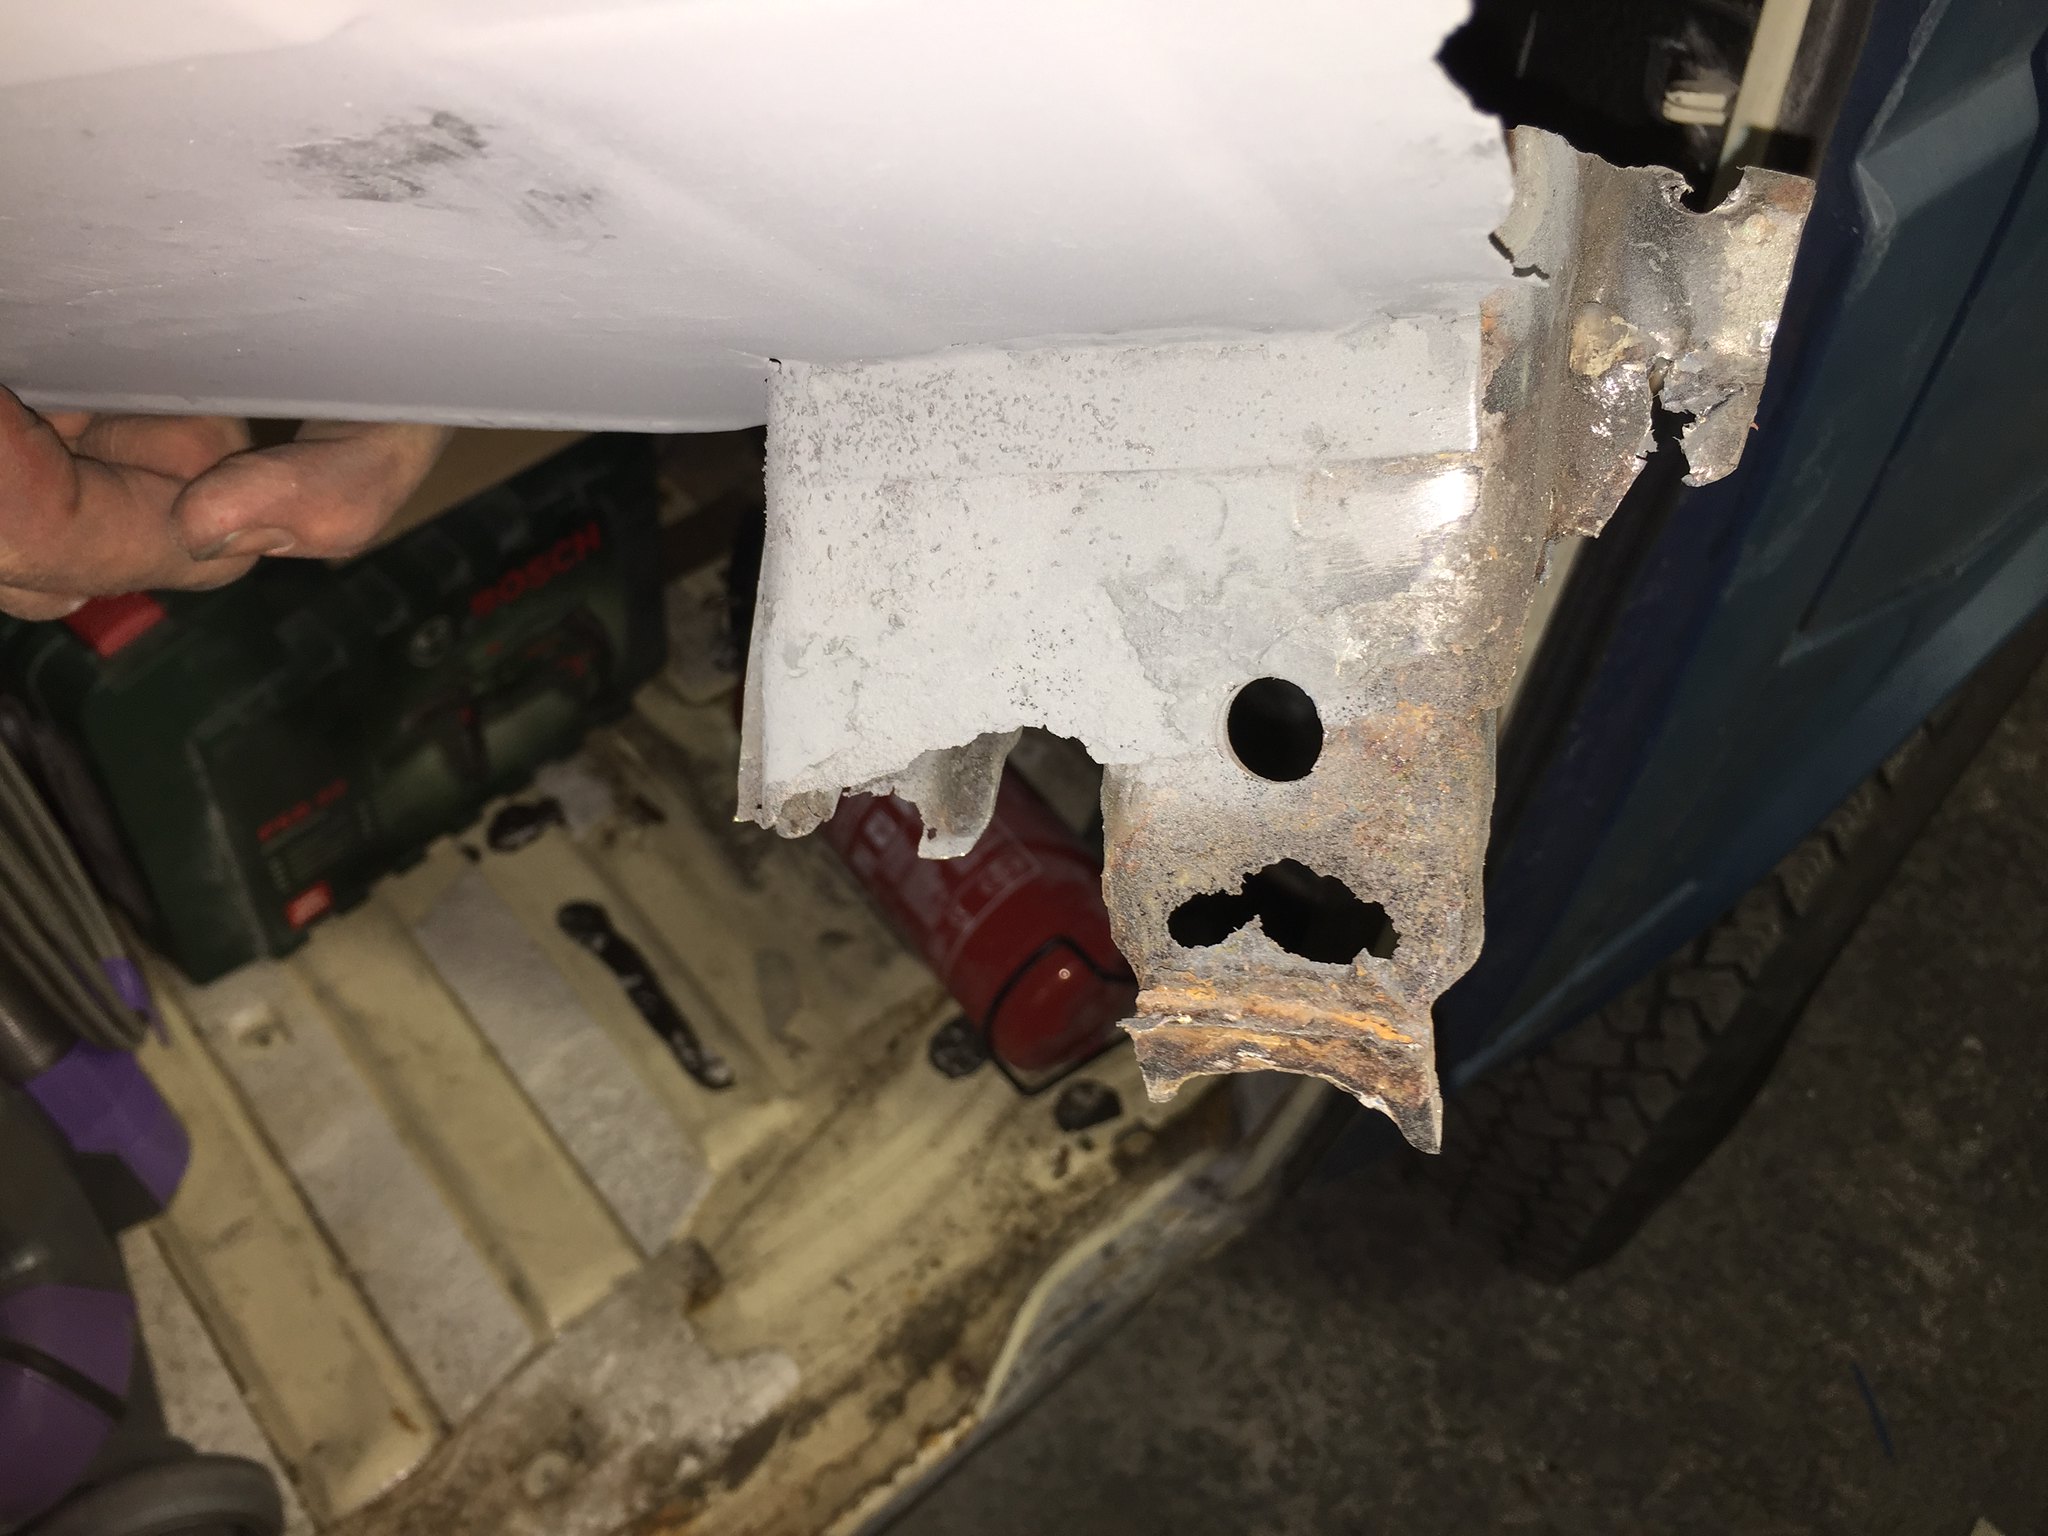
Most the sill was fine except for the b pillar and and the edge where a previous repair had been seam welded on.
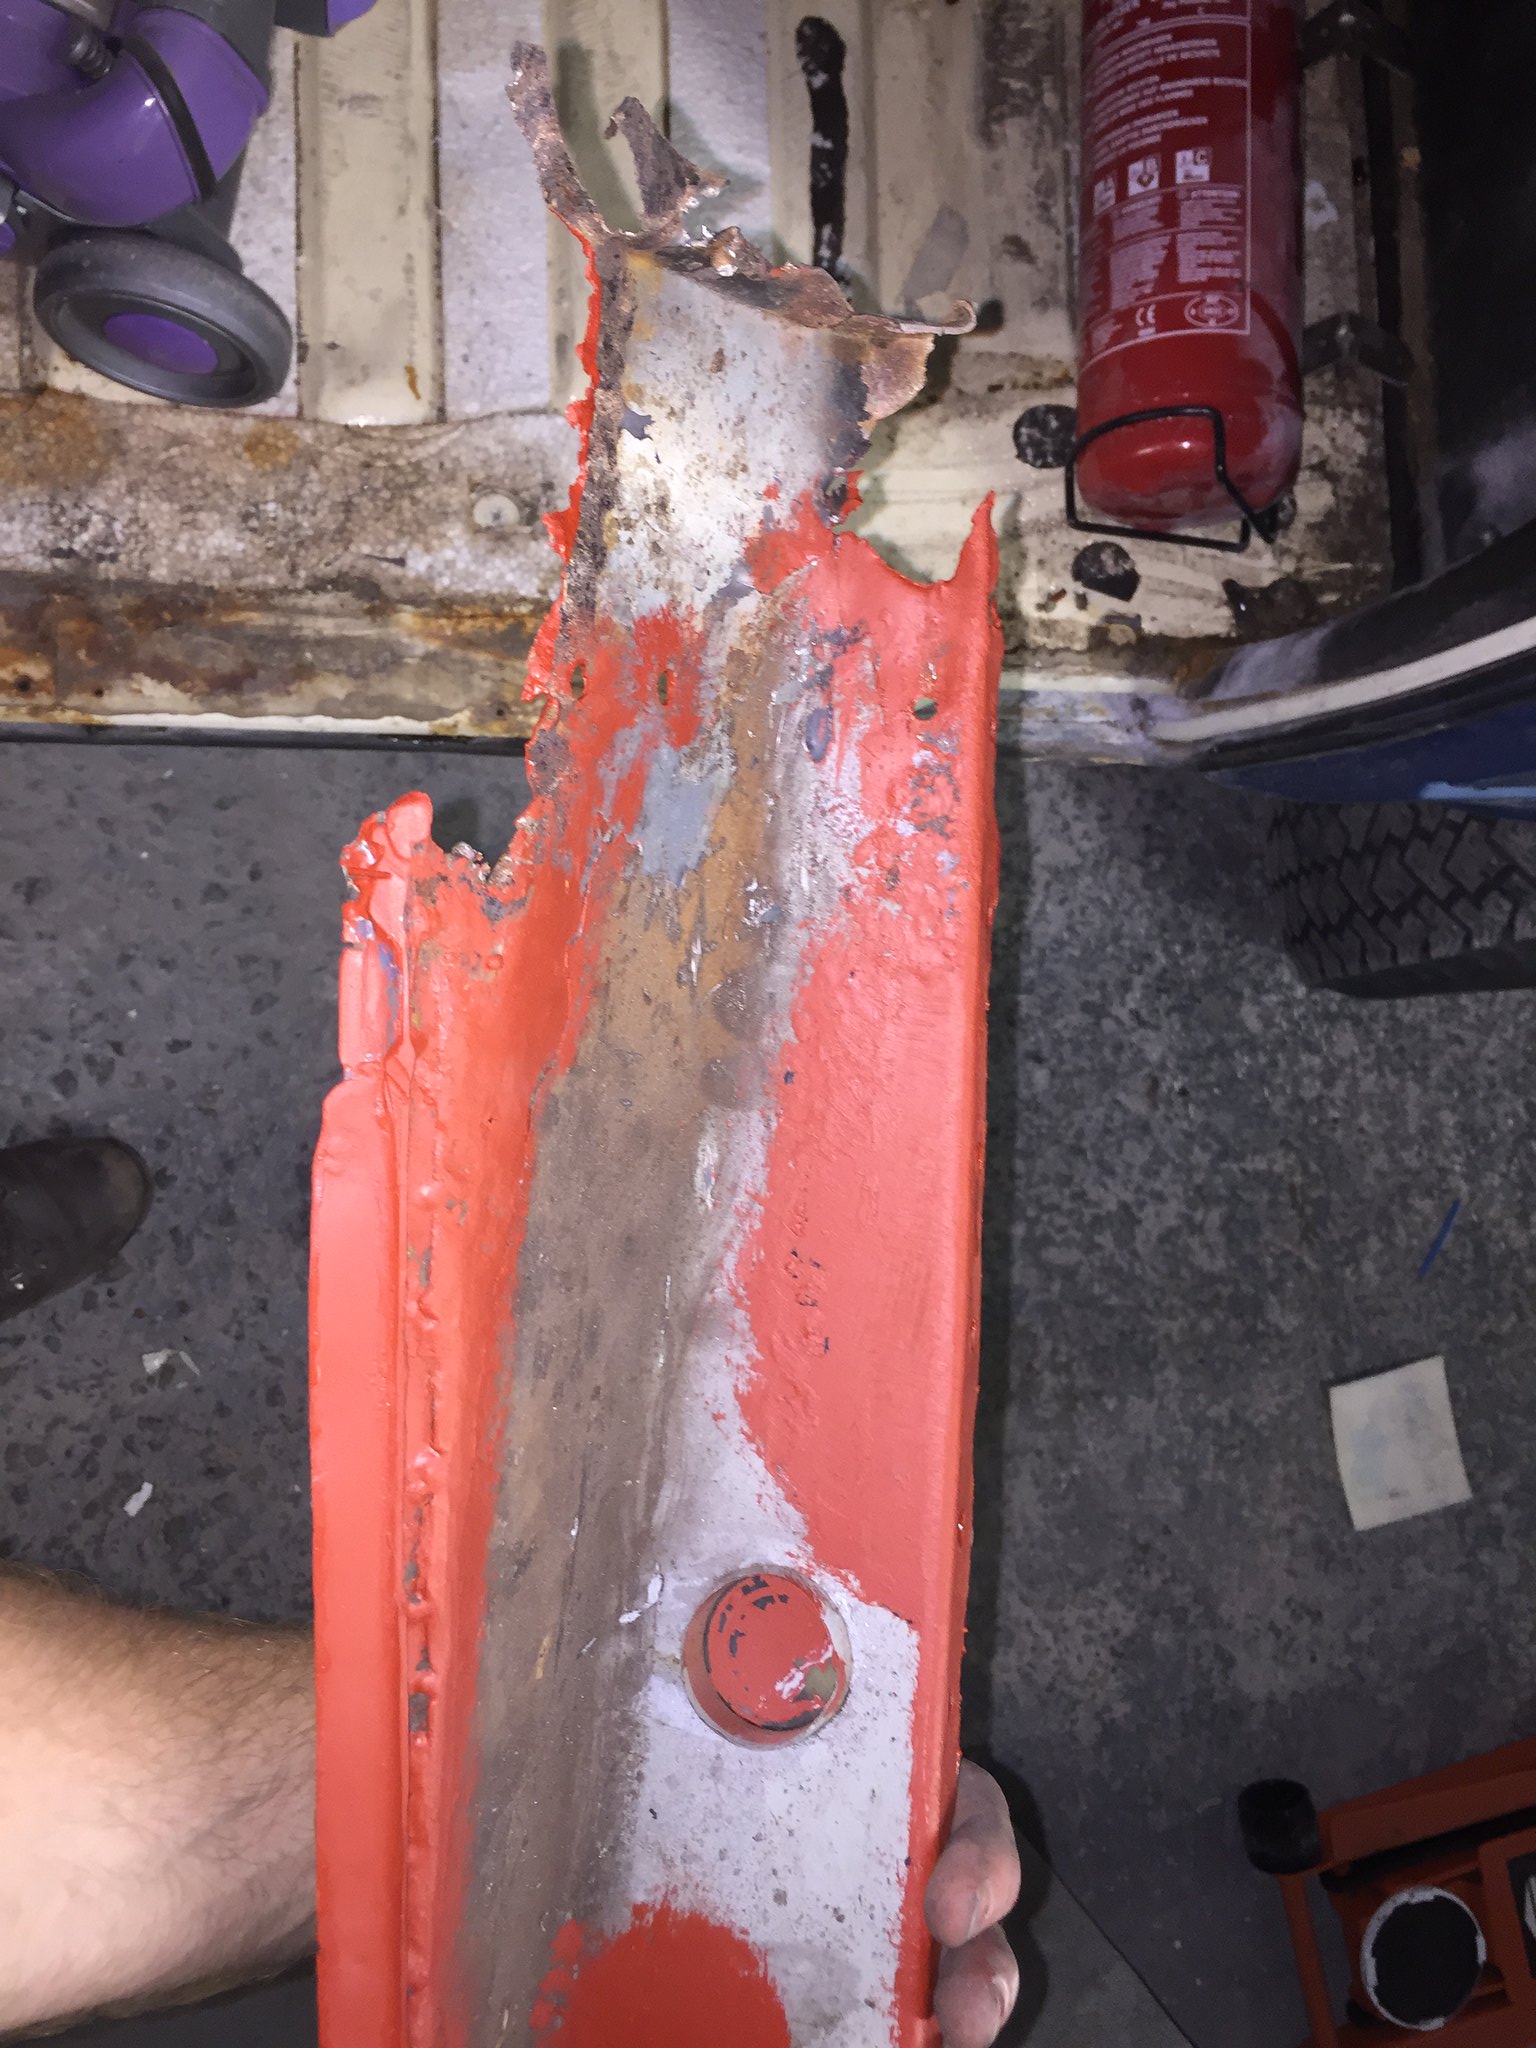
The jacking point was still thick but the chassis leg needed a patch
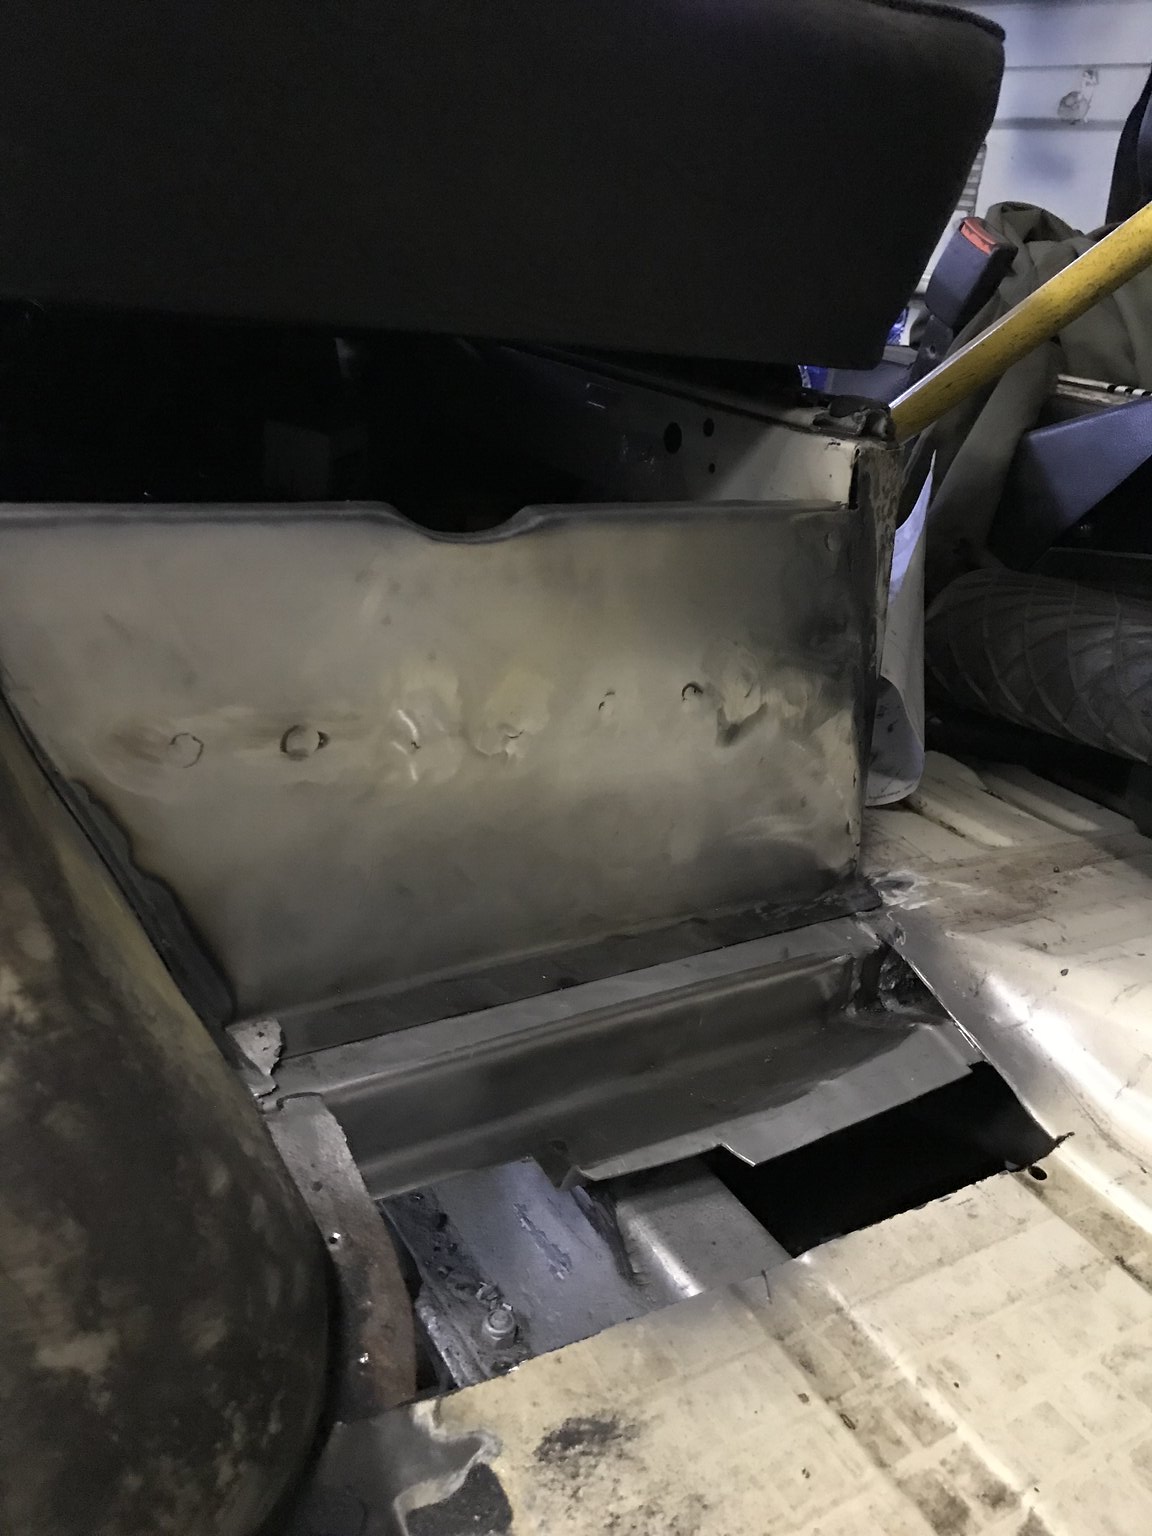
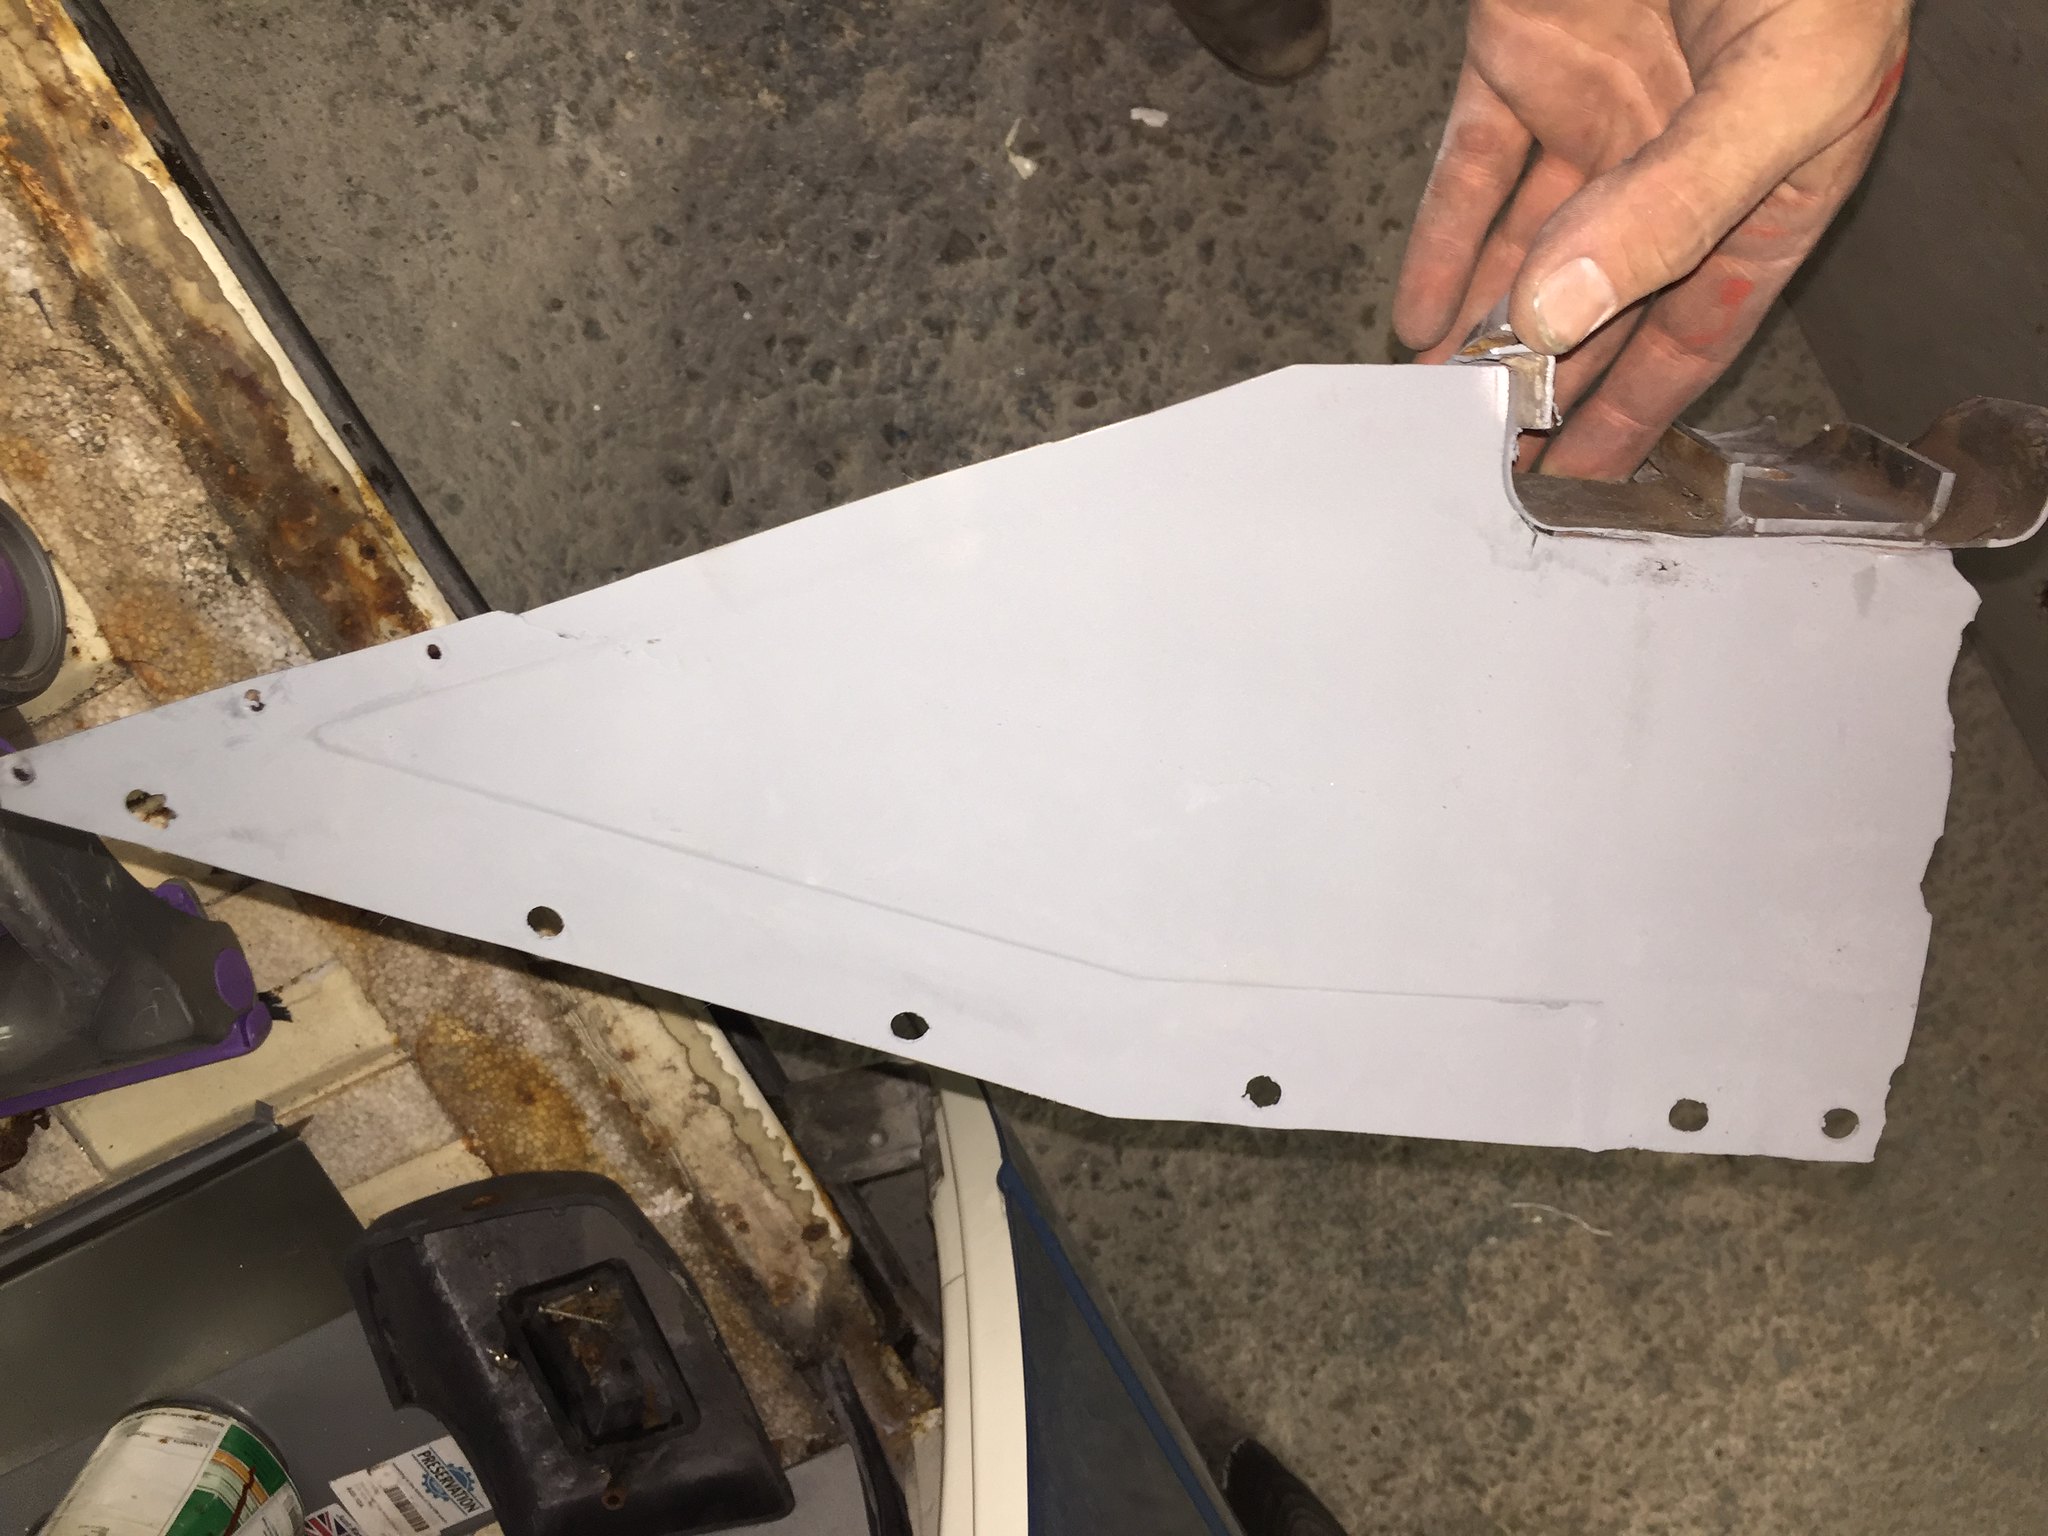
So the repairs started with the inner sill which was patch repaired from 1.5mm steel, inner sill is on the floor underneath.
You can better where the patches went in here
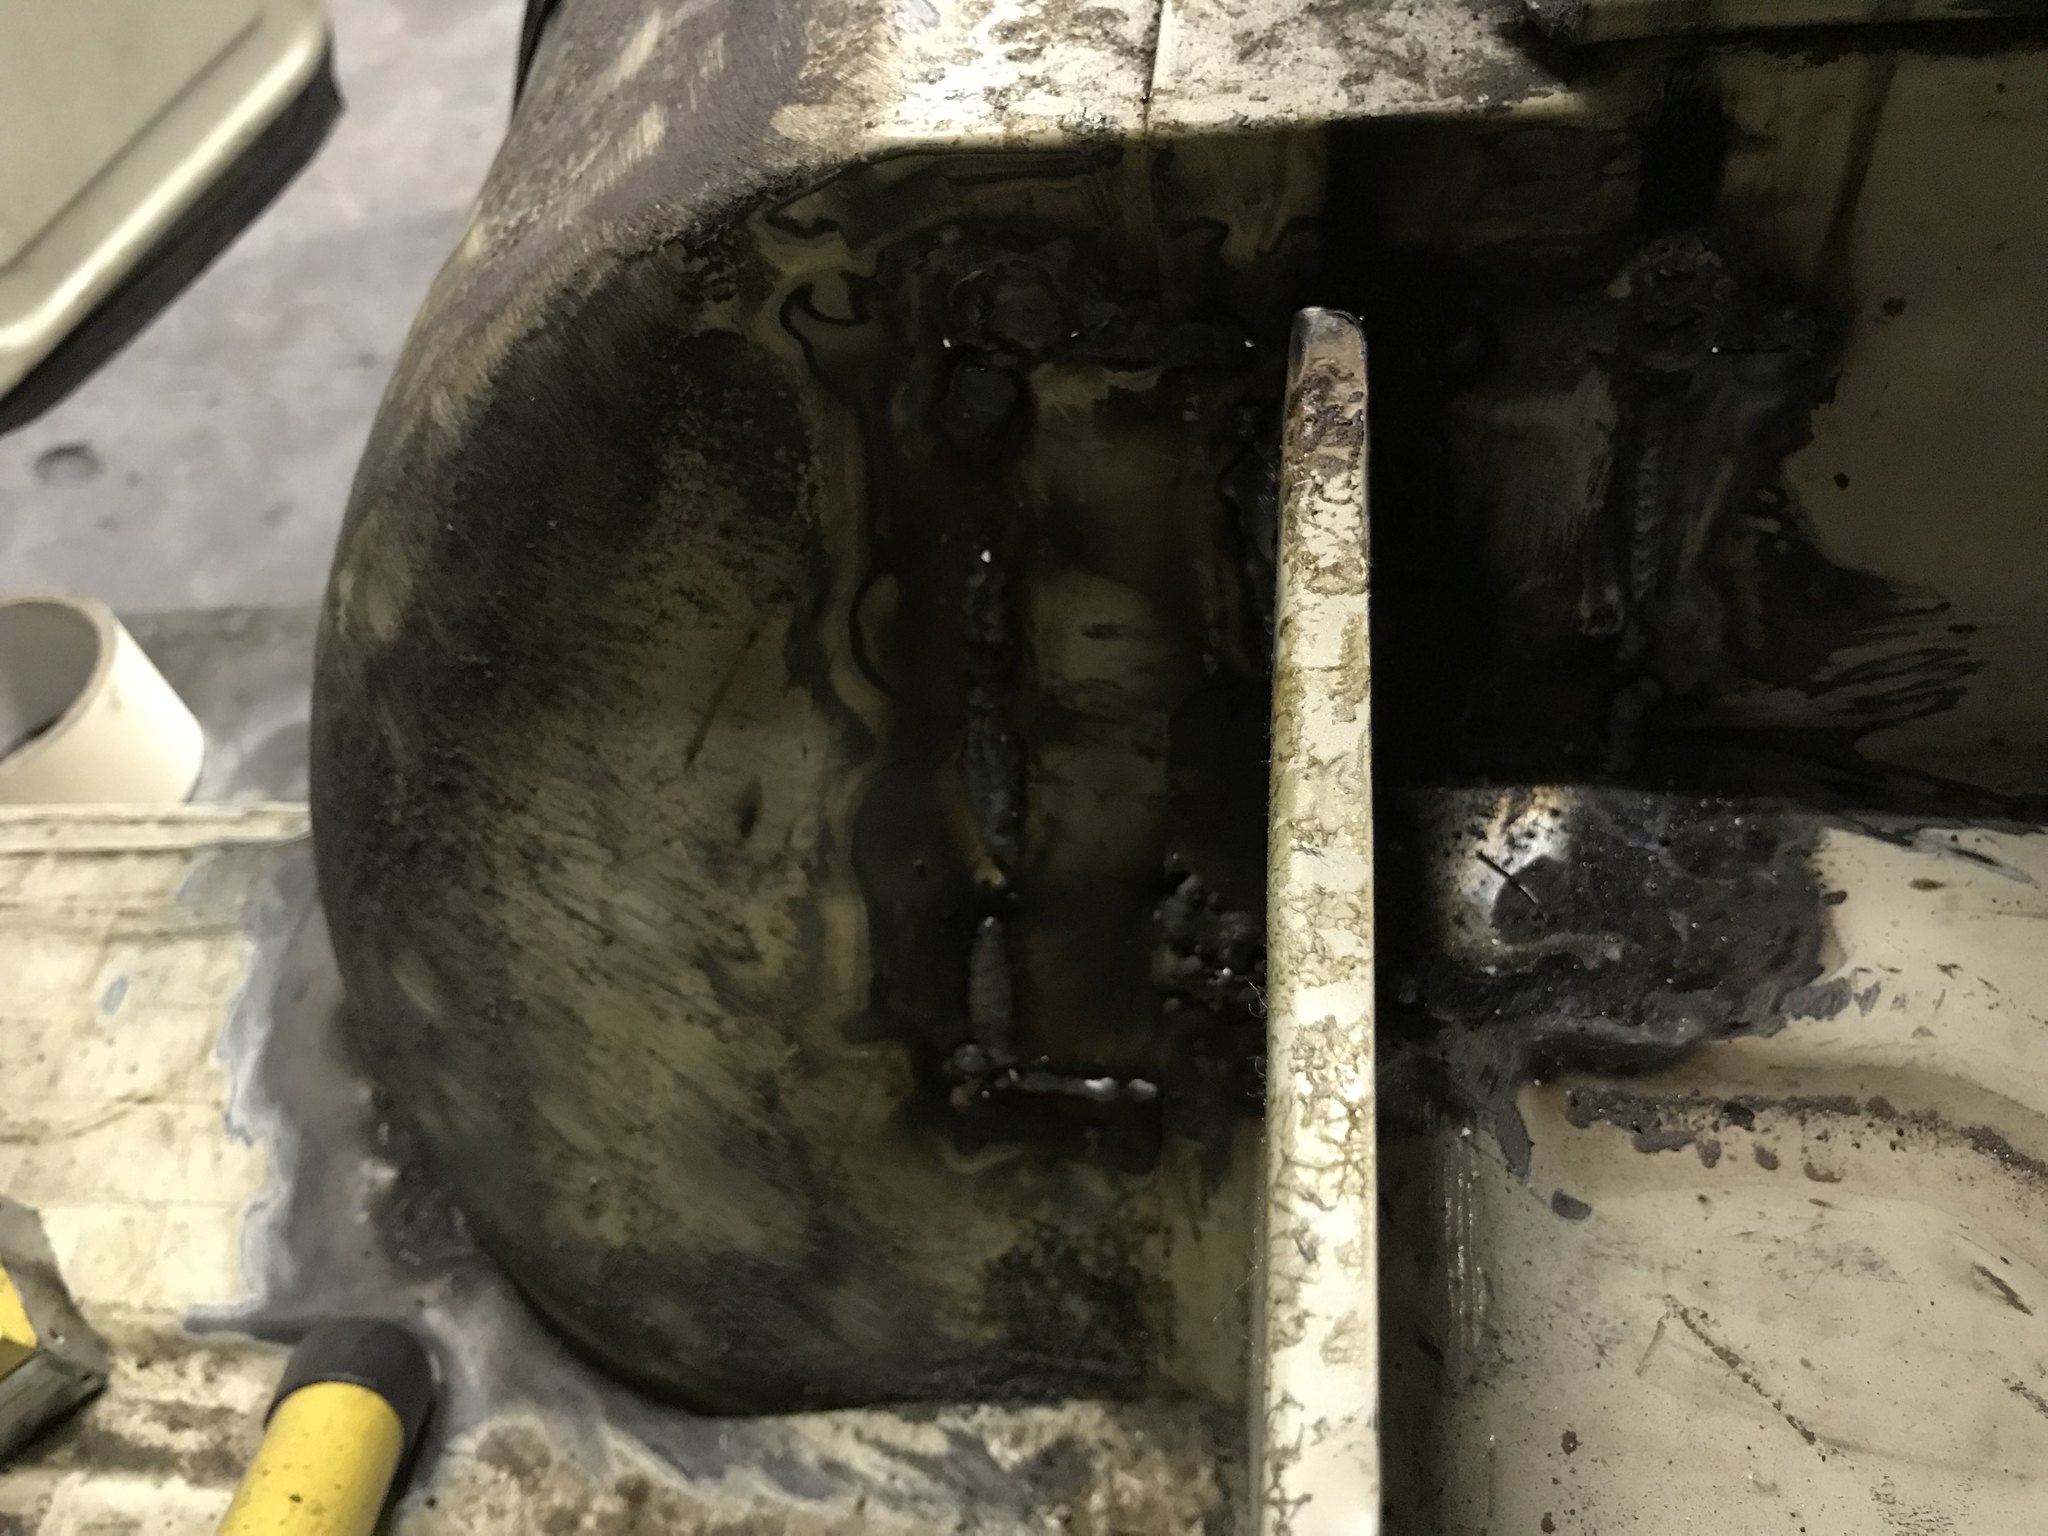
Then the inner b pillar was rebuilt in patches, as a beginner this was a PITA and I would have paid for the inner pillar just to save the time, you can see how many patches it took, welded from both sides
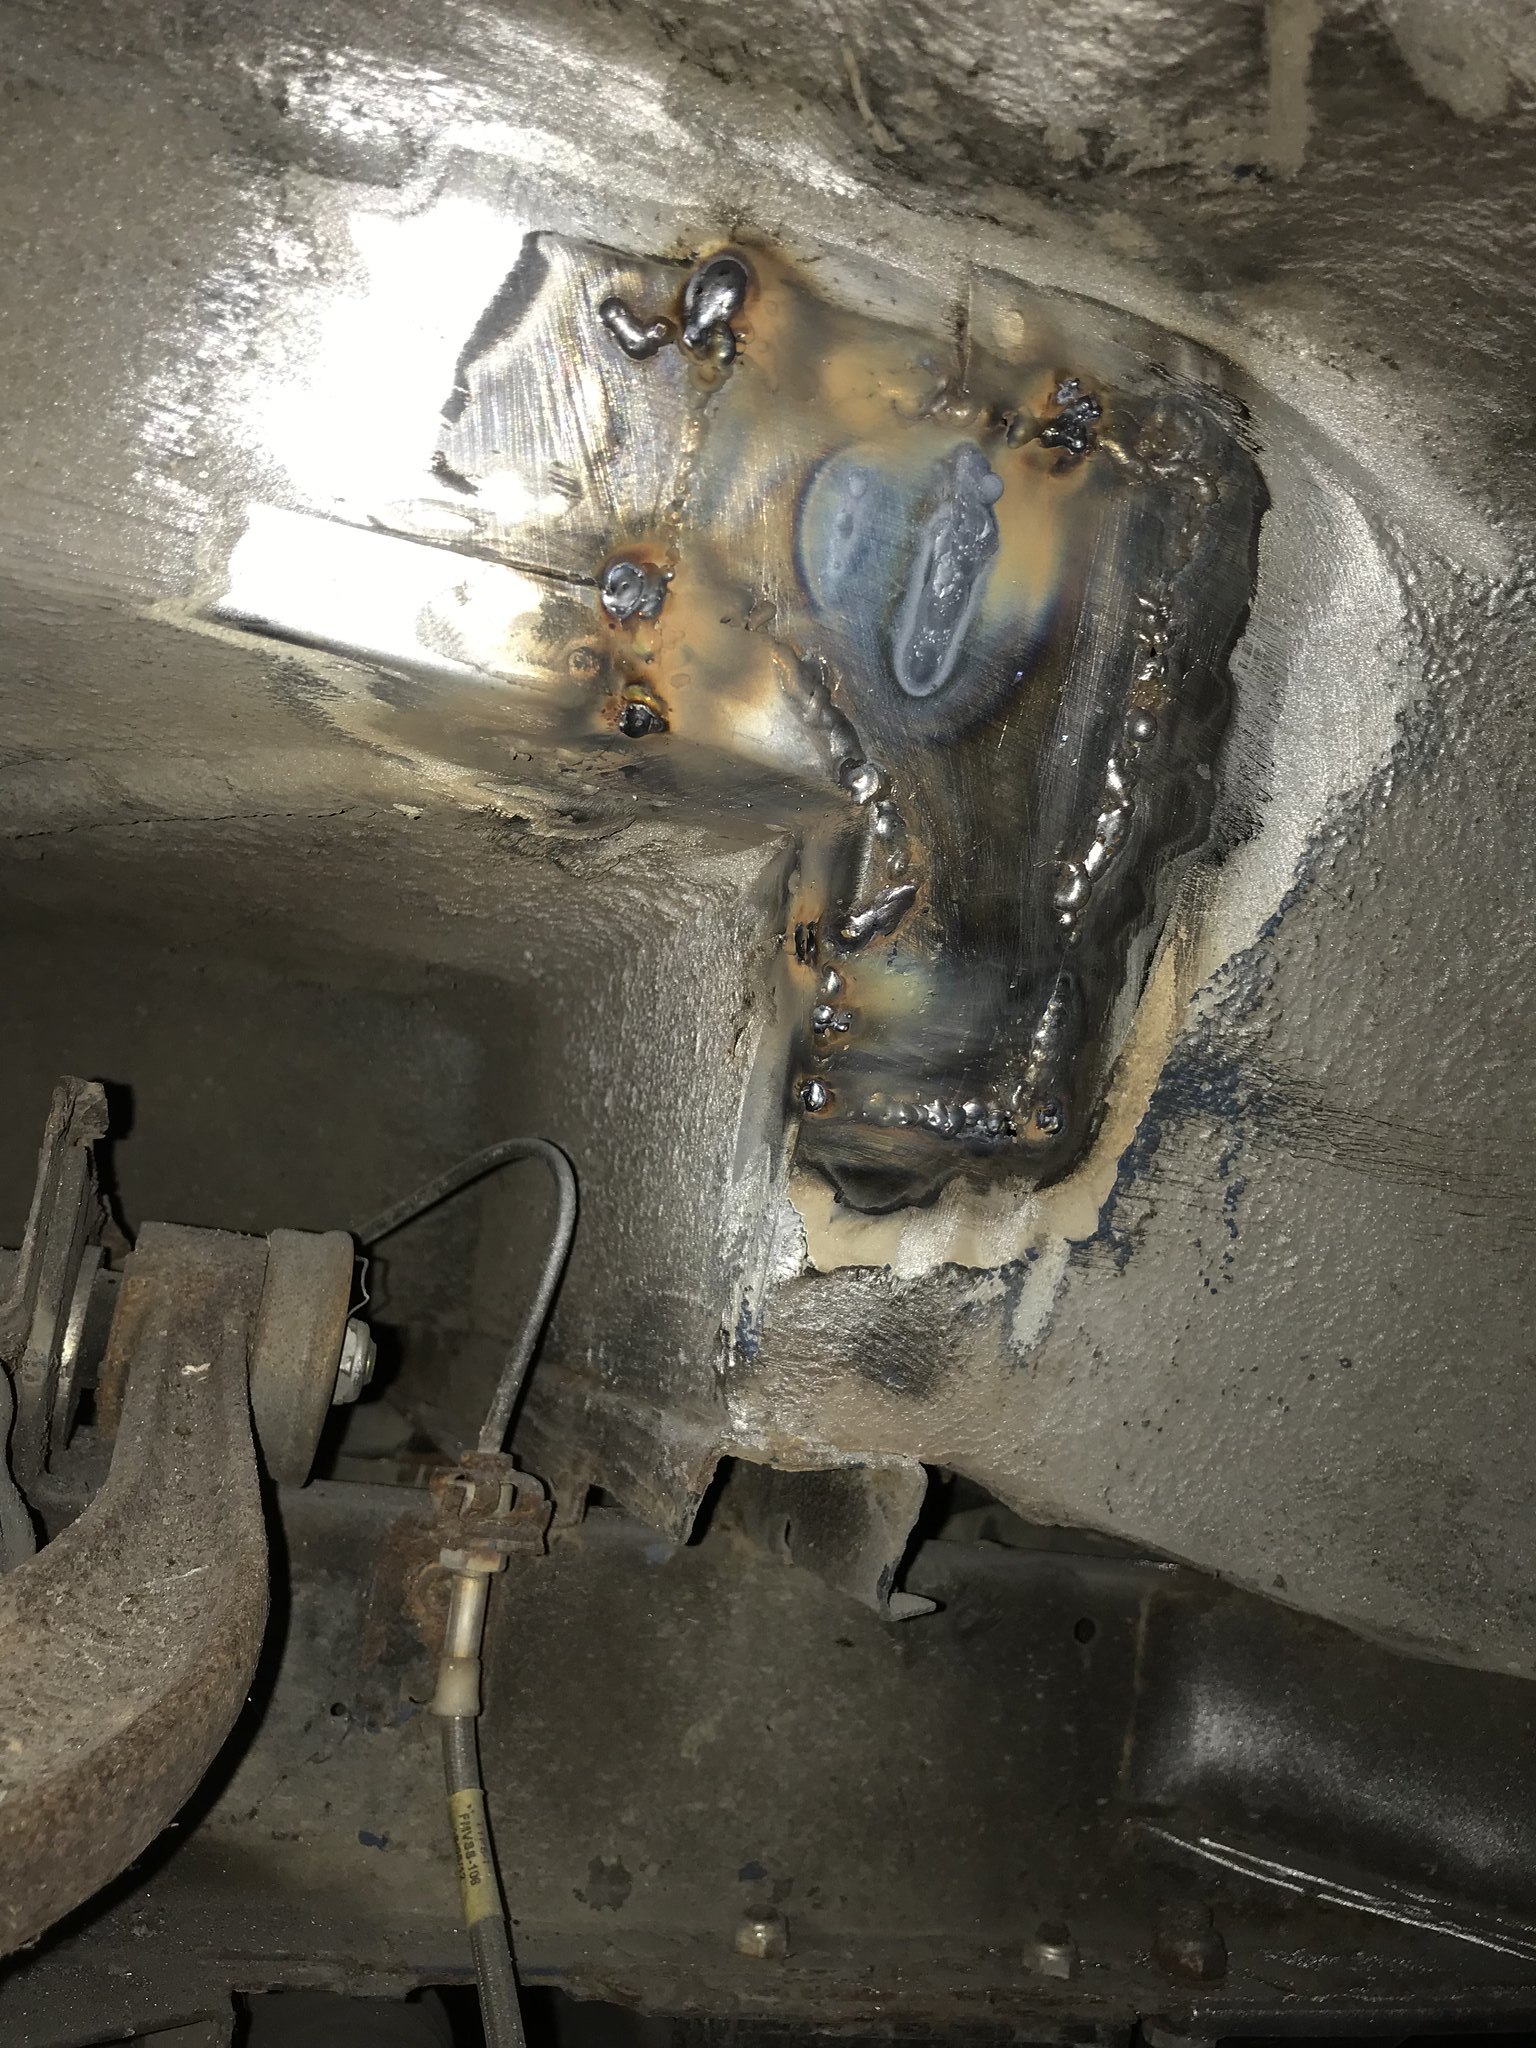
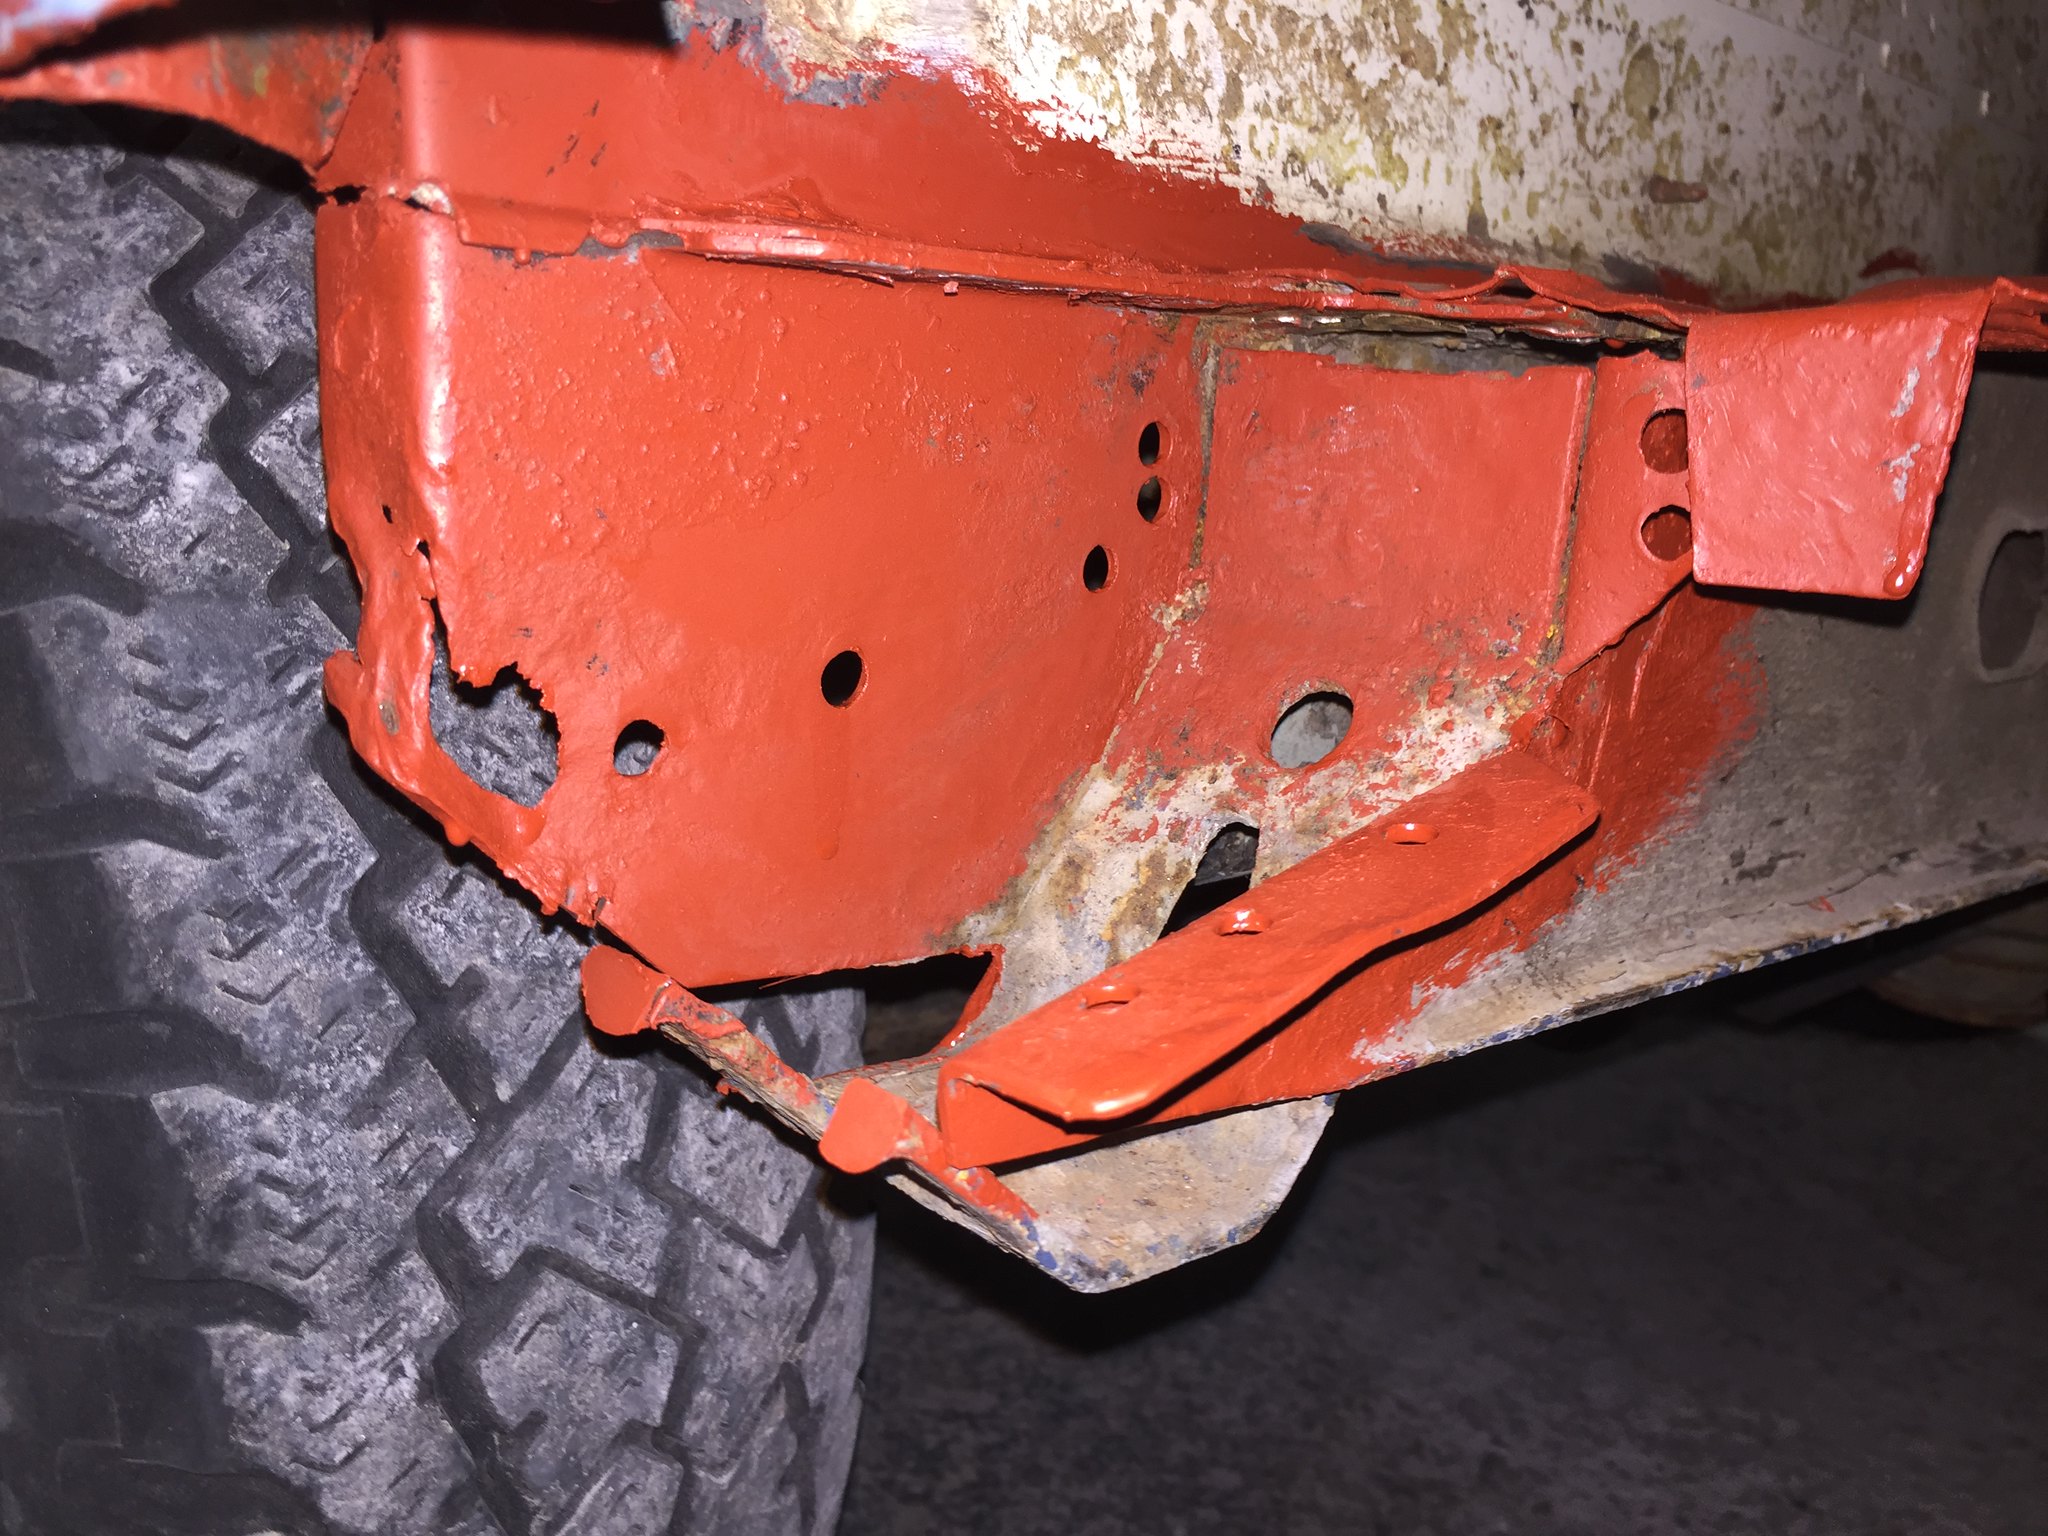
The jacking point was repaired with 2mm bar then thickened with weld
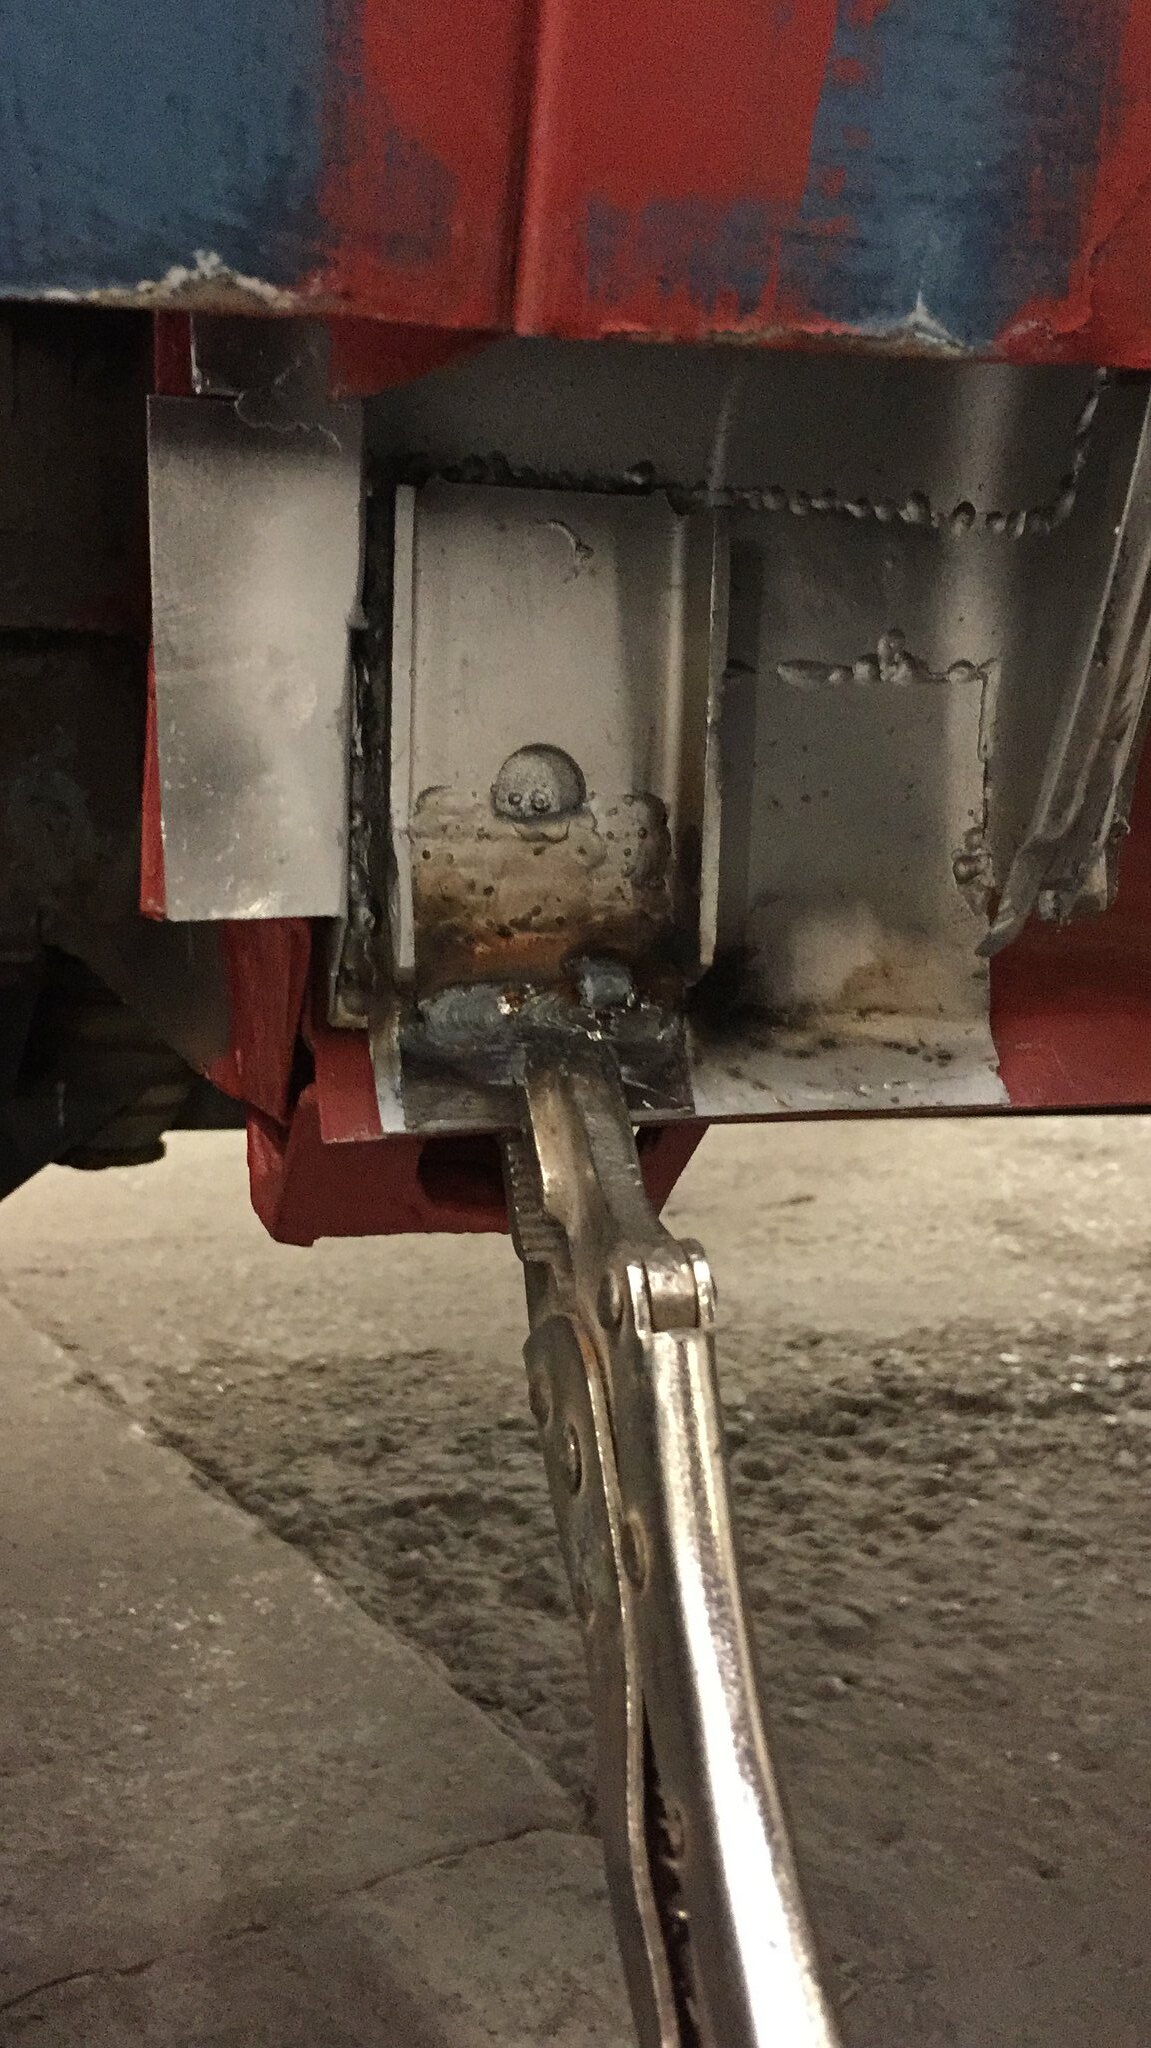
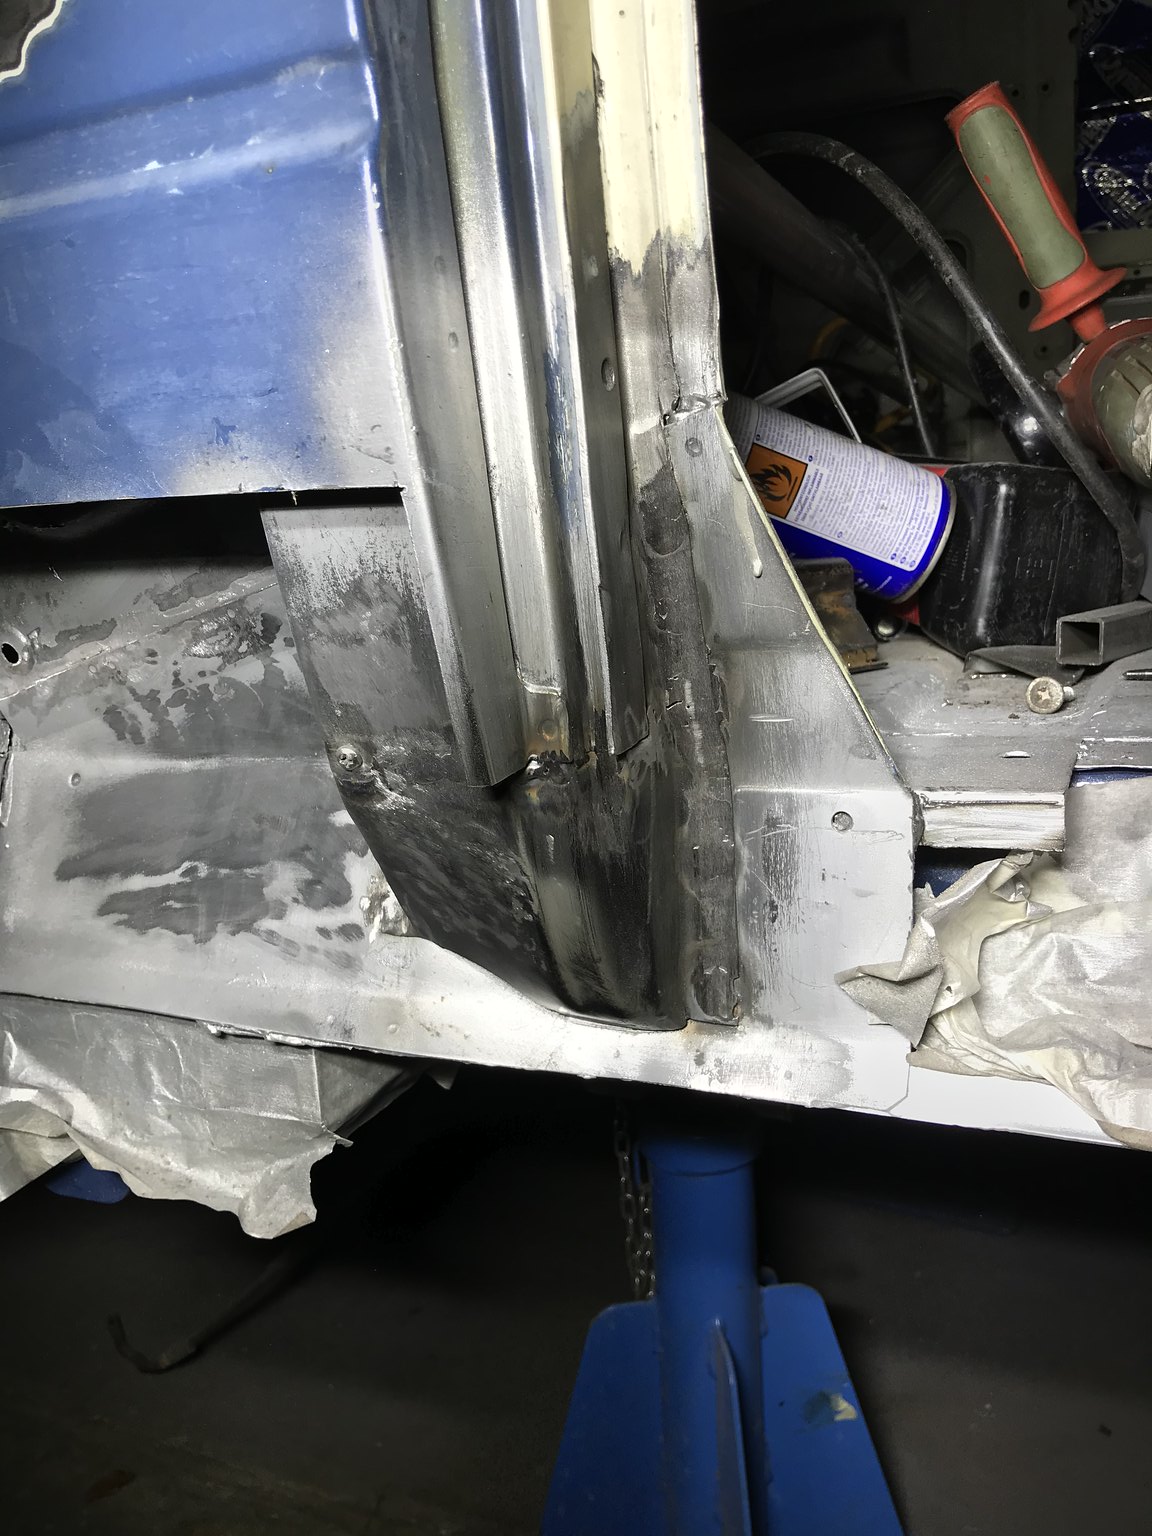
Then the outer B went back on with a repair panel. .
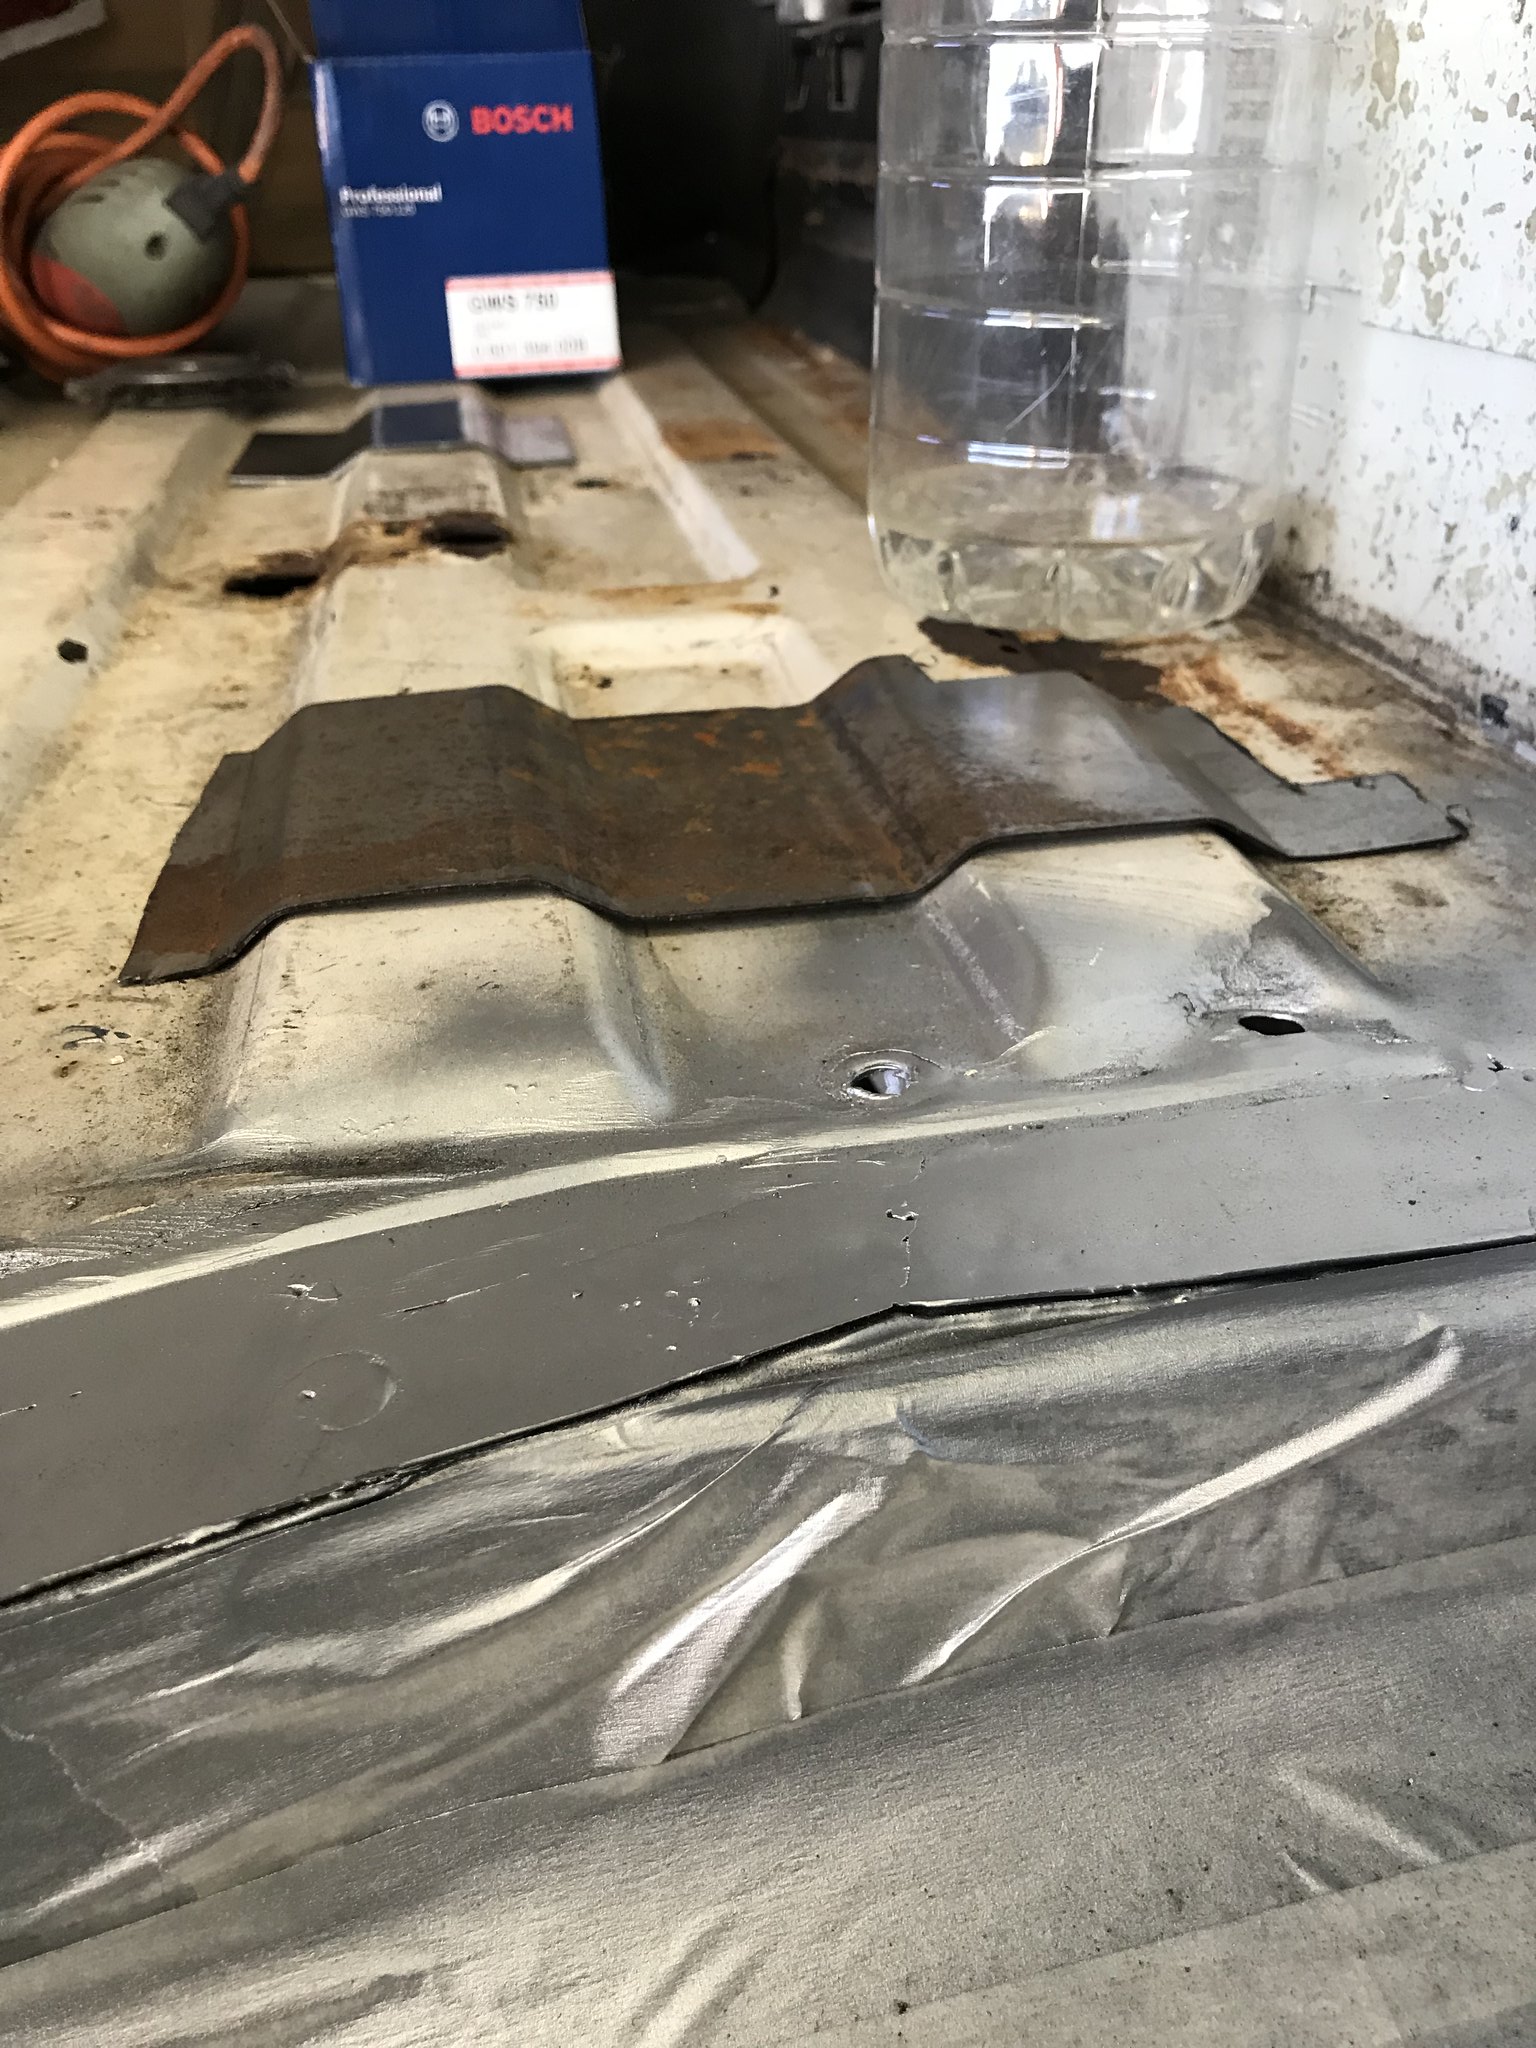
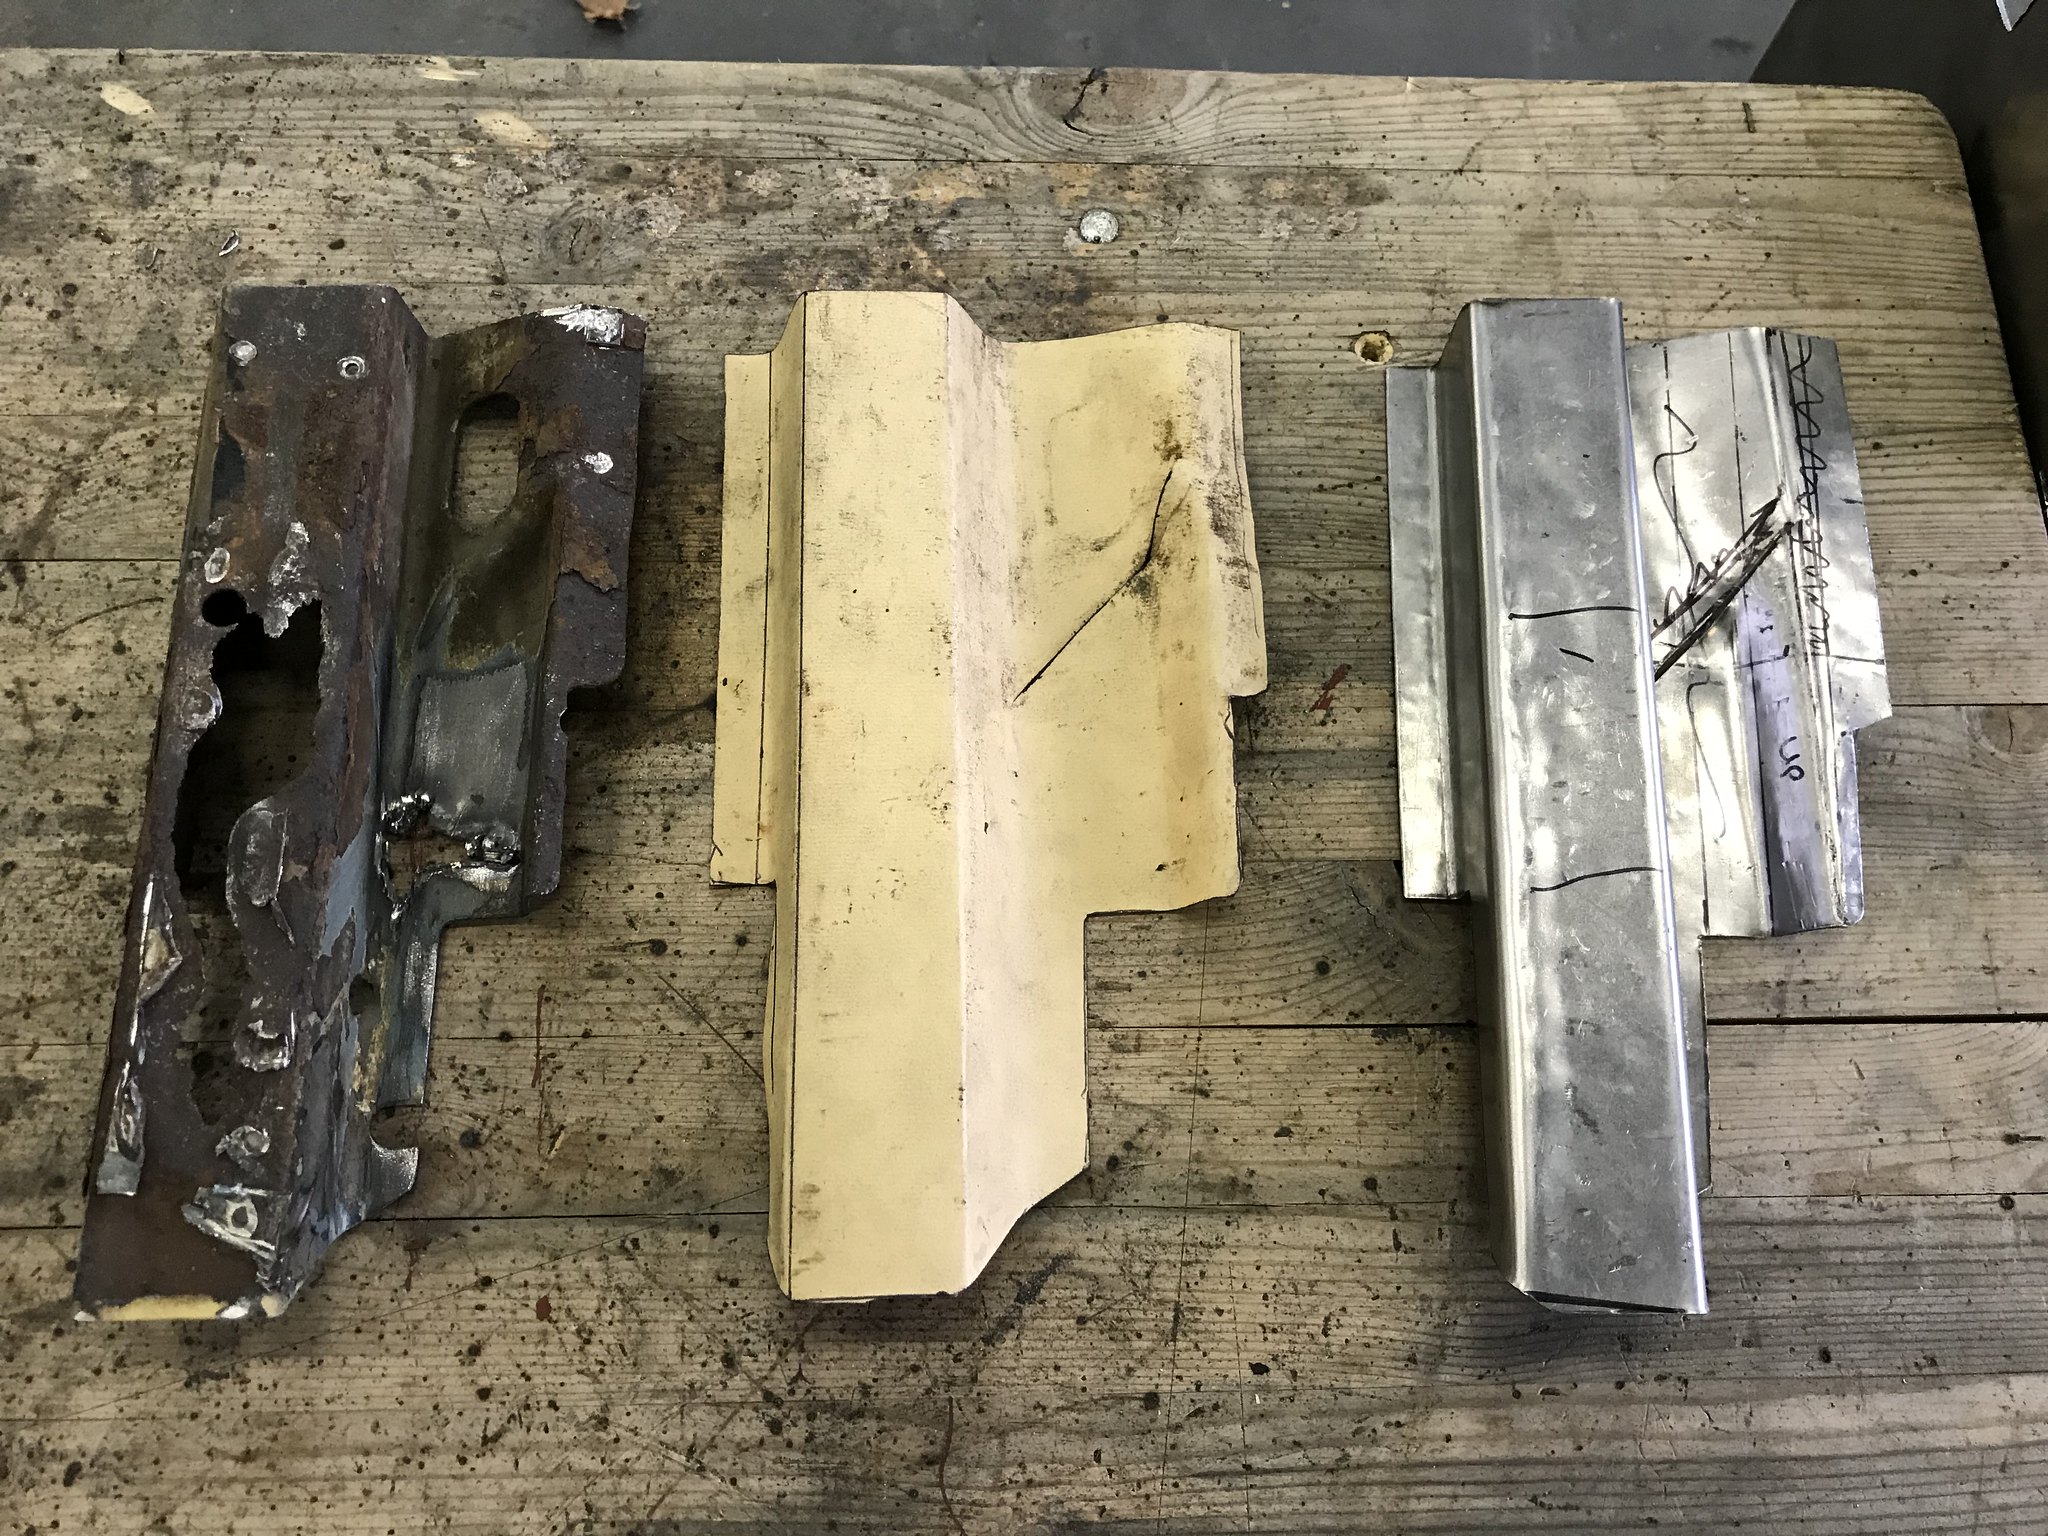
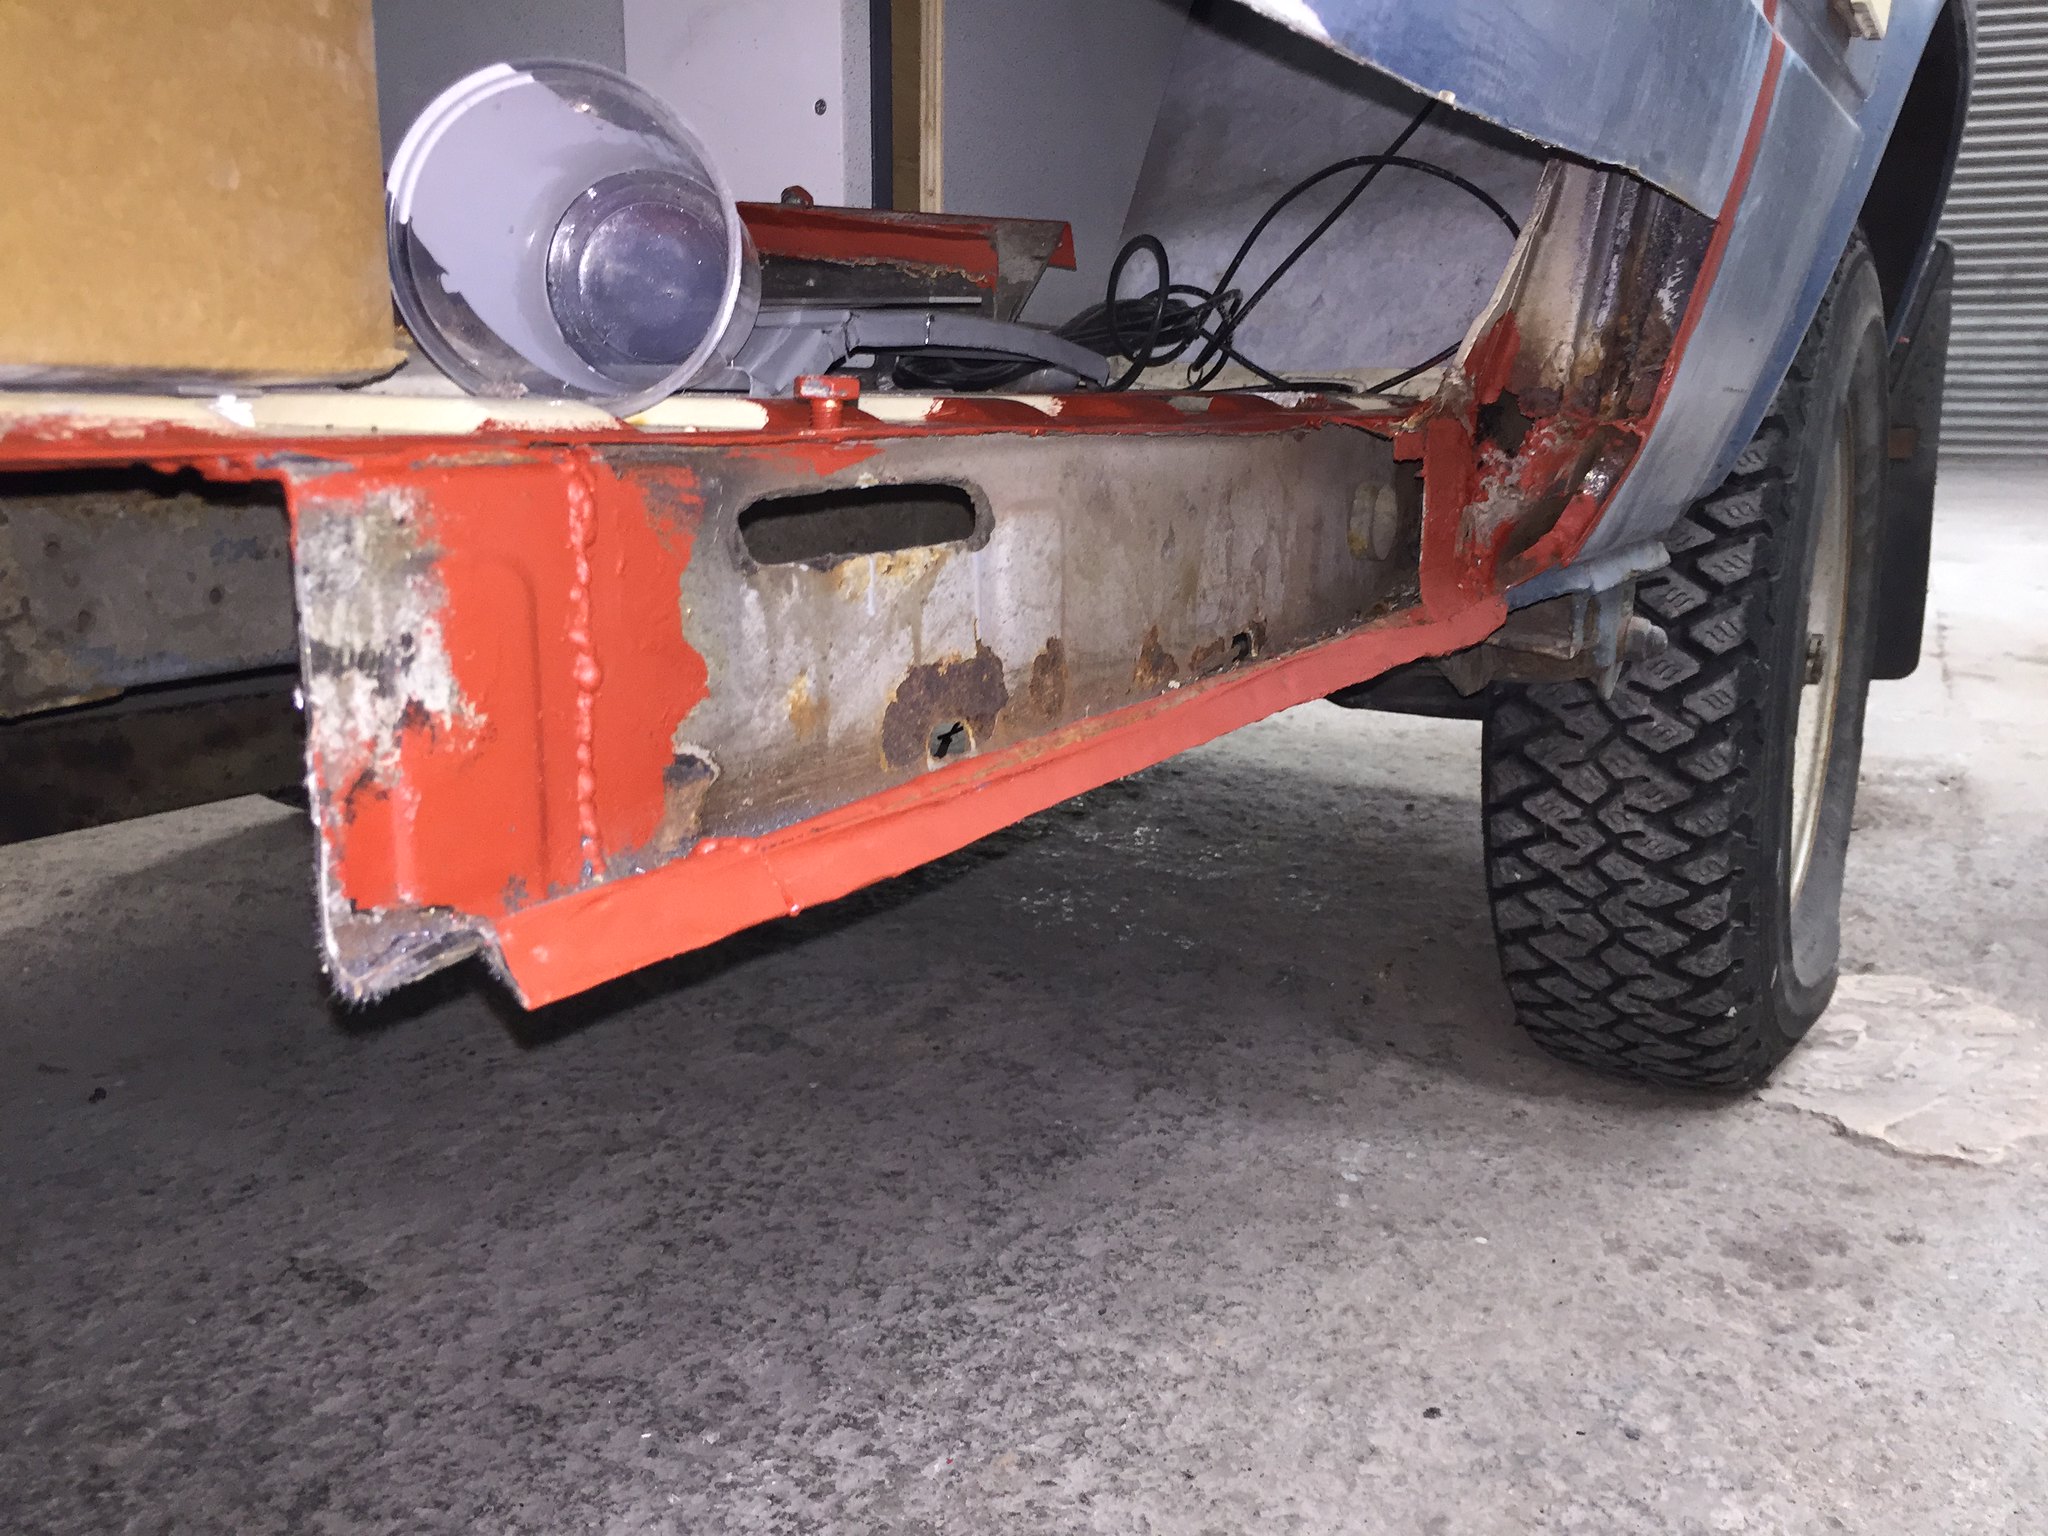
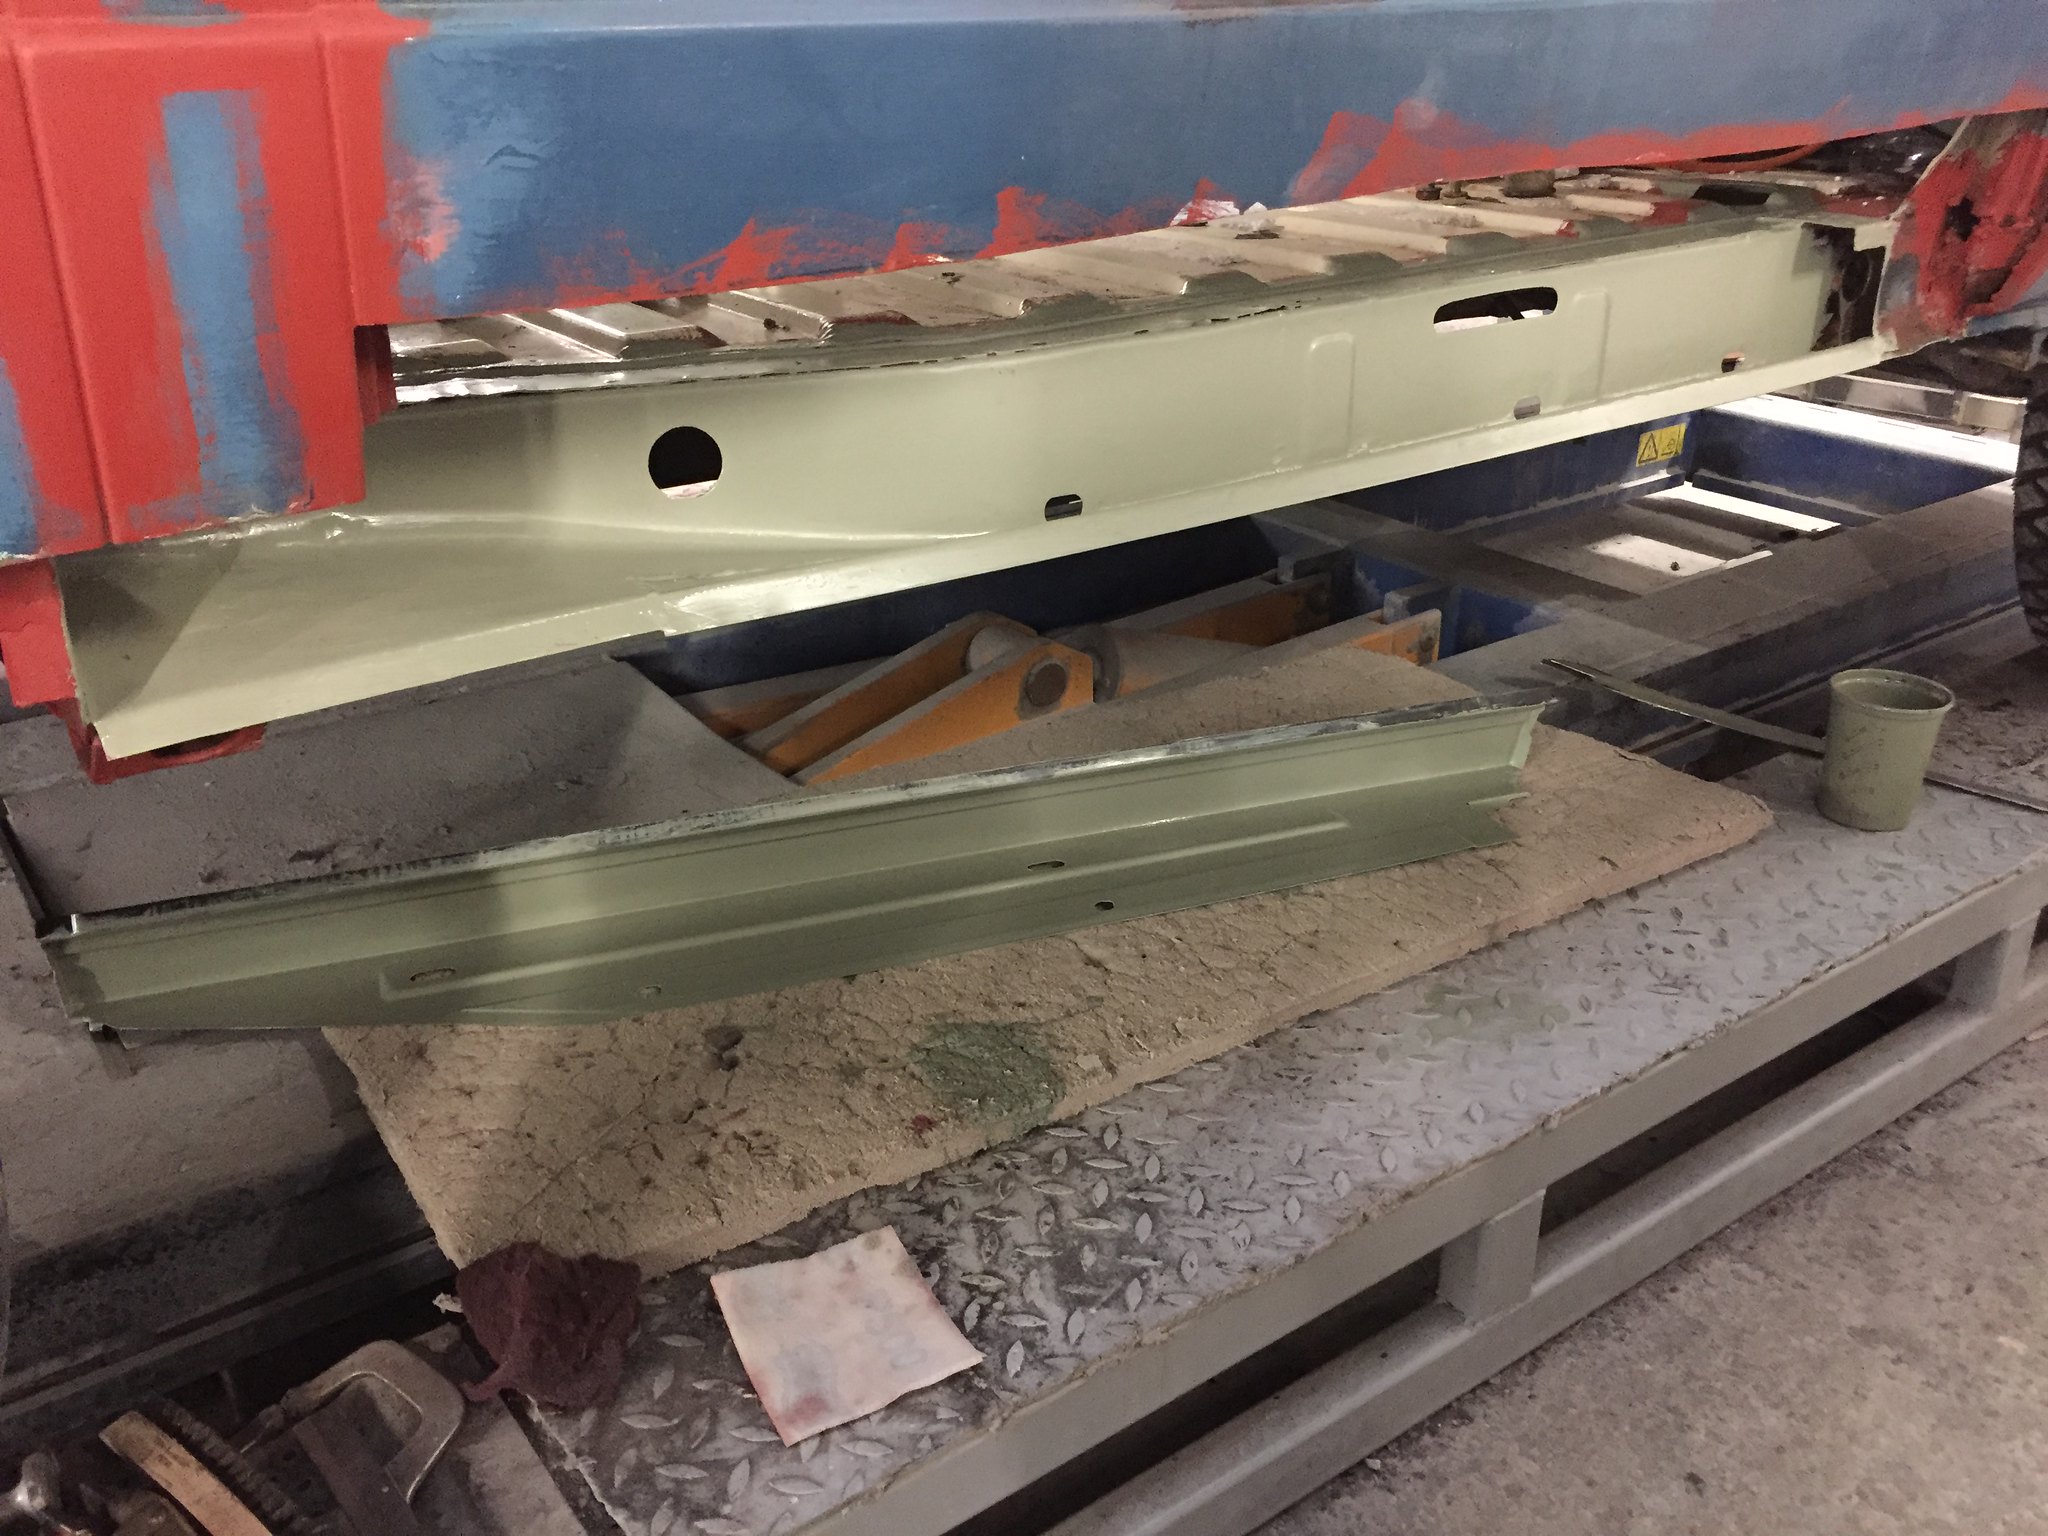
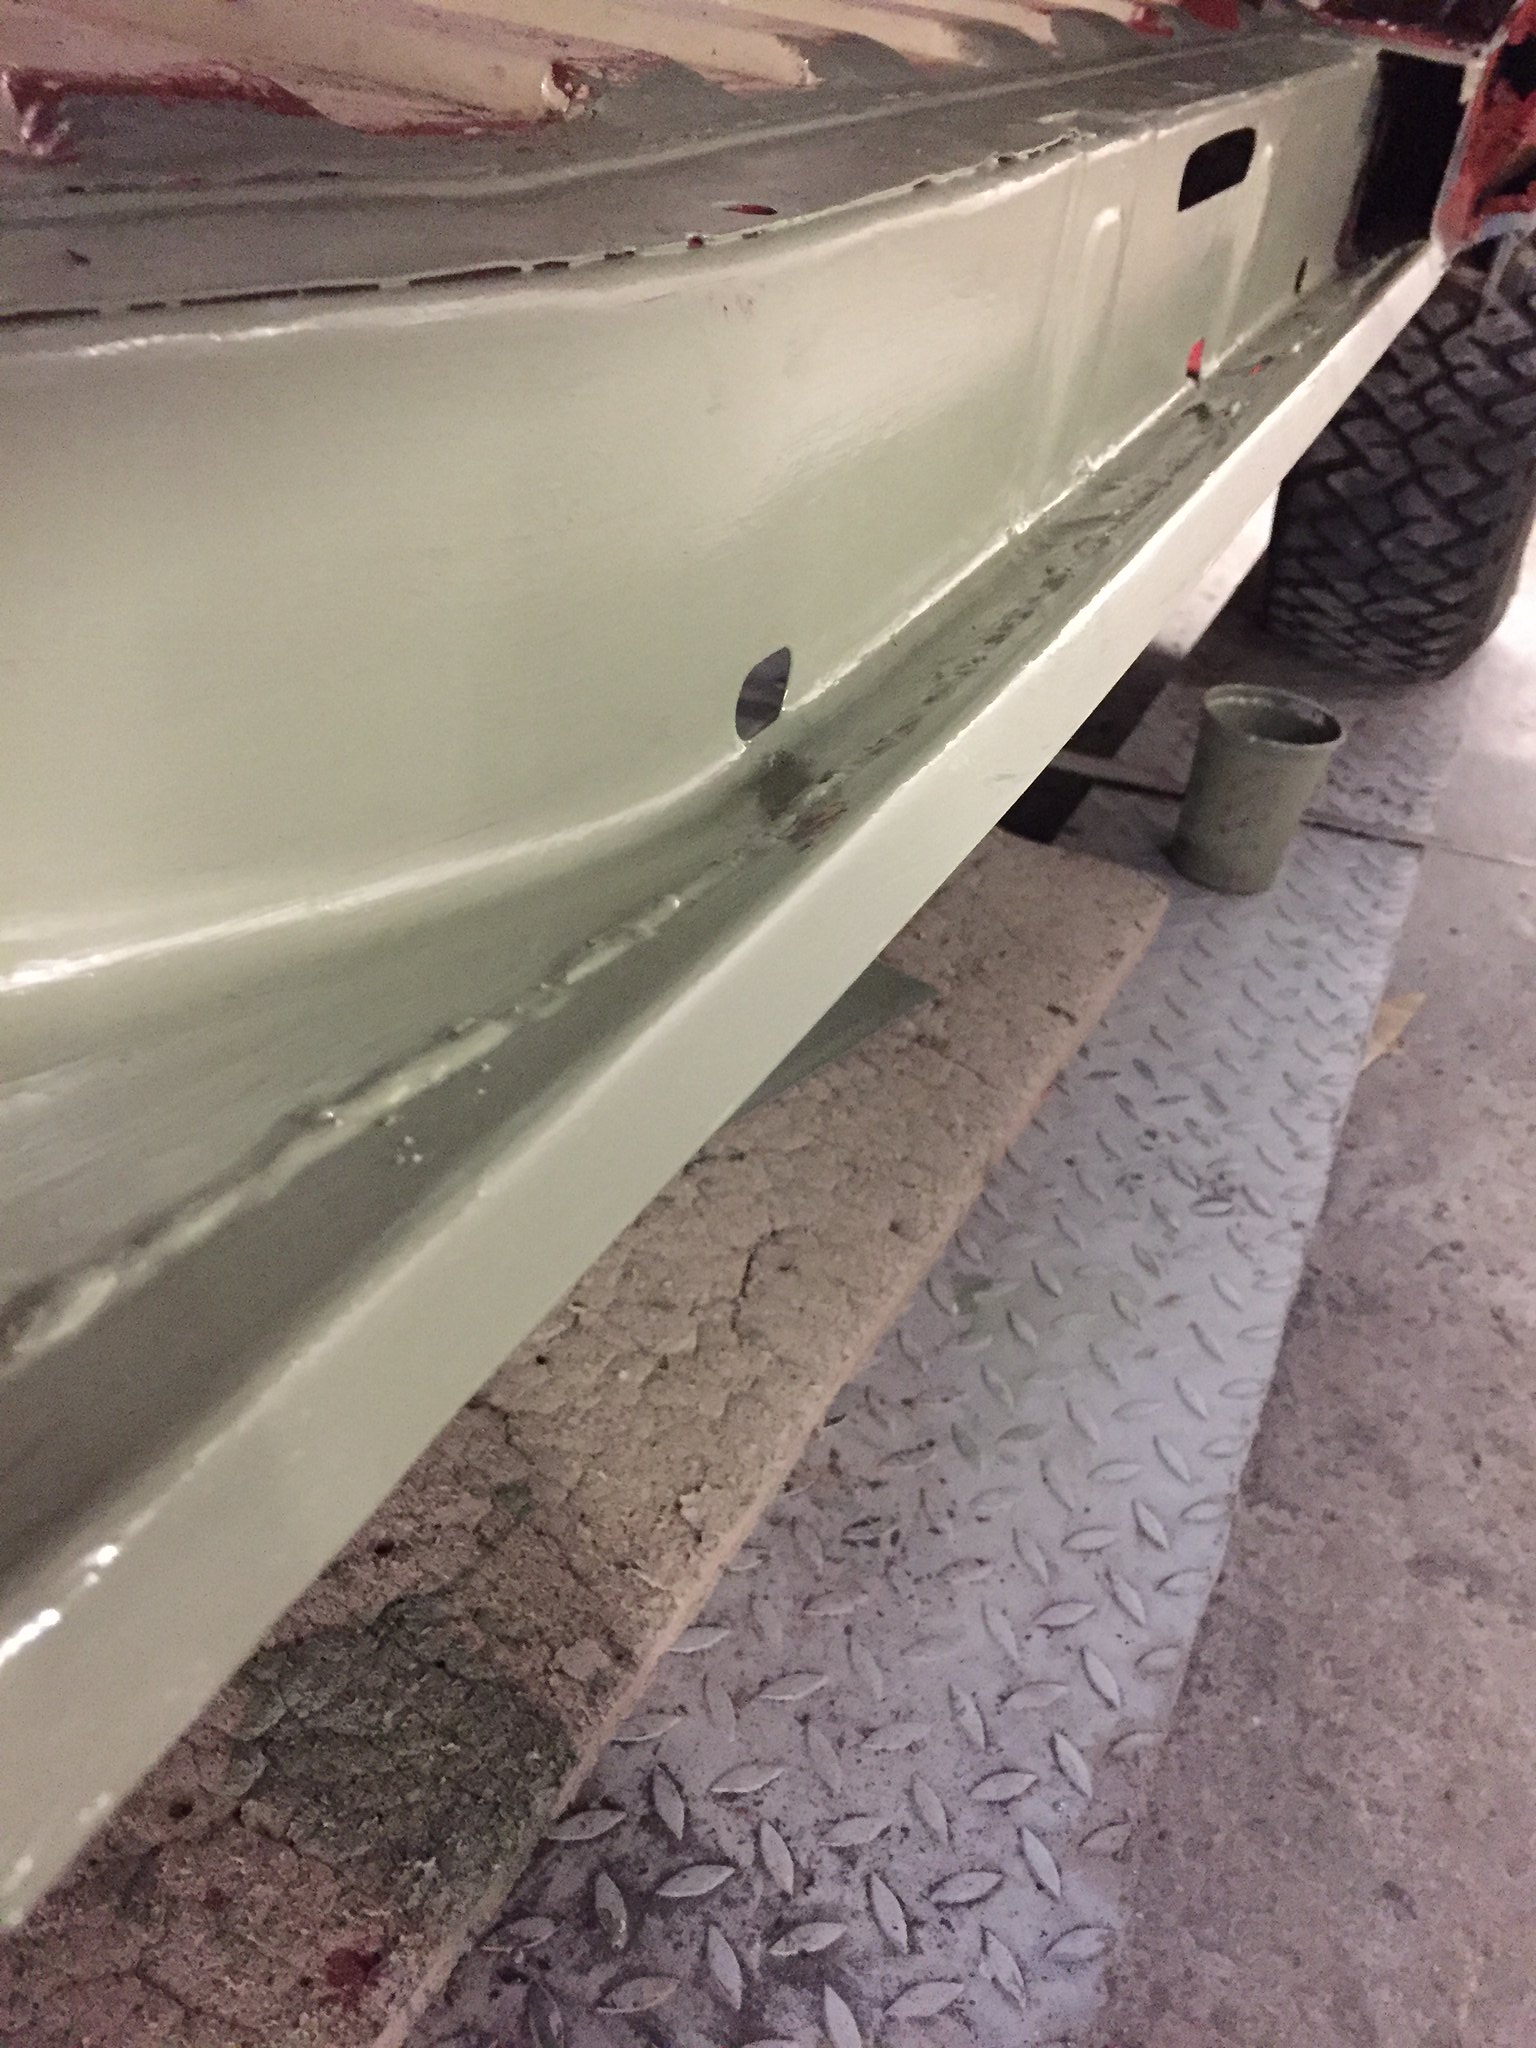
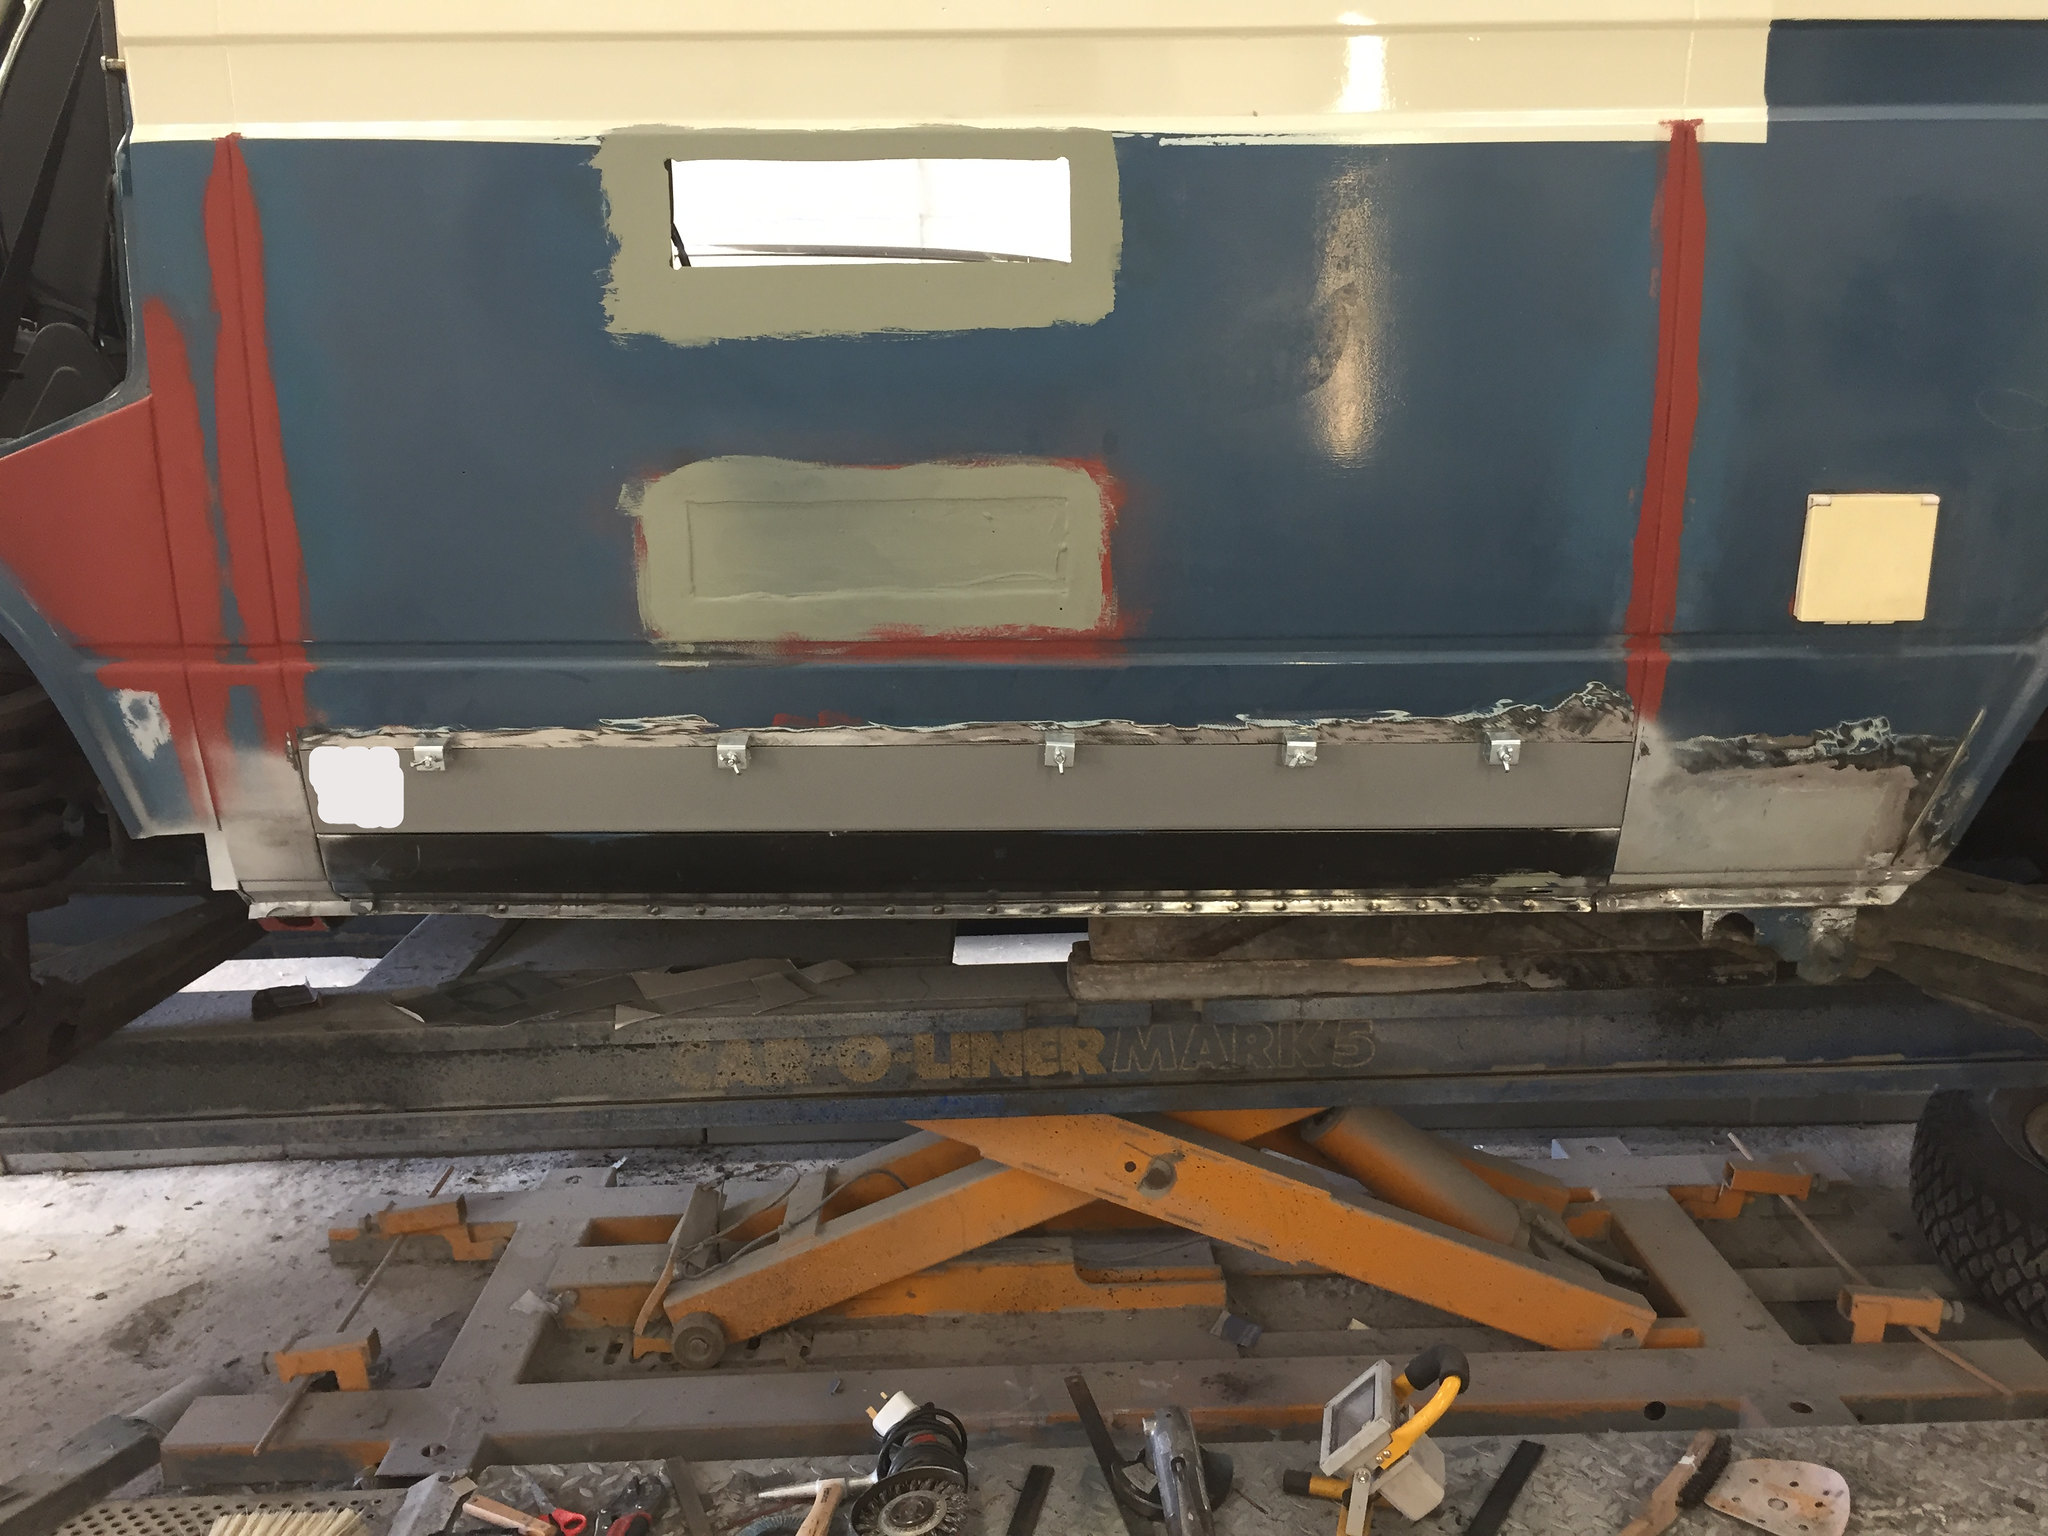
Then onto the outer sill, I started with the cheap nasty repair panel that goes from sill to centreline, this was replaced with an original sill in the end, it meant the sills were correct and where the floor had rotted away it was replaced with the original panel it can be seen upside down a few pictures back, the green is the epoxy commercial vehicle primer from glasurit, it’s expensive but incredibly tough, and unlike normal primer, waterproof. Everything got colour coat before final closing in.
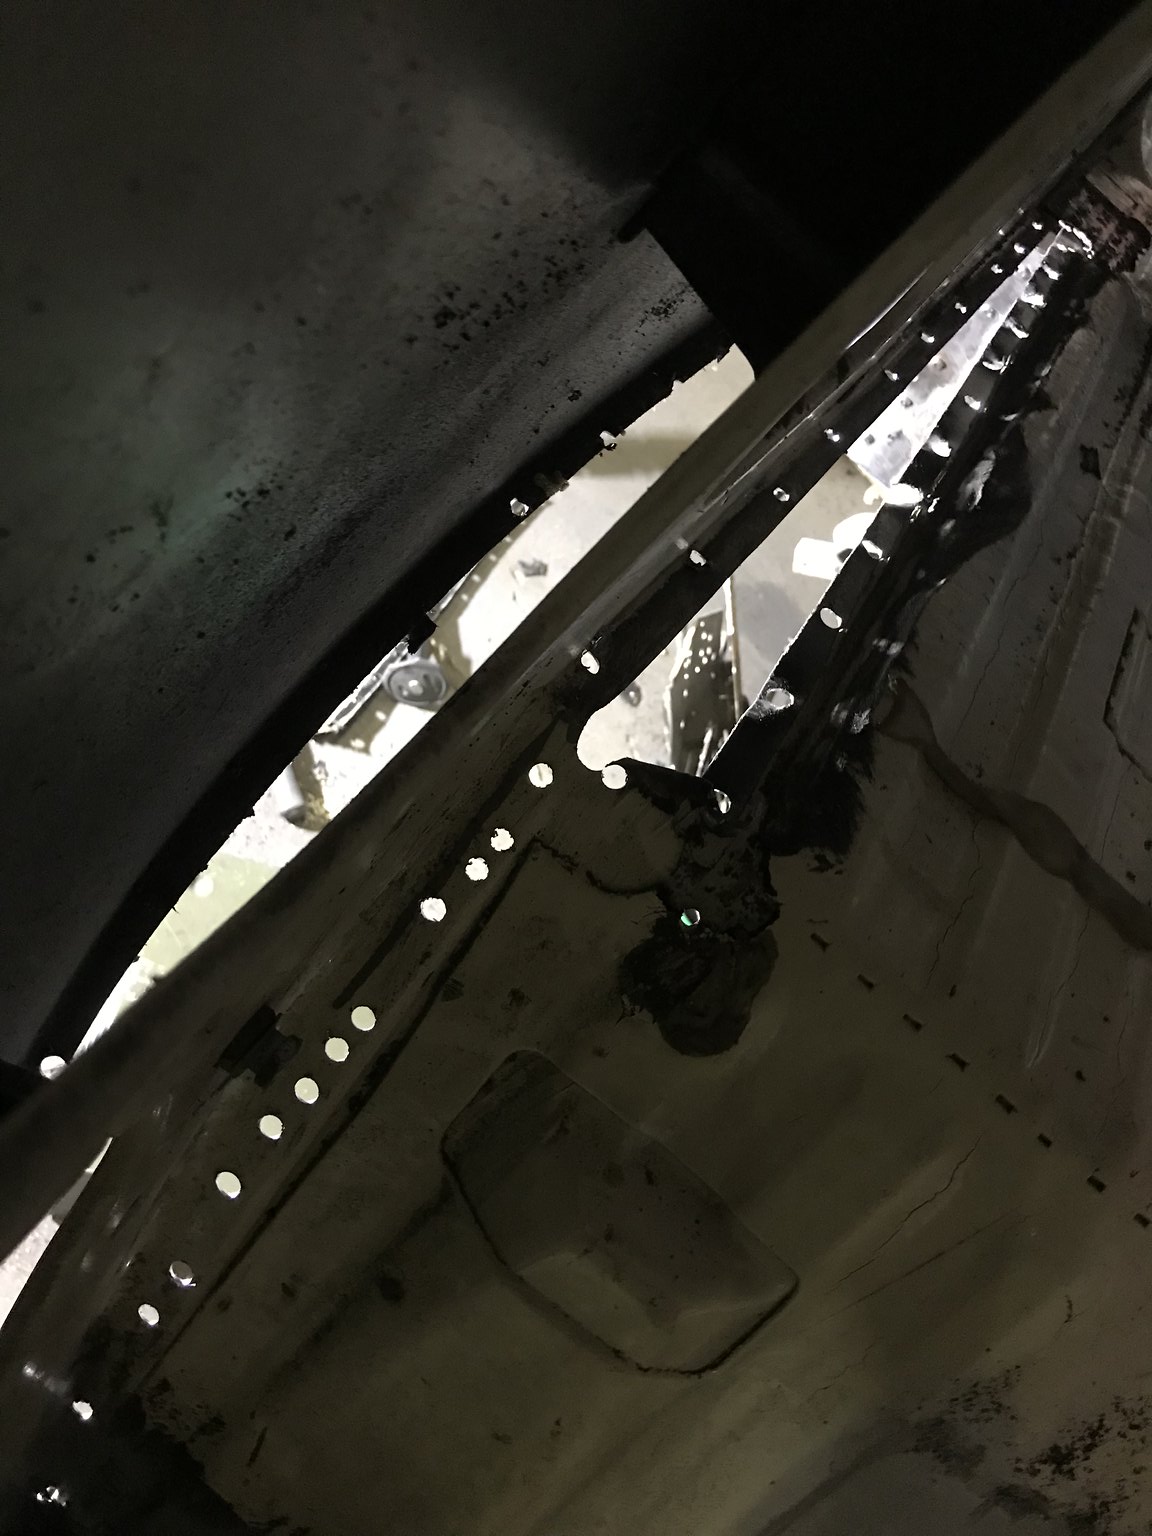
The fit of the sill dictated where everything else sat, it was panel bonded then spot welded on the bottom edge, one weld every 30mm or so. The top edge to the floor was plug welded. Sorry no pic of that.
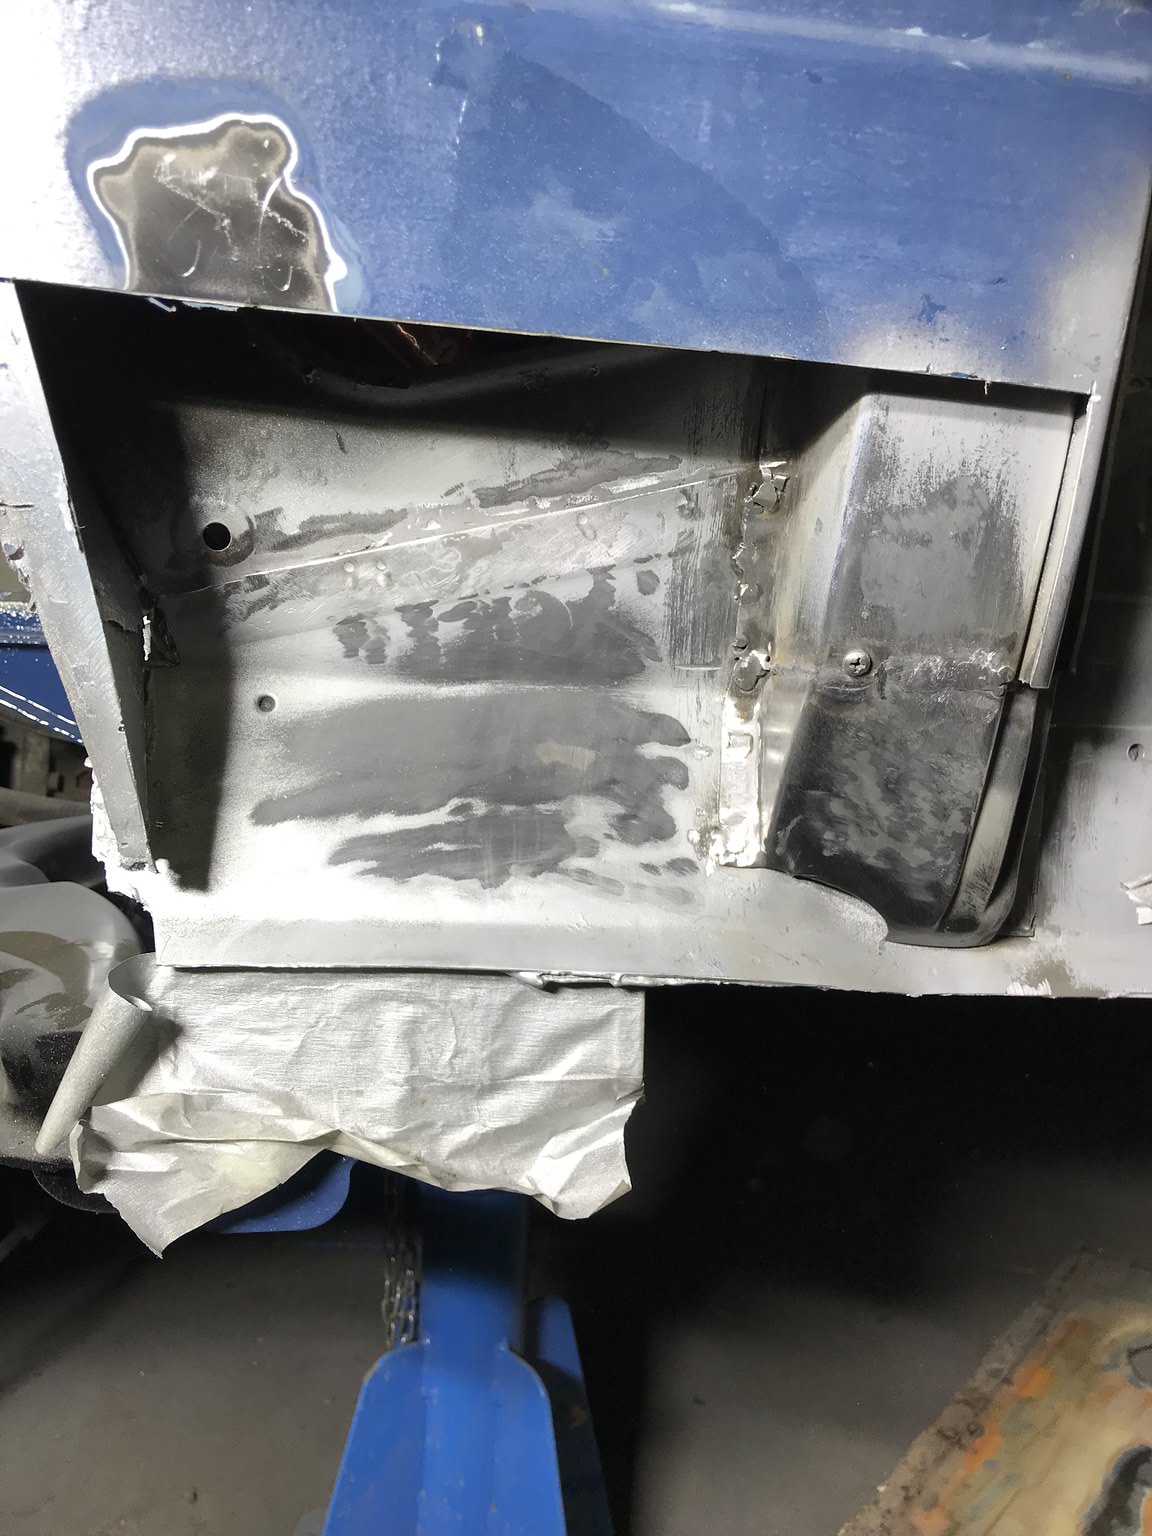
Then I repaired the infill panel that mates outer sill to inner b.
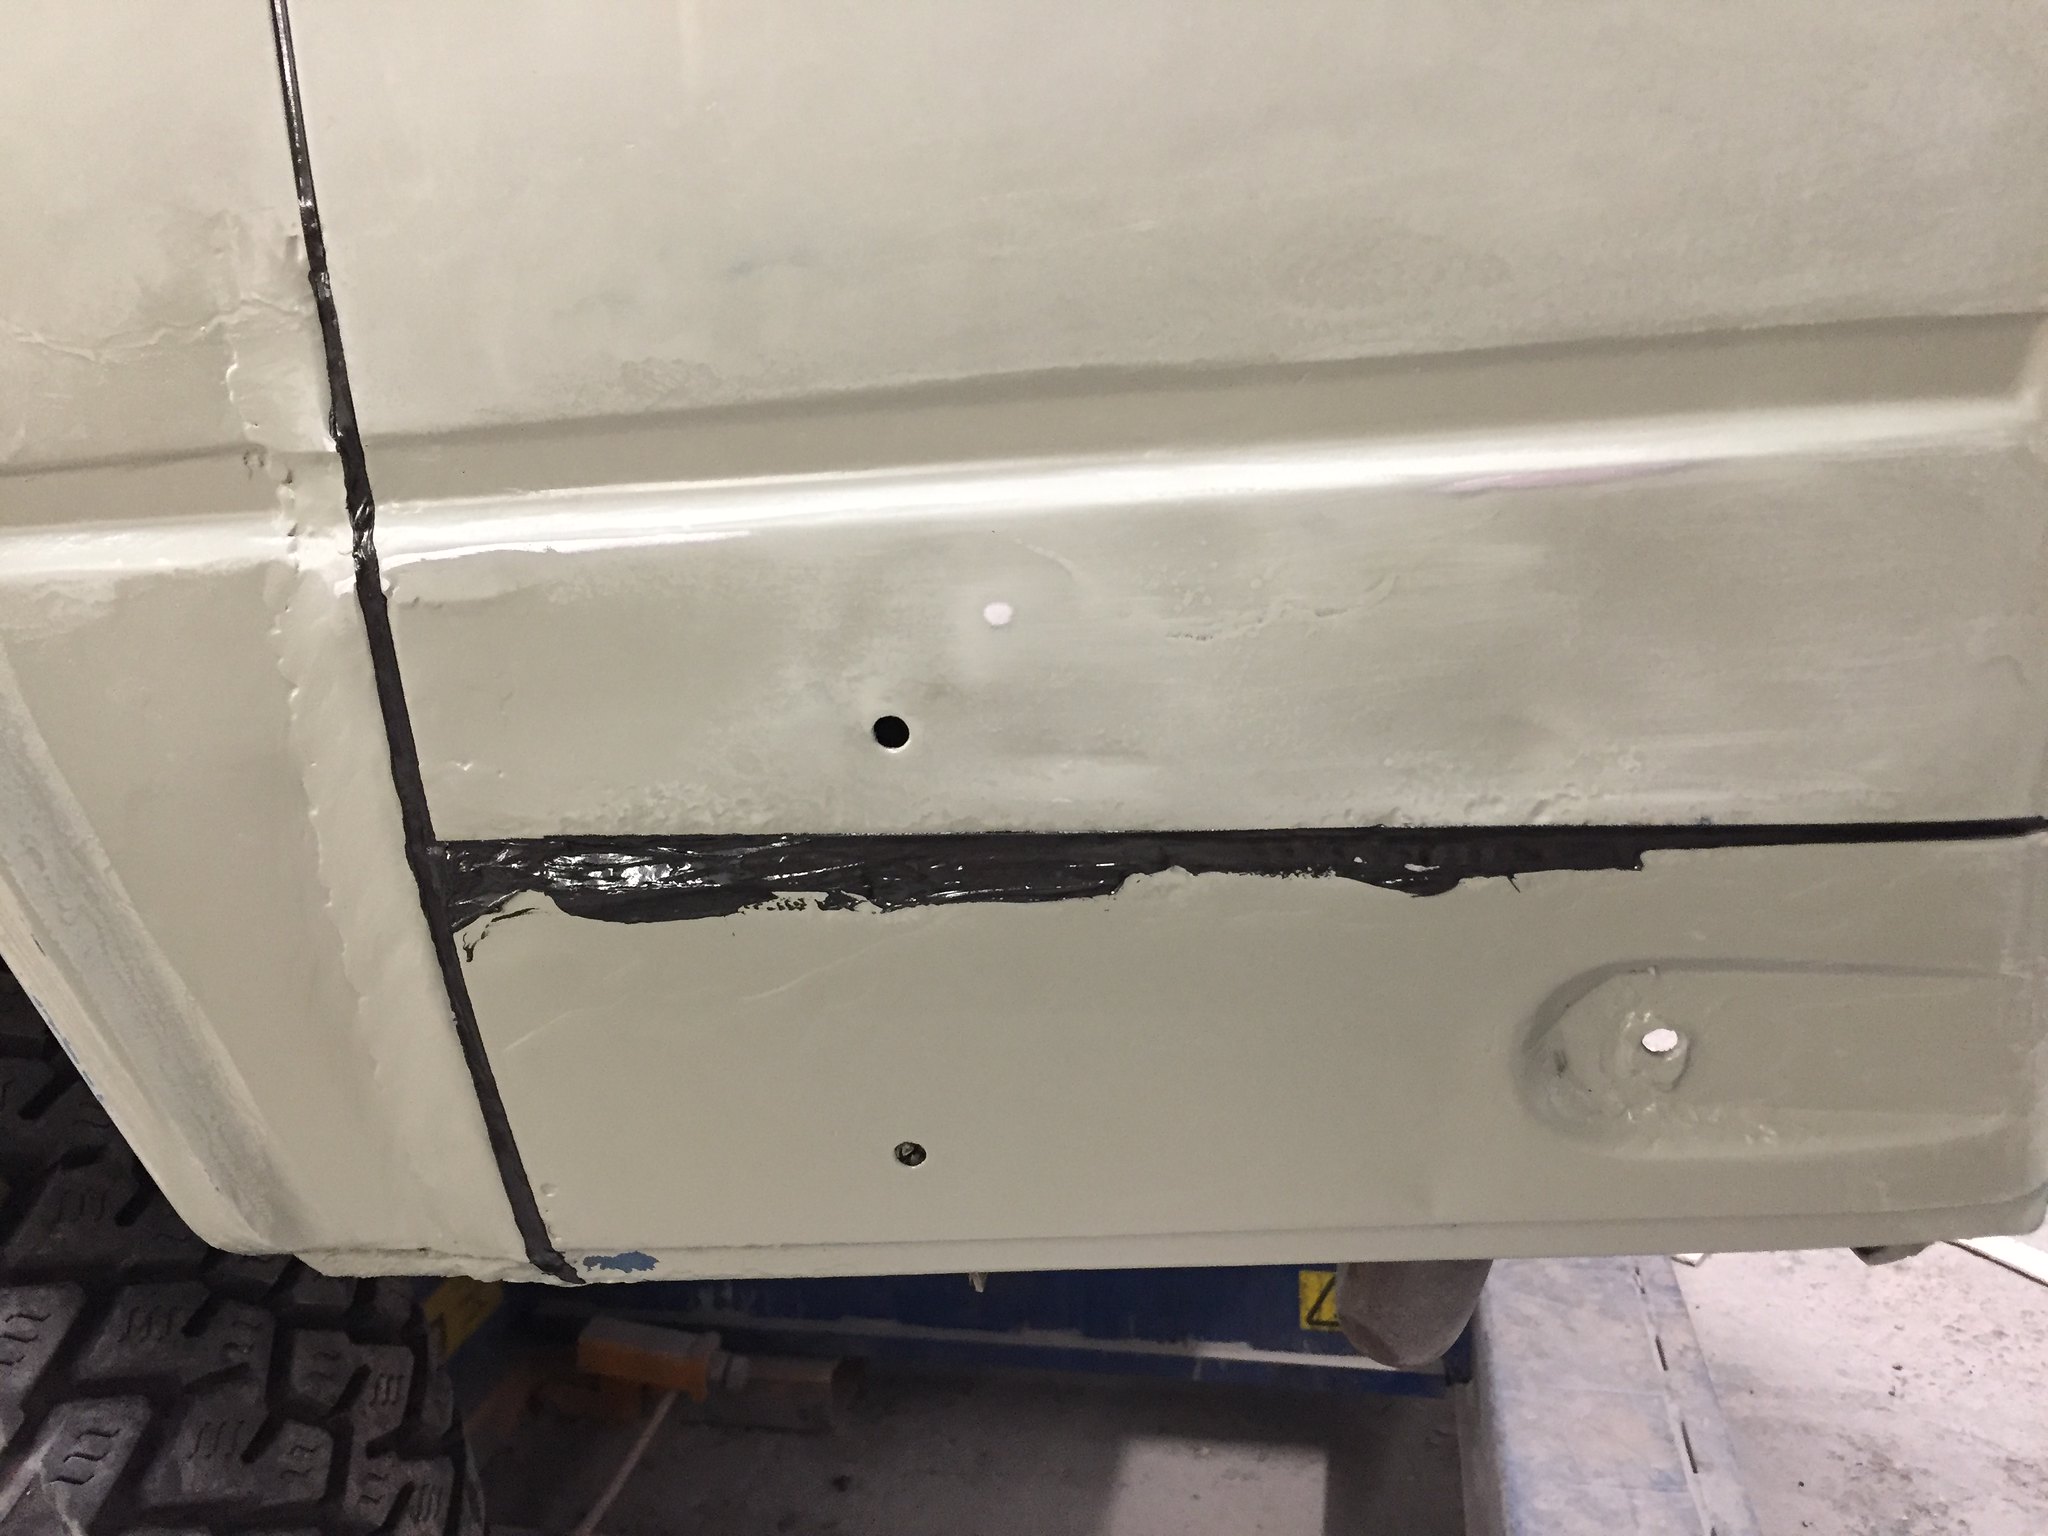
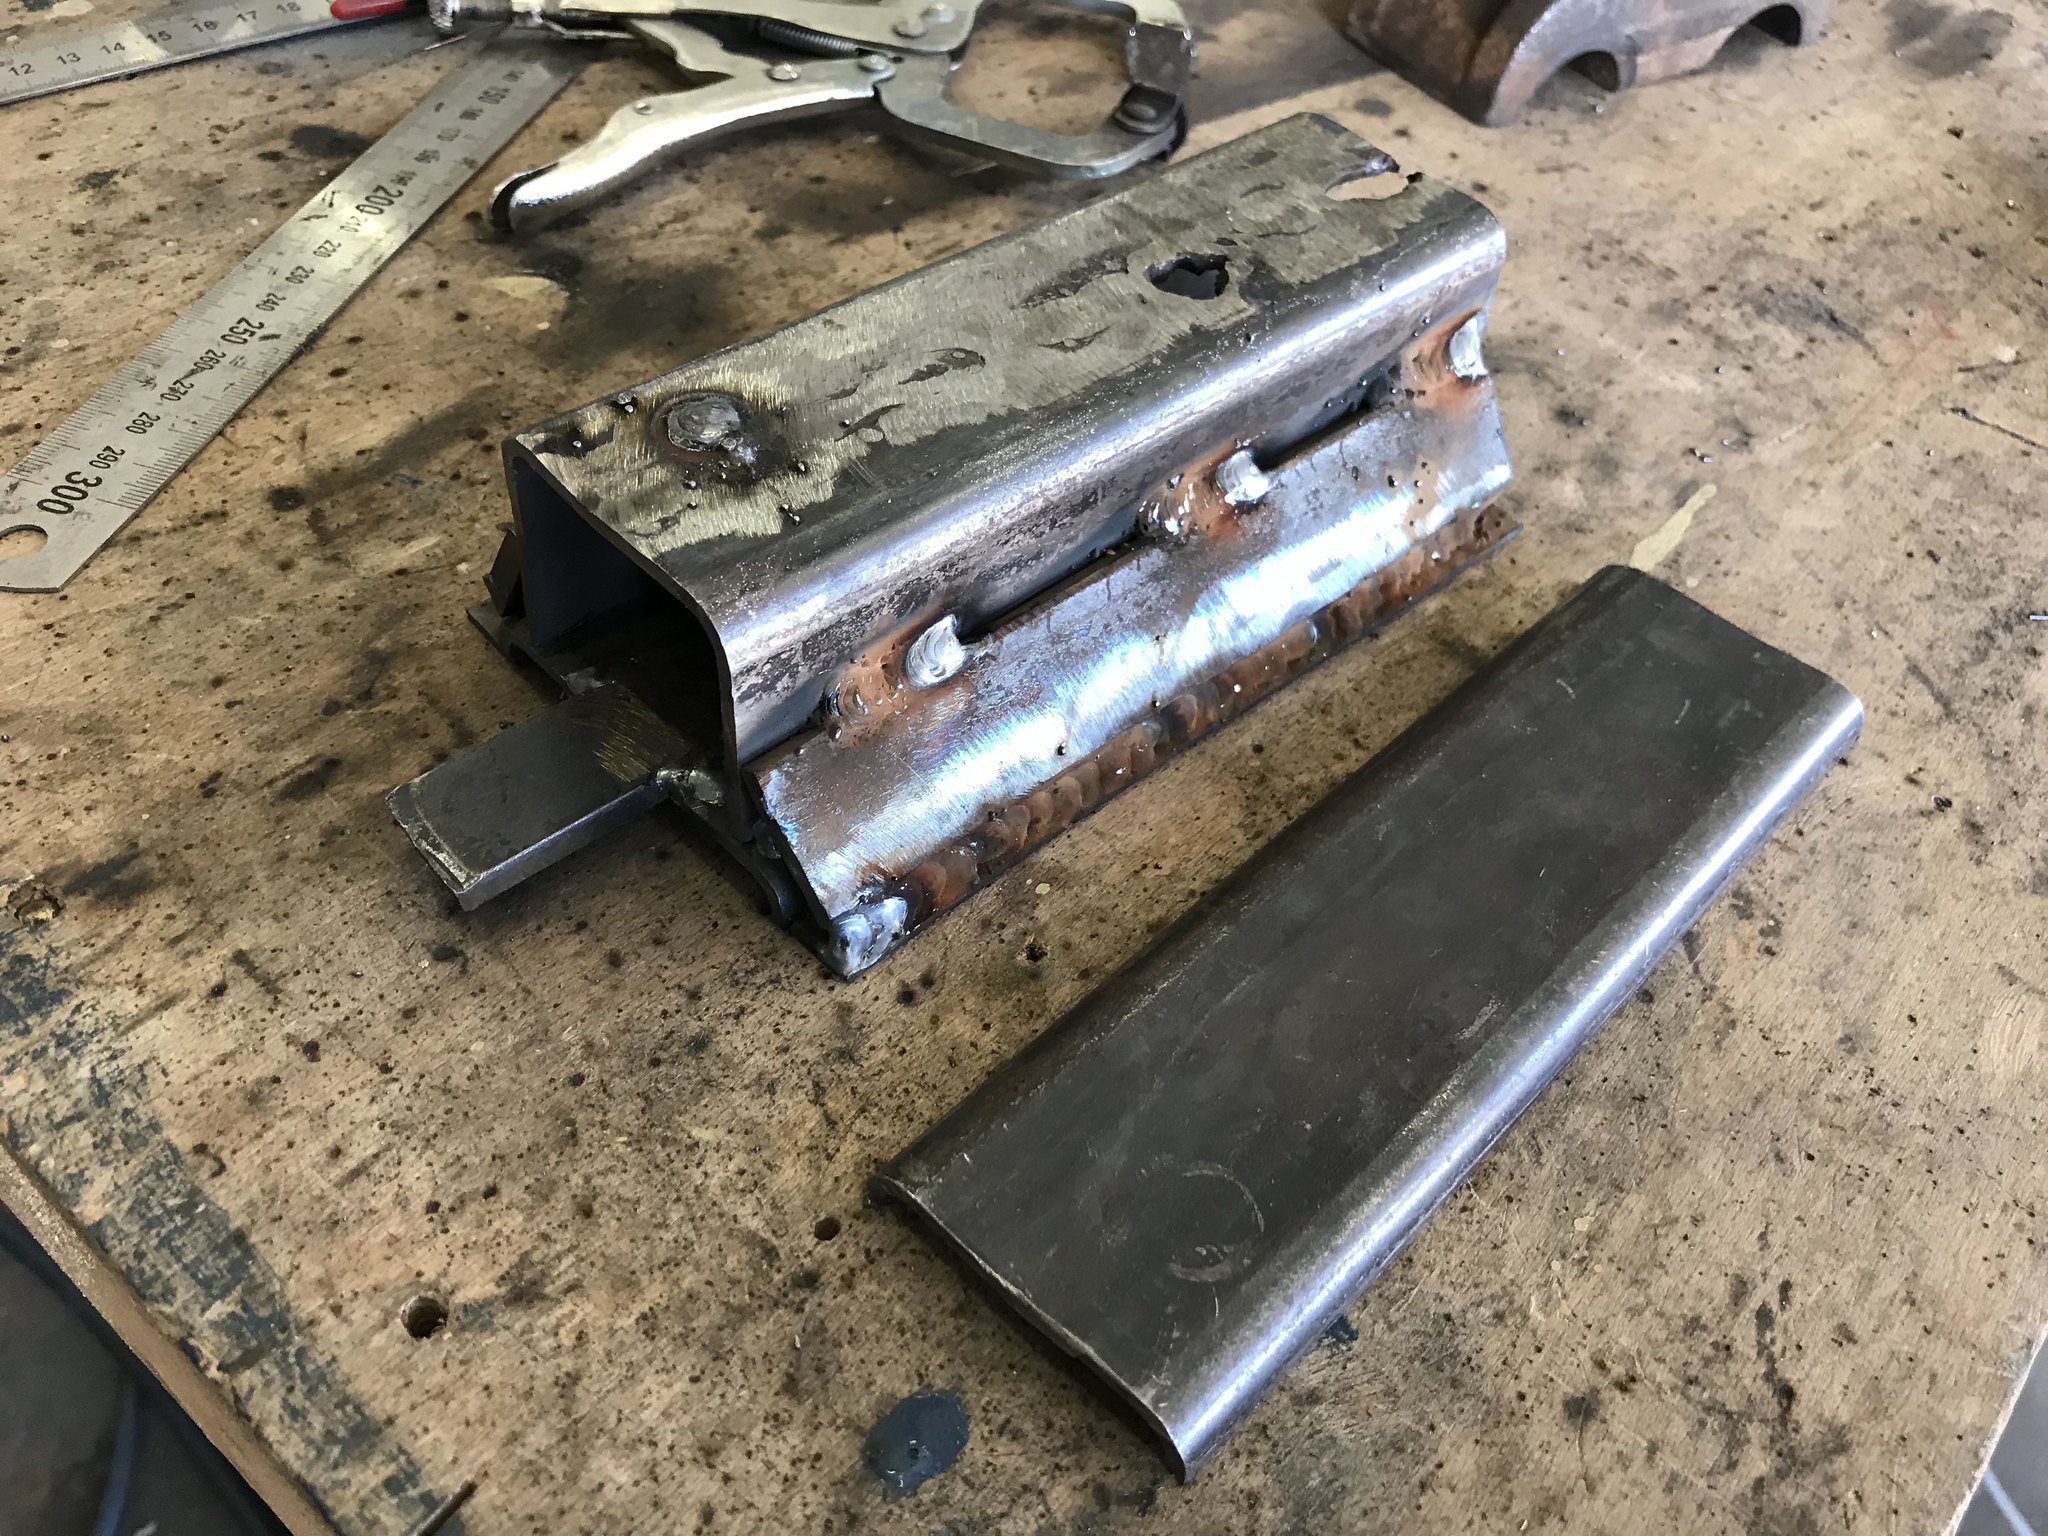
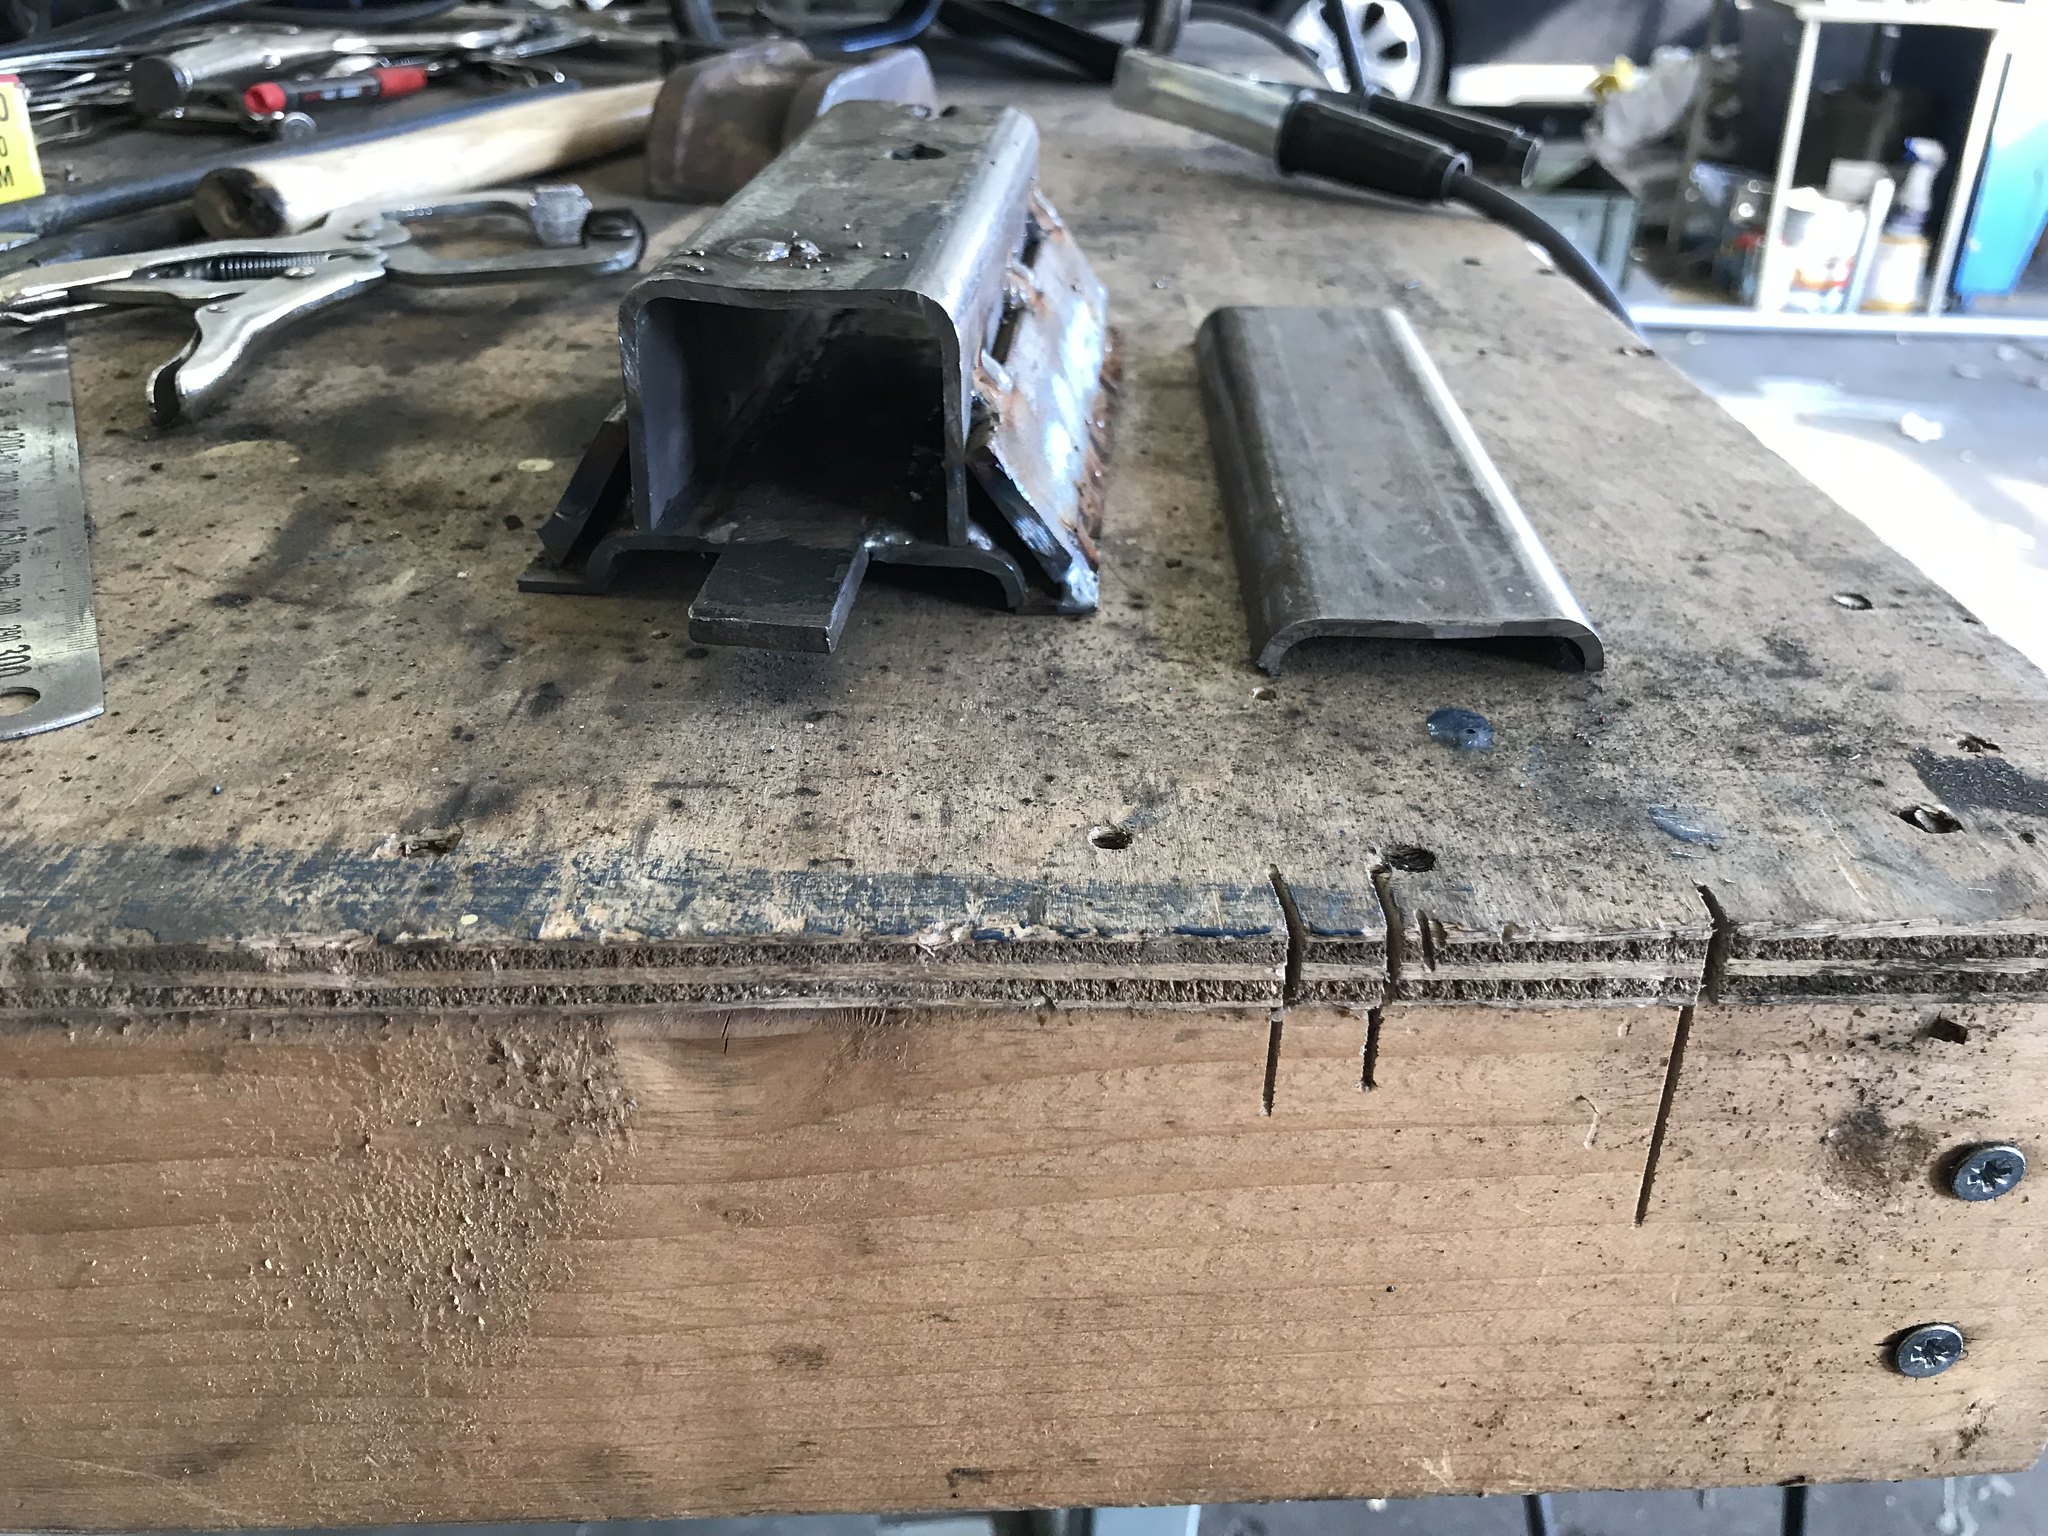
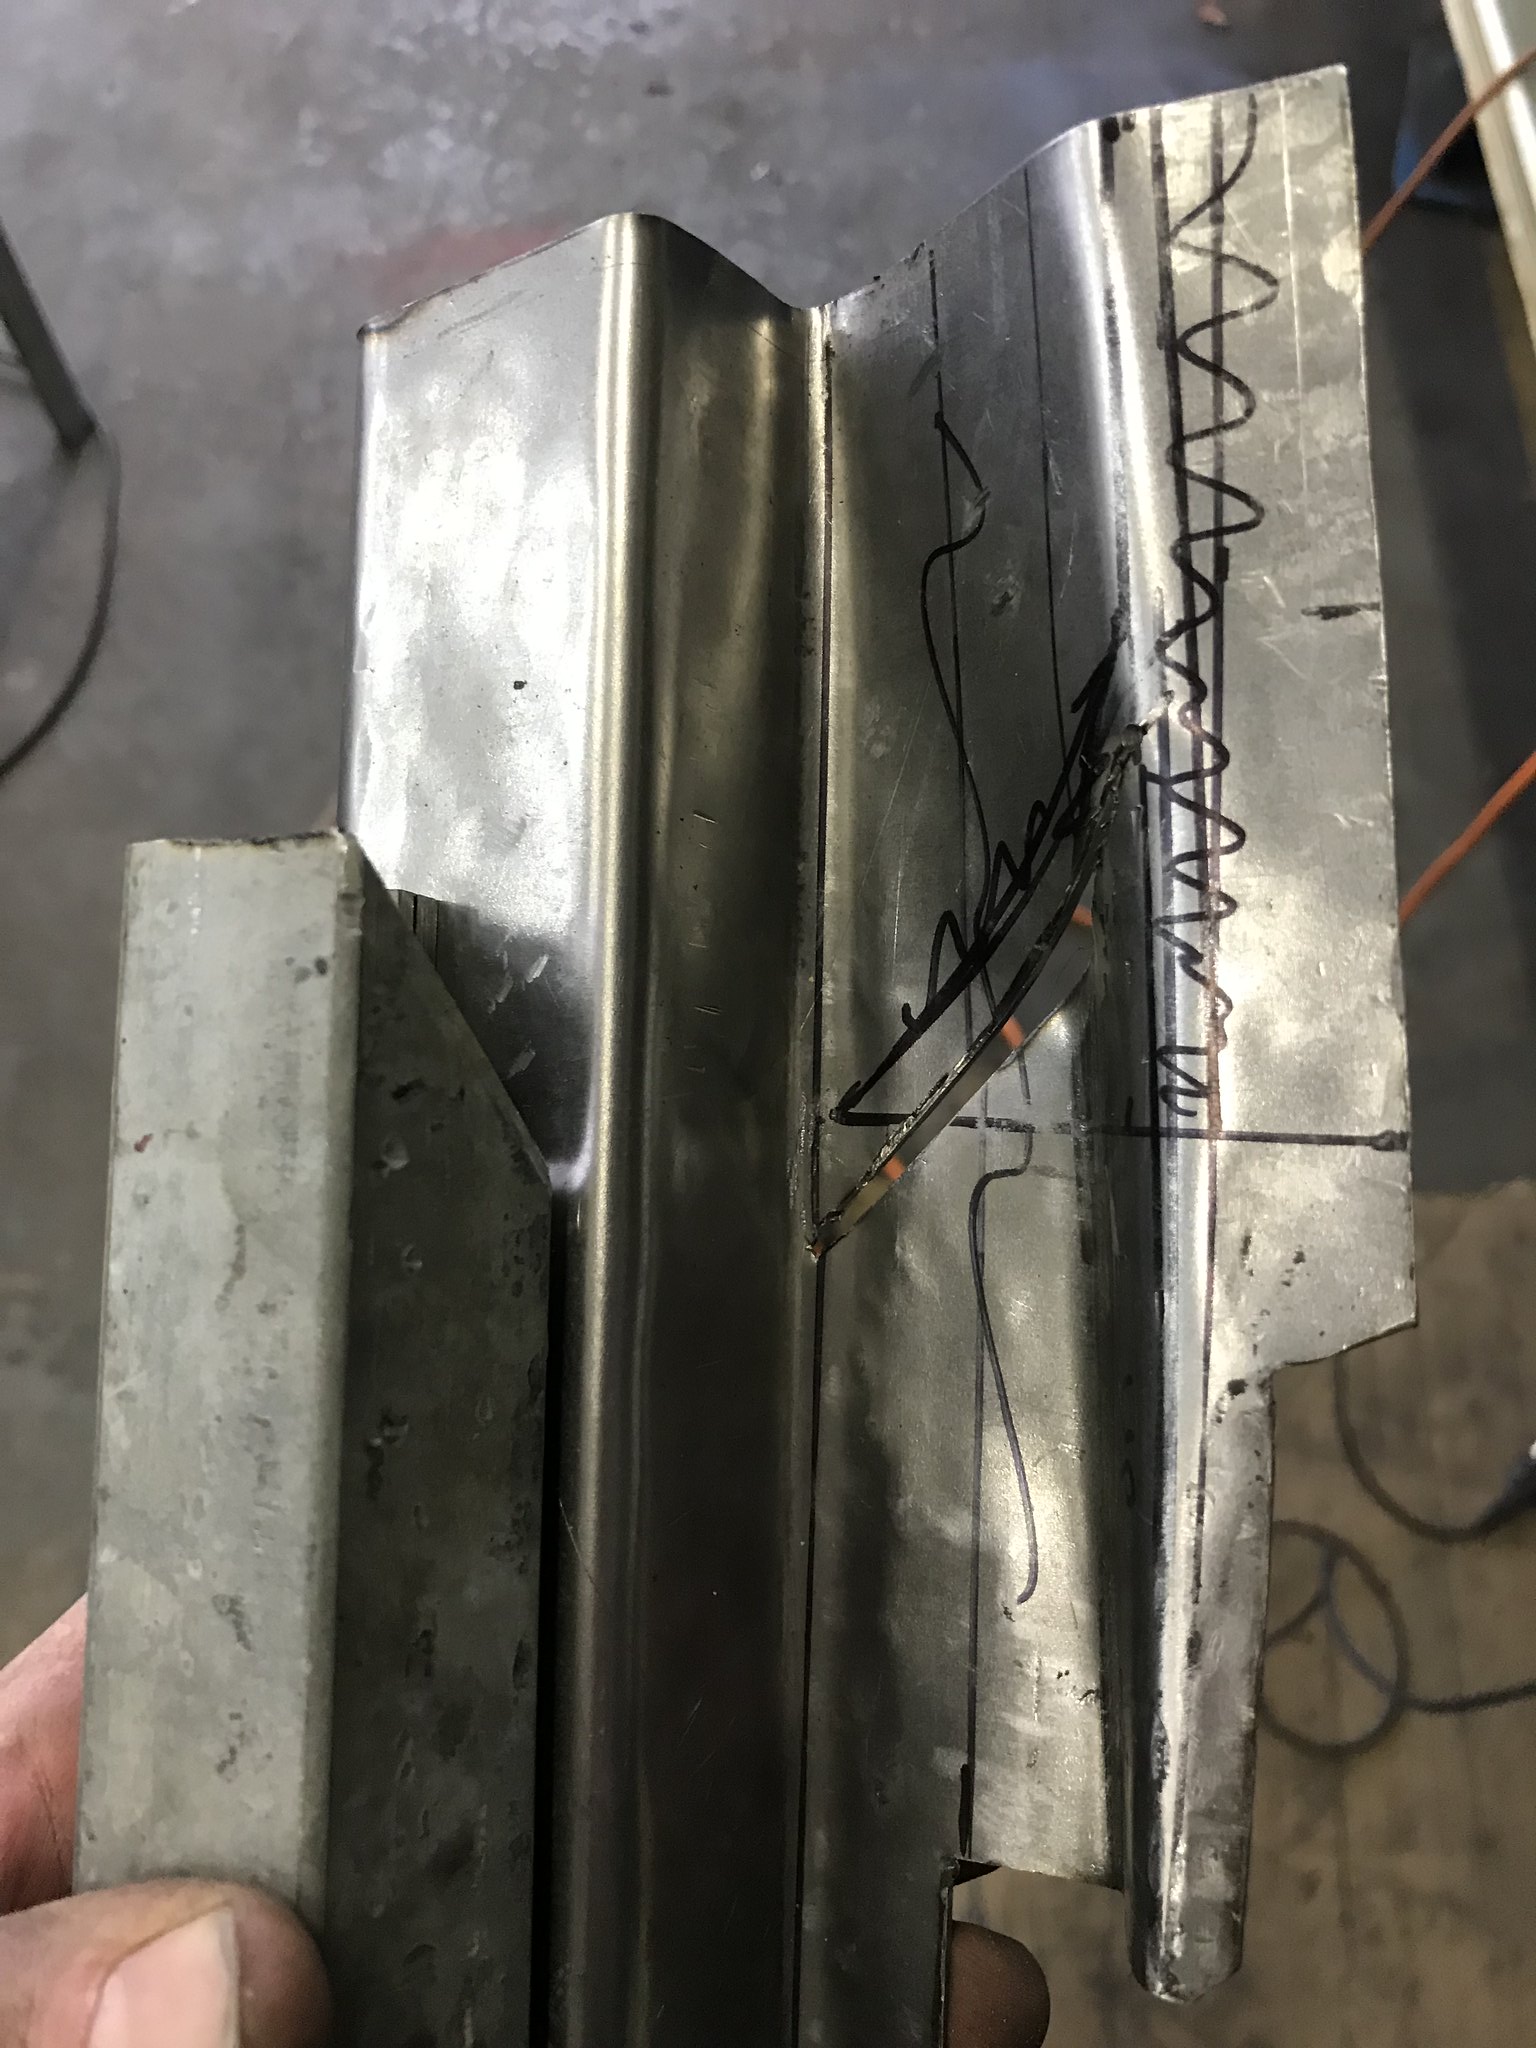
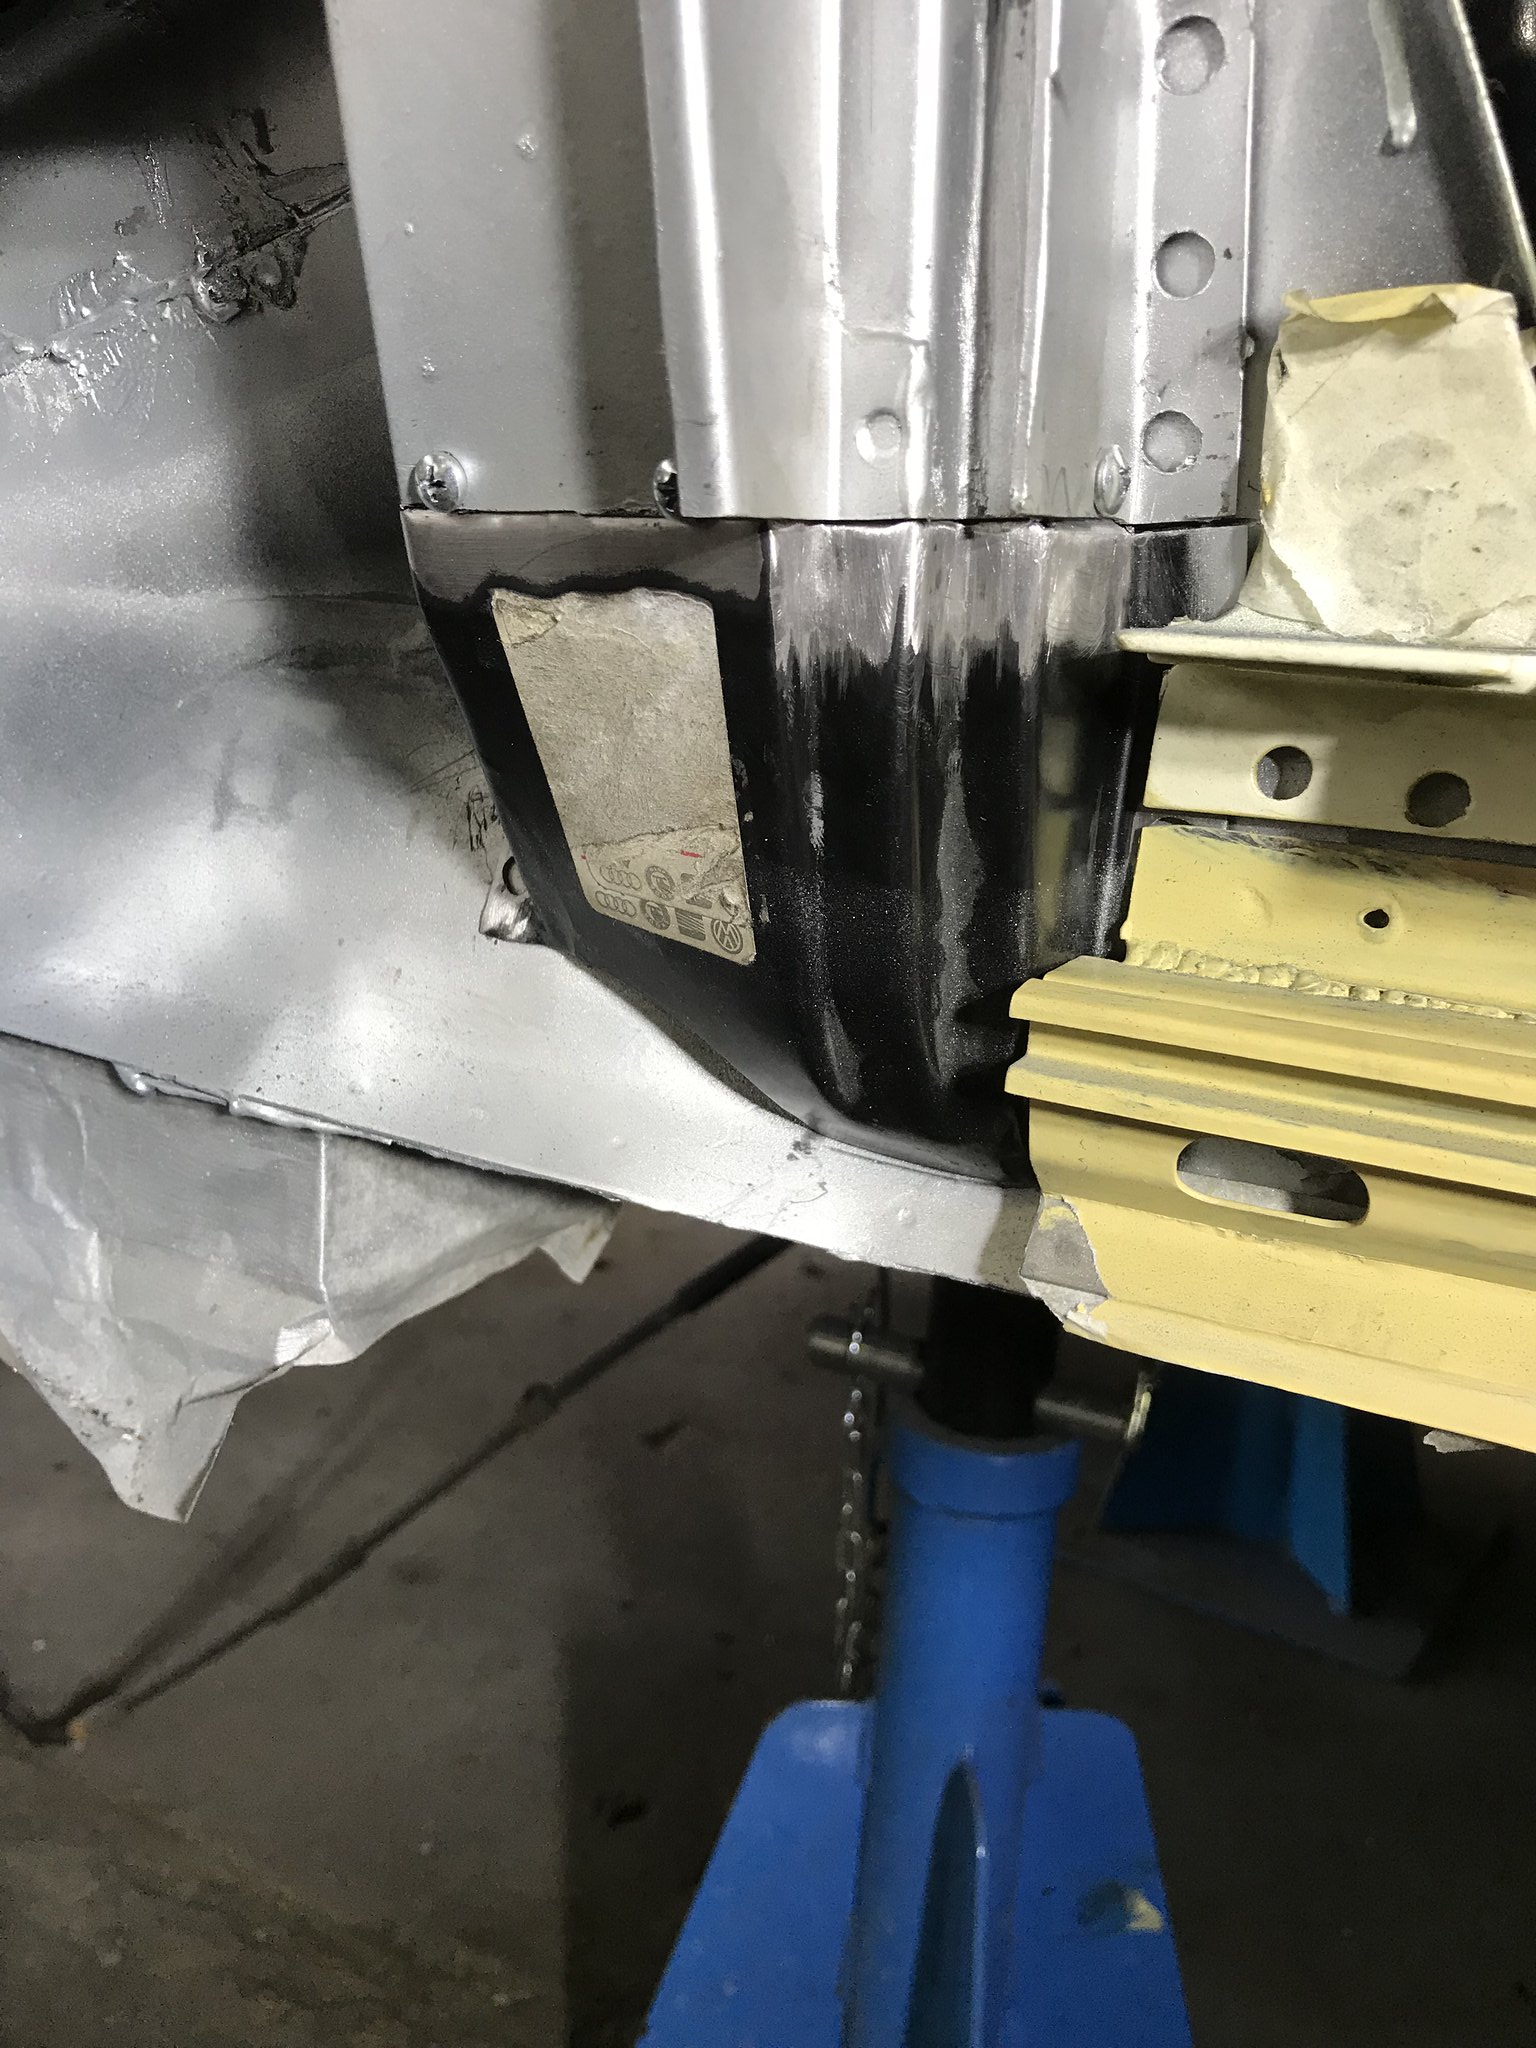
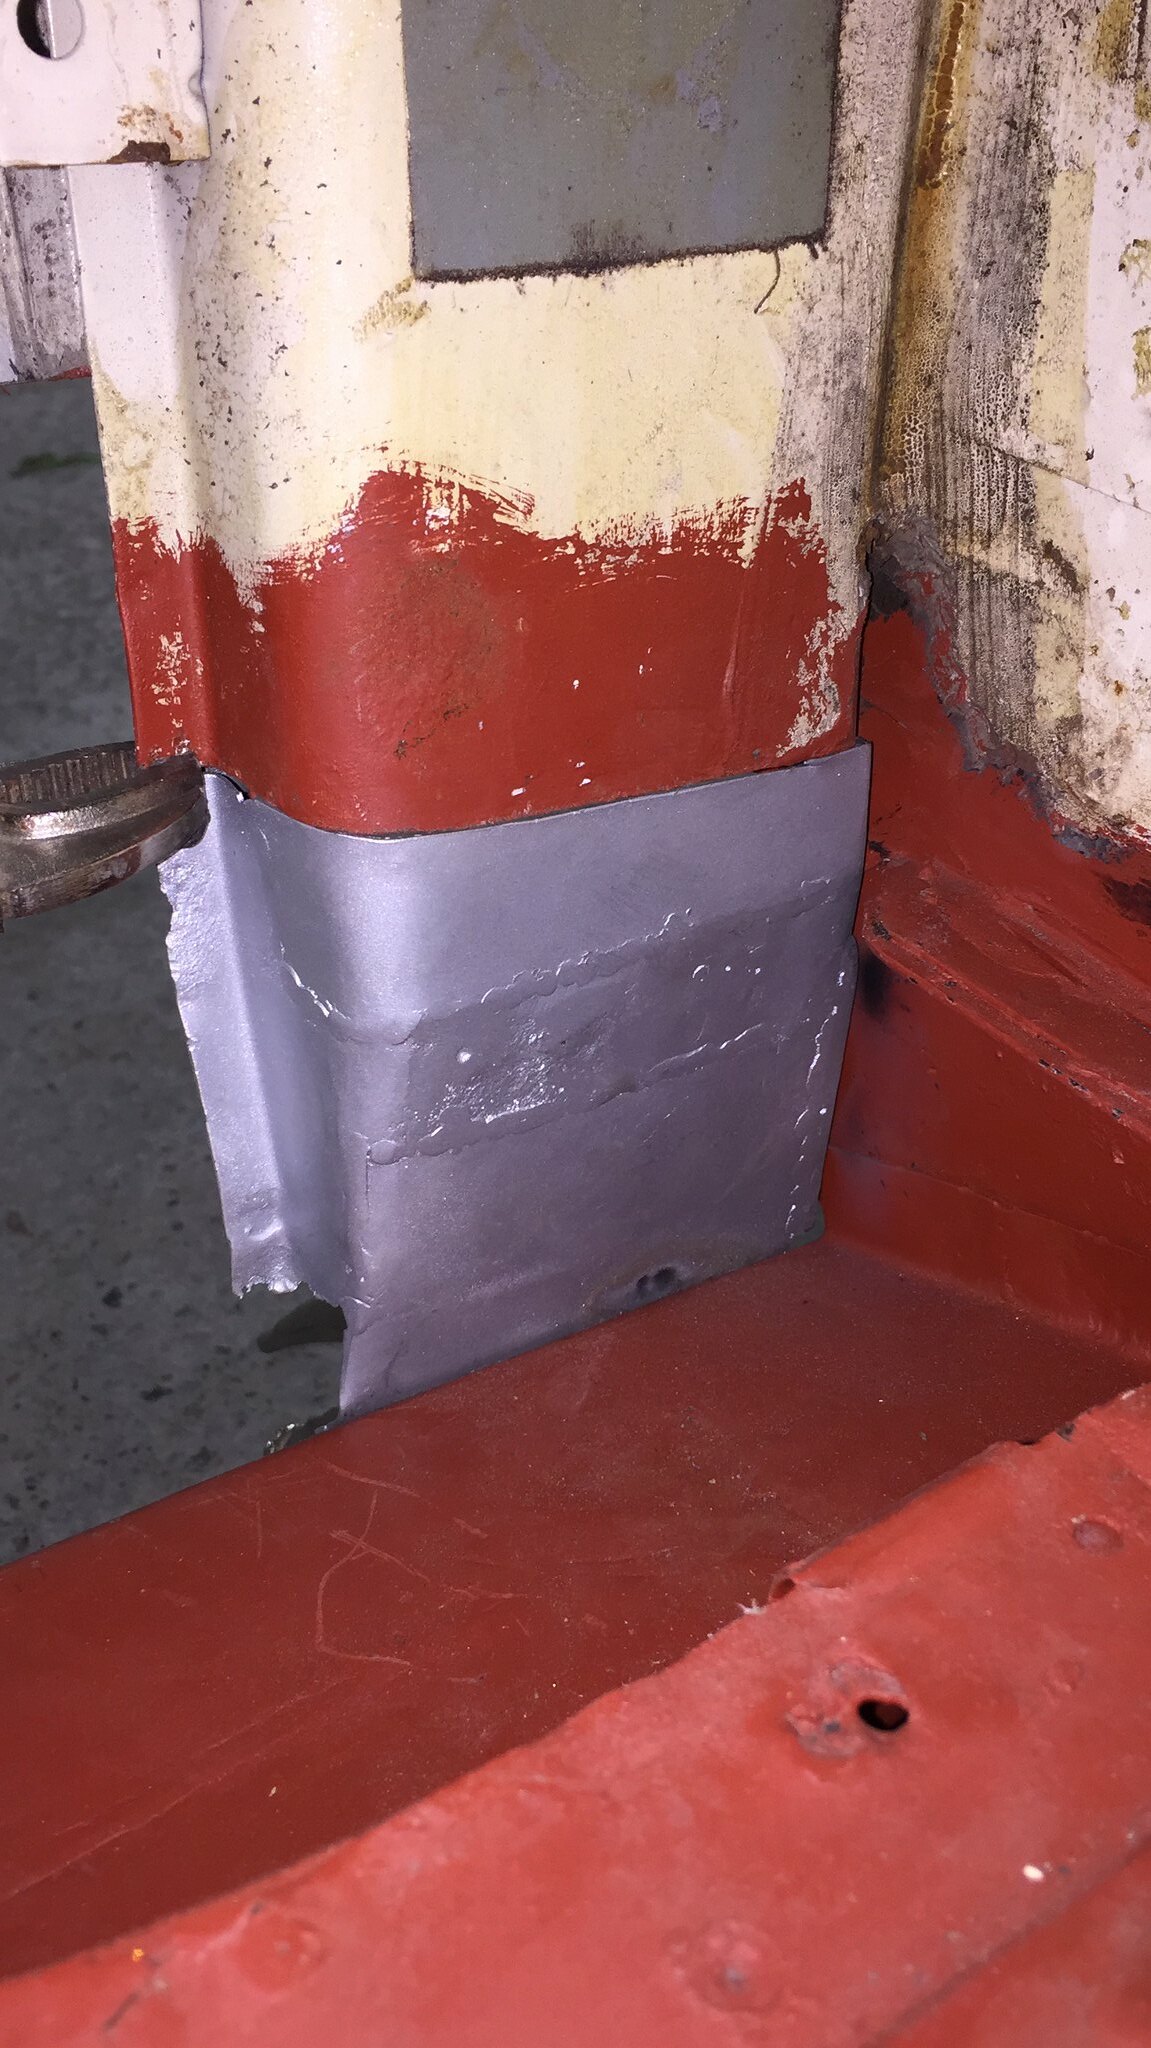
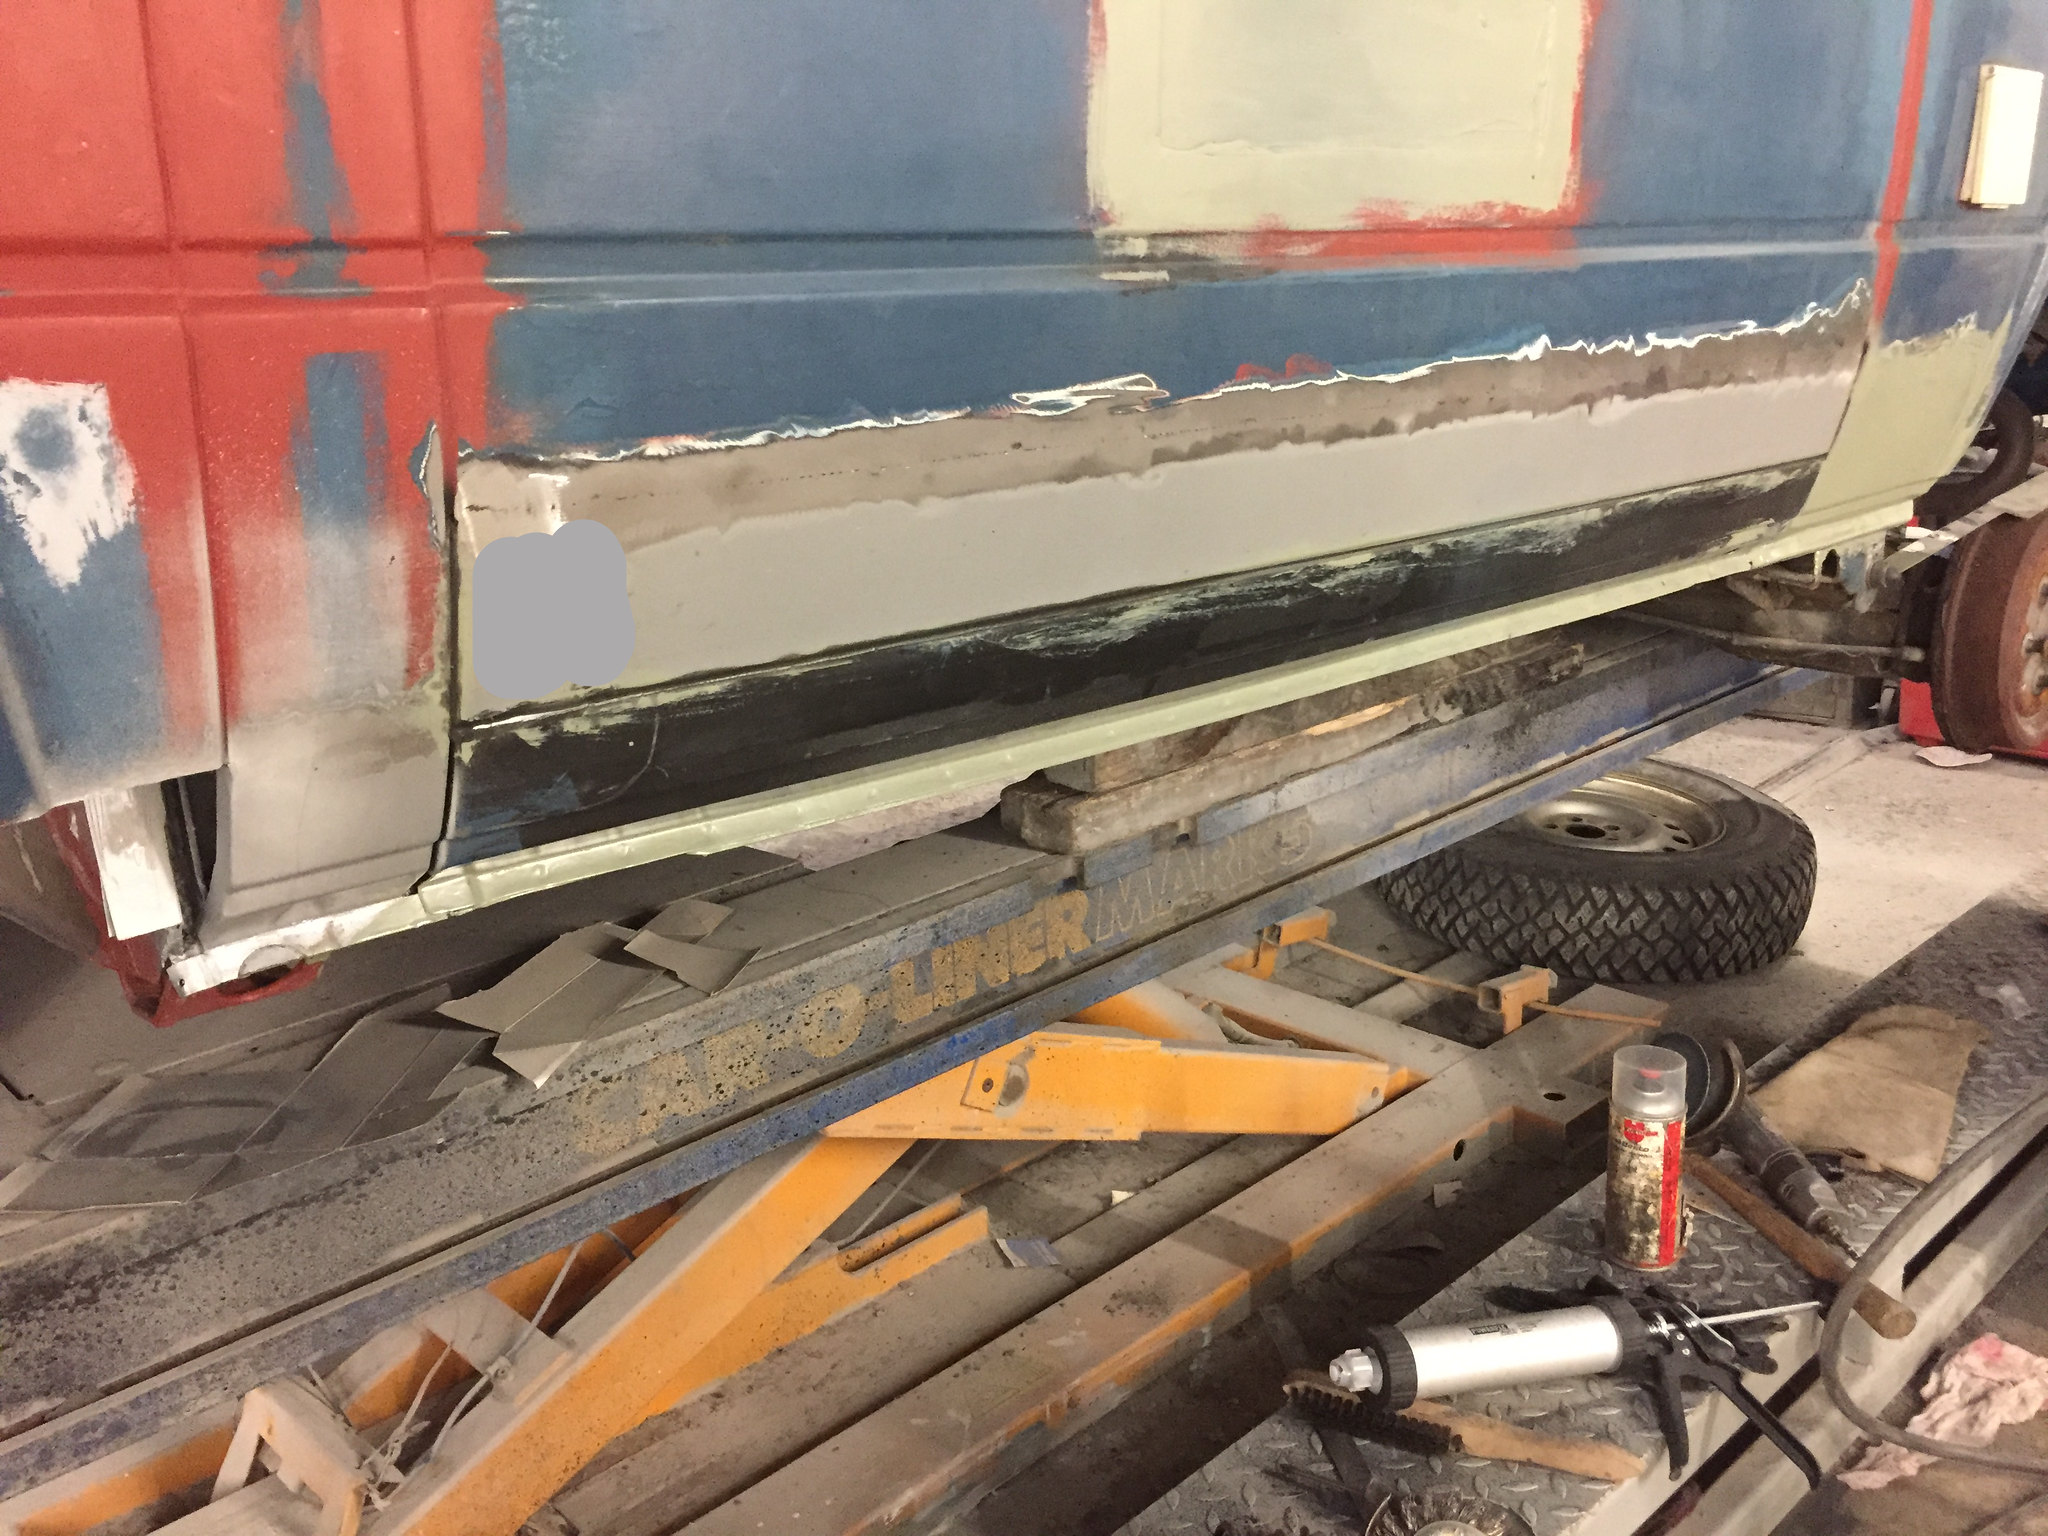
Then I got a machine shop to take my nasty lower side panel (the long grey panel) to fold it up in the correct place for the seam and some edge flaps on, then like the front panel, panel bond the edges plug weld to the outer sill from the inside and use butt weld clamps before butt welding to the side panel.

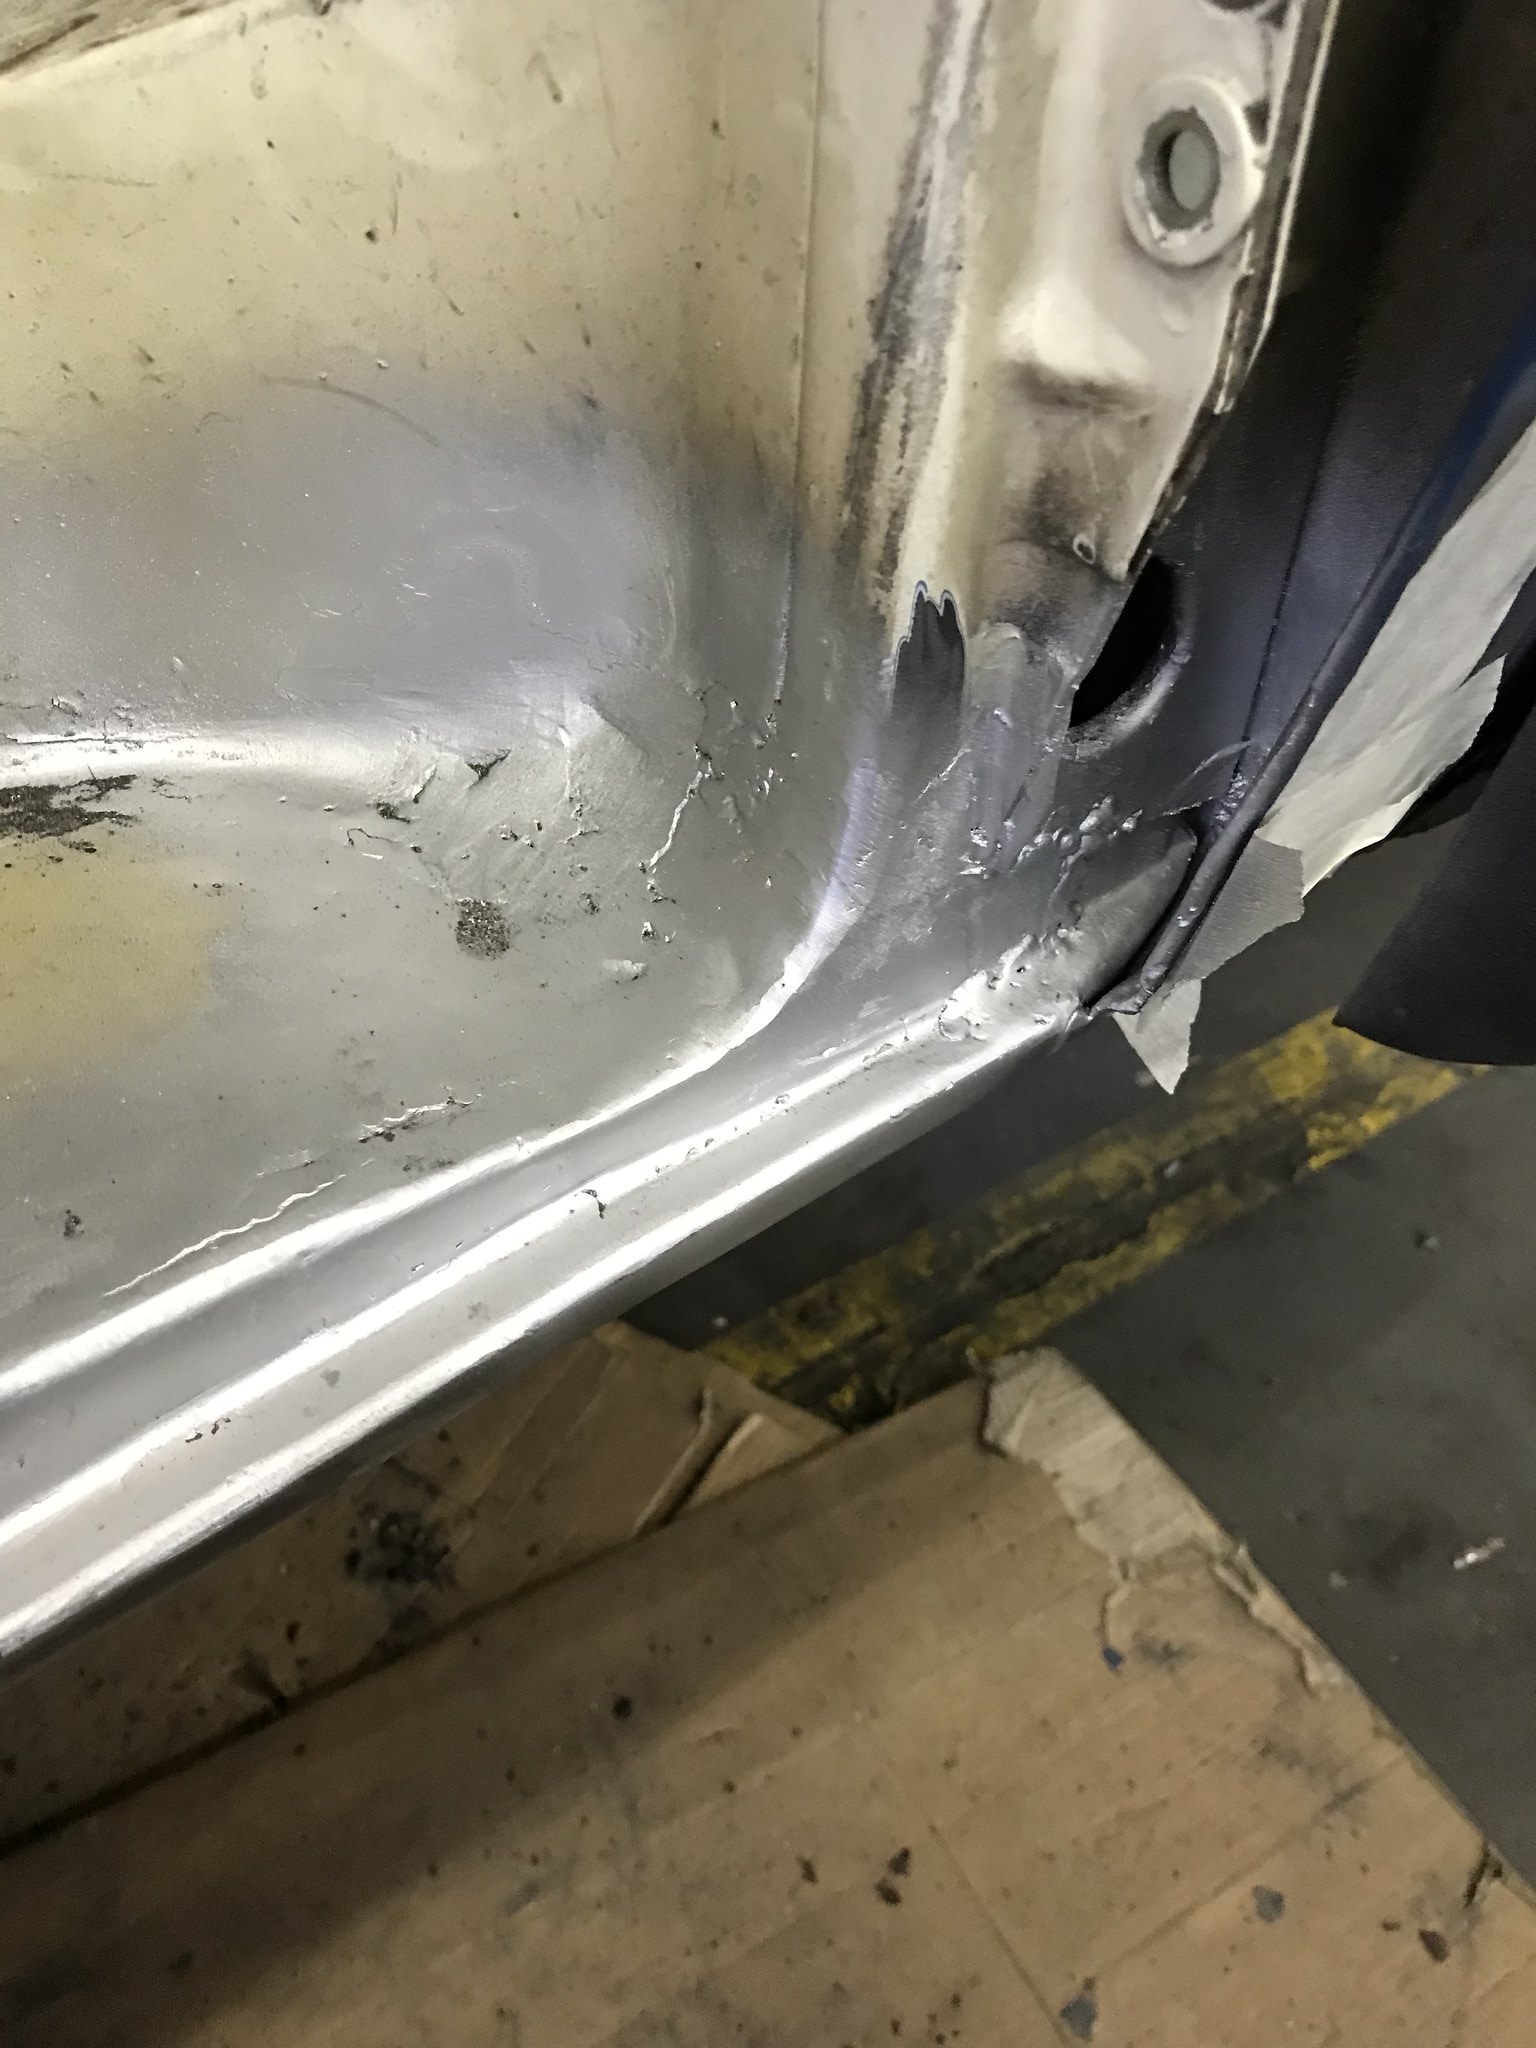
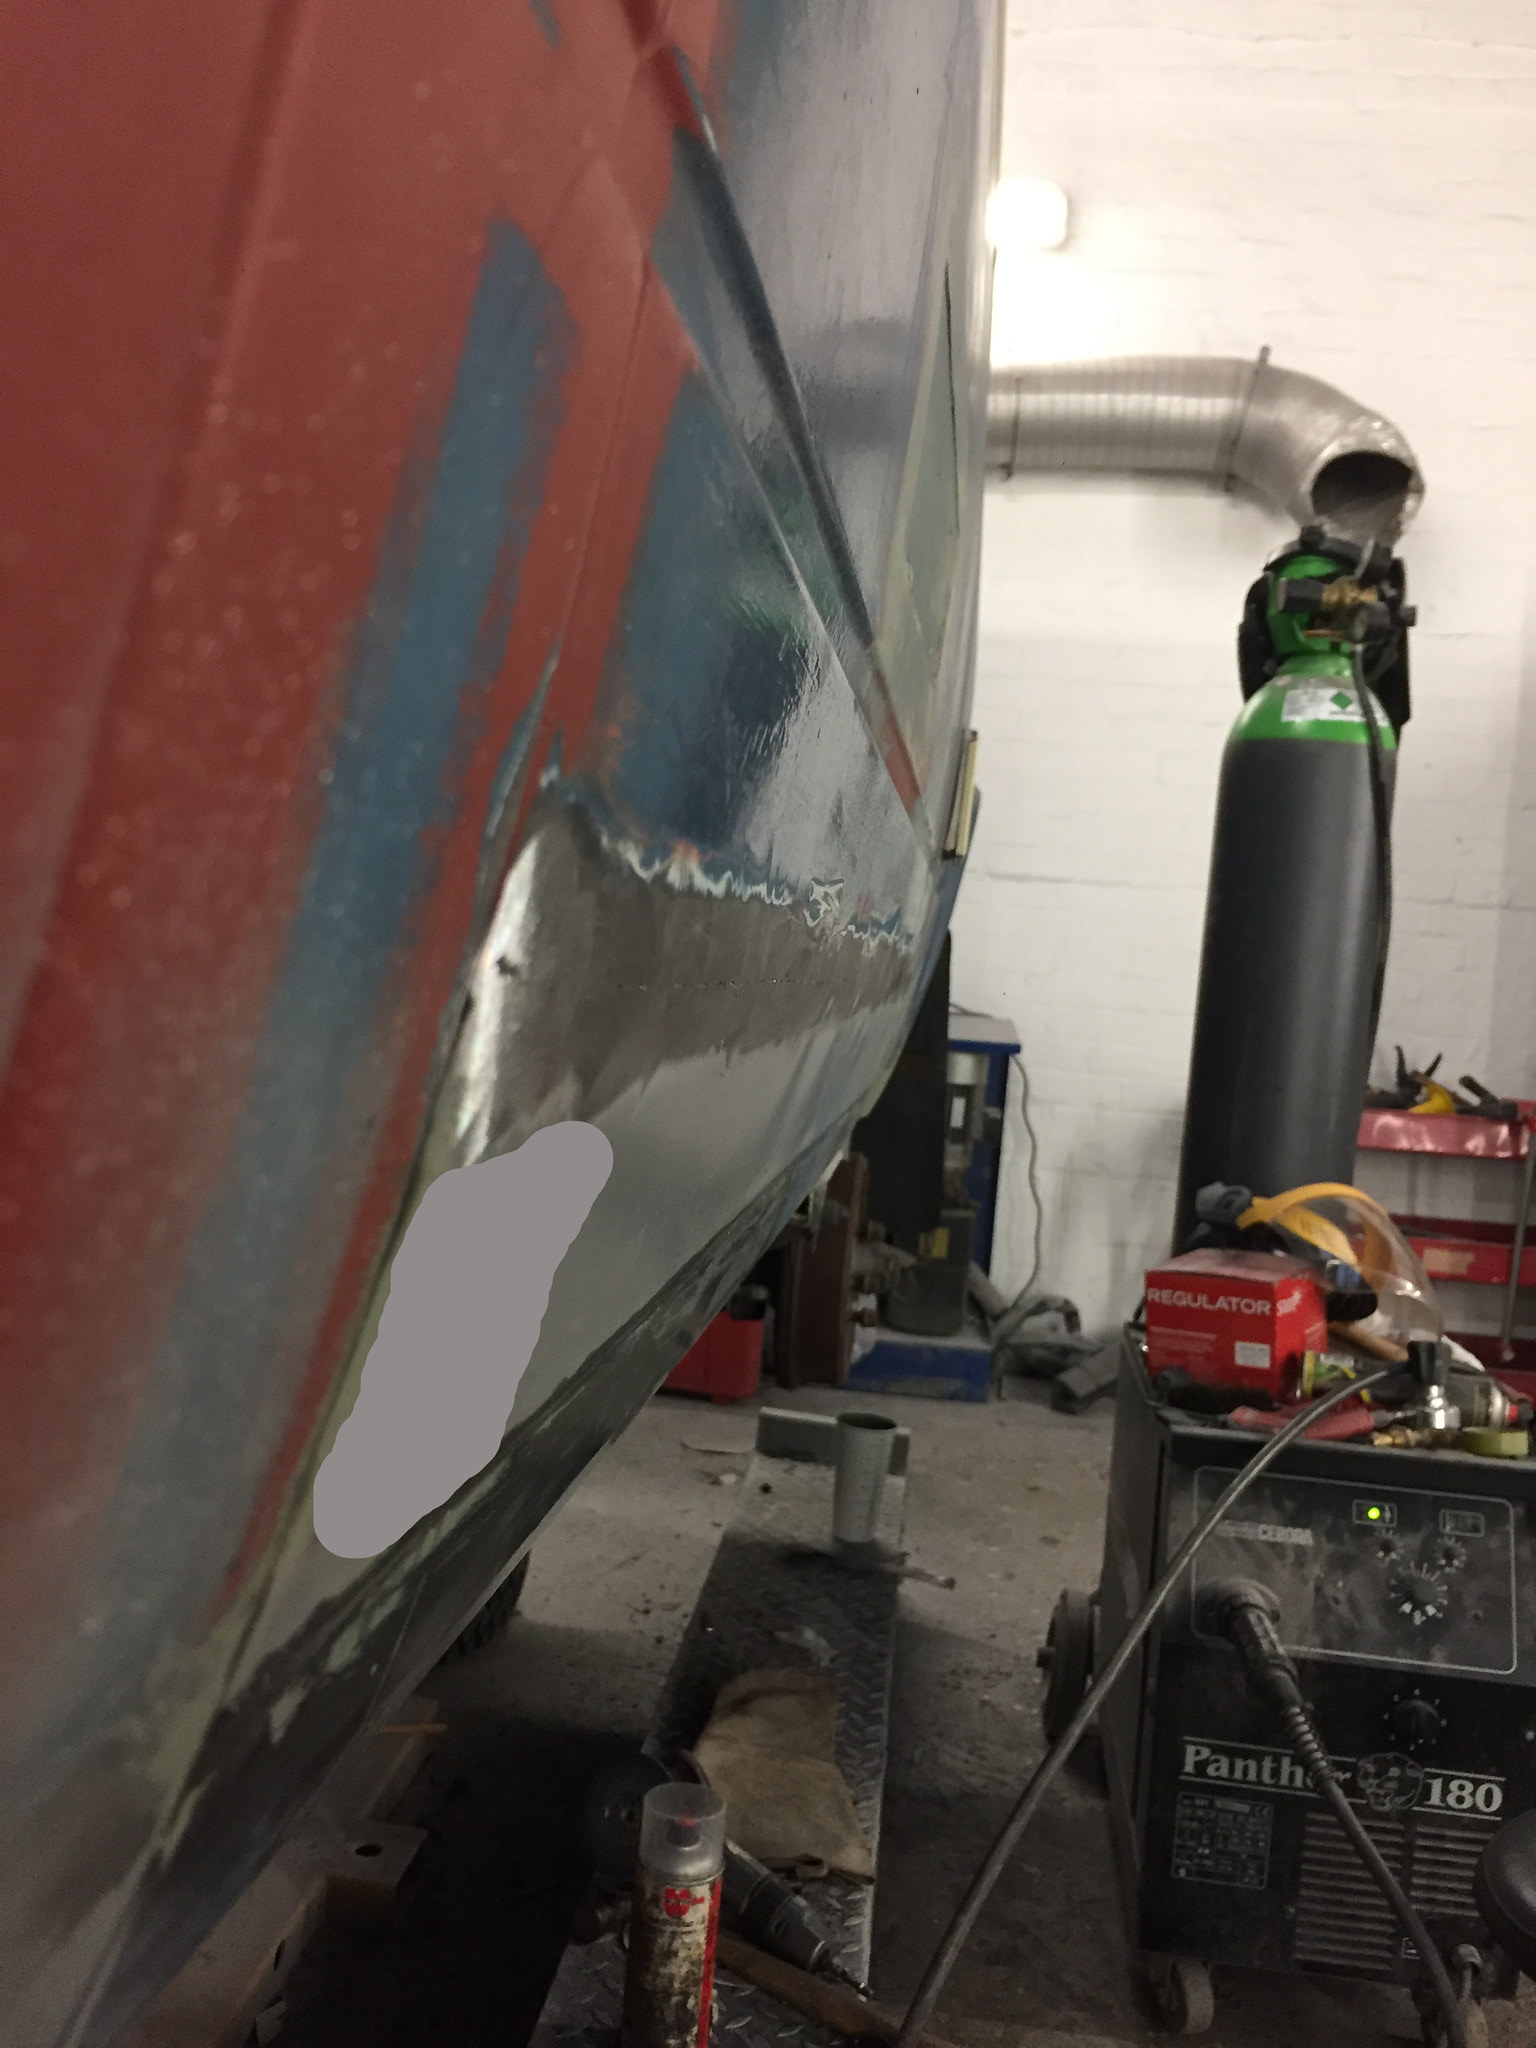
You can see the spot welds in the pic above. This one shows the same repair before butt welding with the rear quarter closed in too.
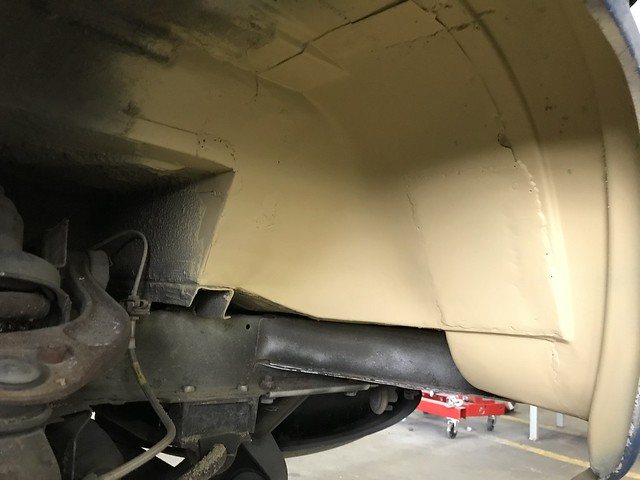
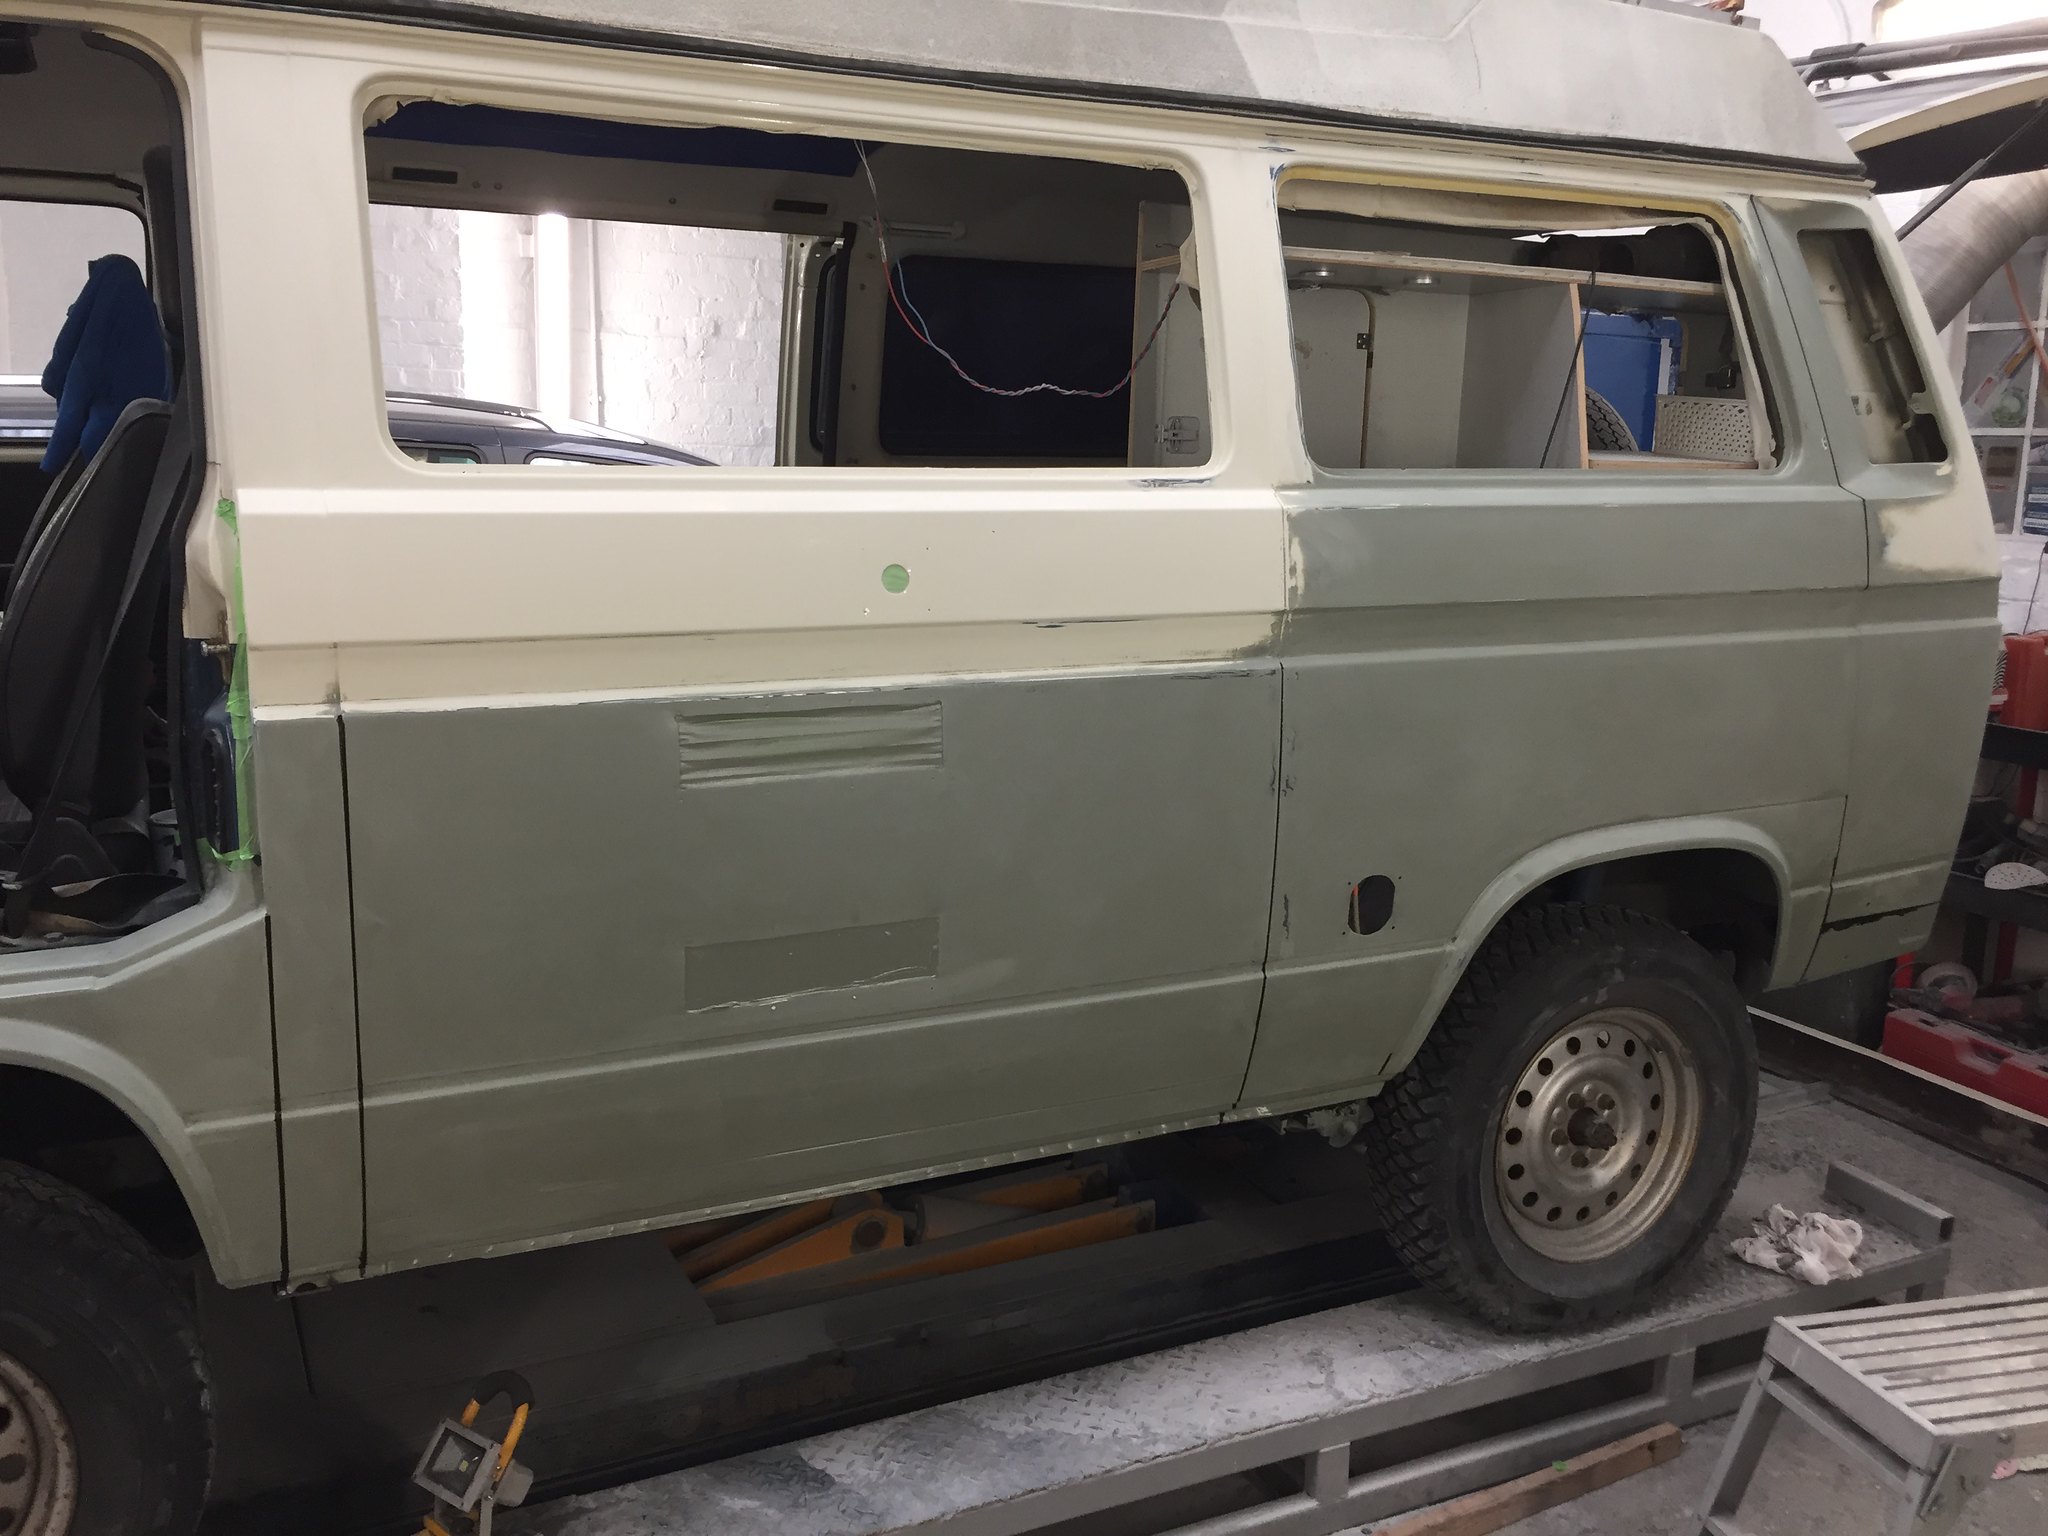
Fully welded up and knocked back. I will use chipguard up to the swage line like Rocky Mountain Westy do I think.
A good example of how you can save a lot if your prepared to make panels, but it will cost time if your not a real whizz at it
Front arch patched ready to go back on

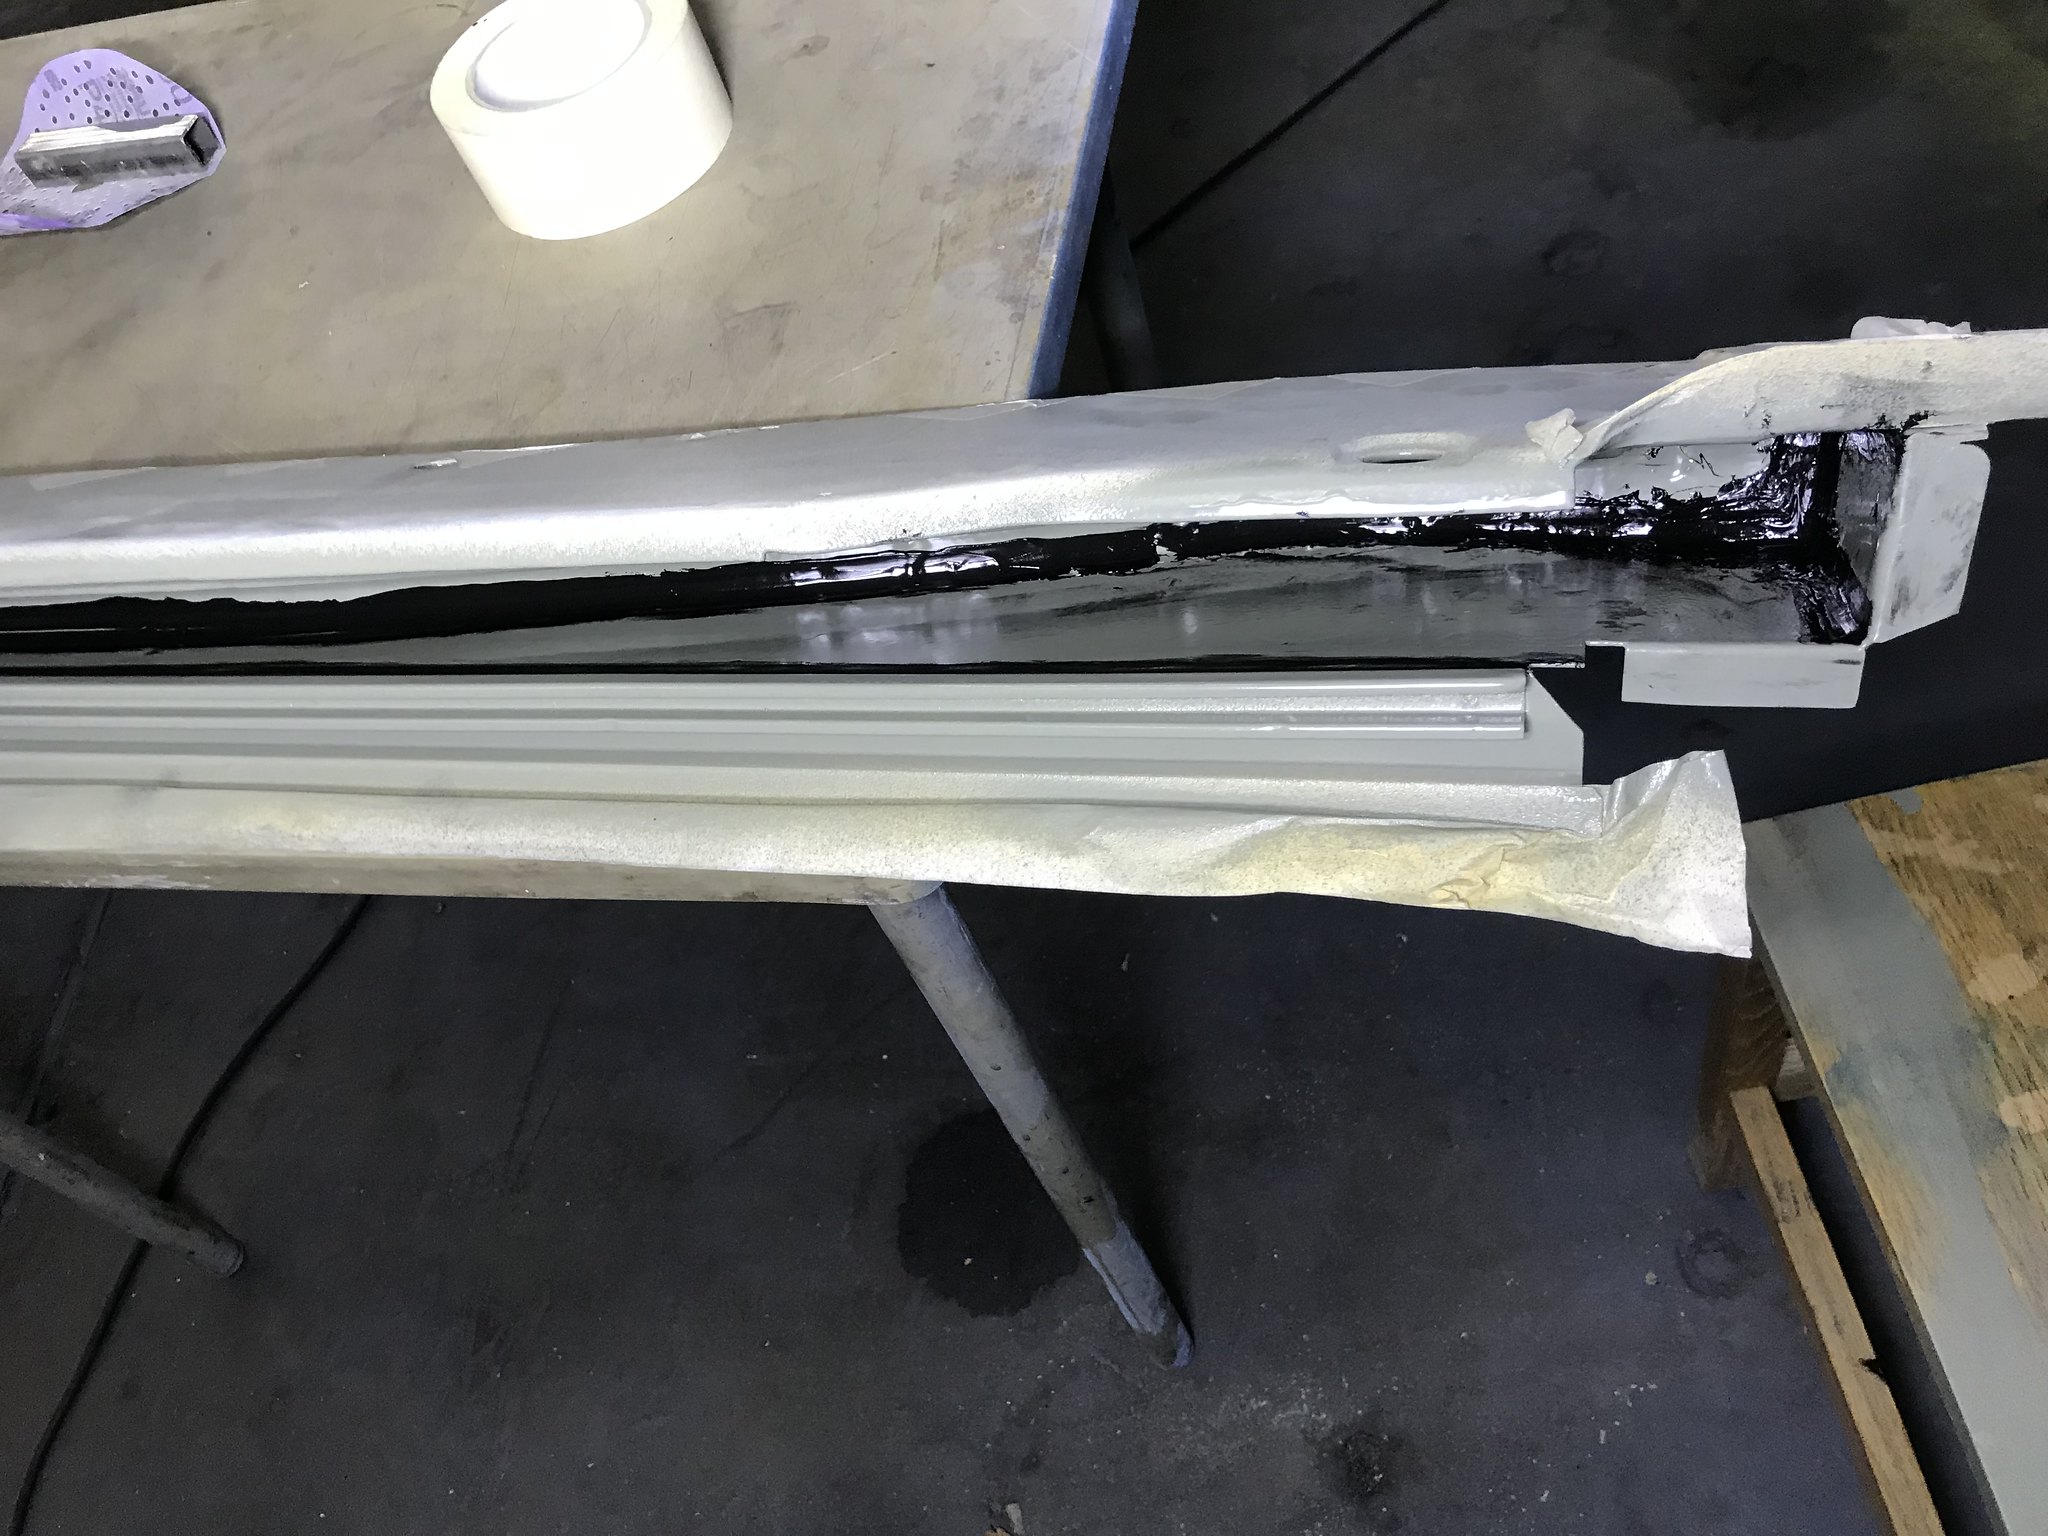
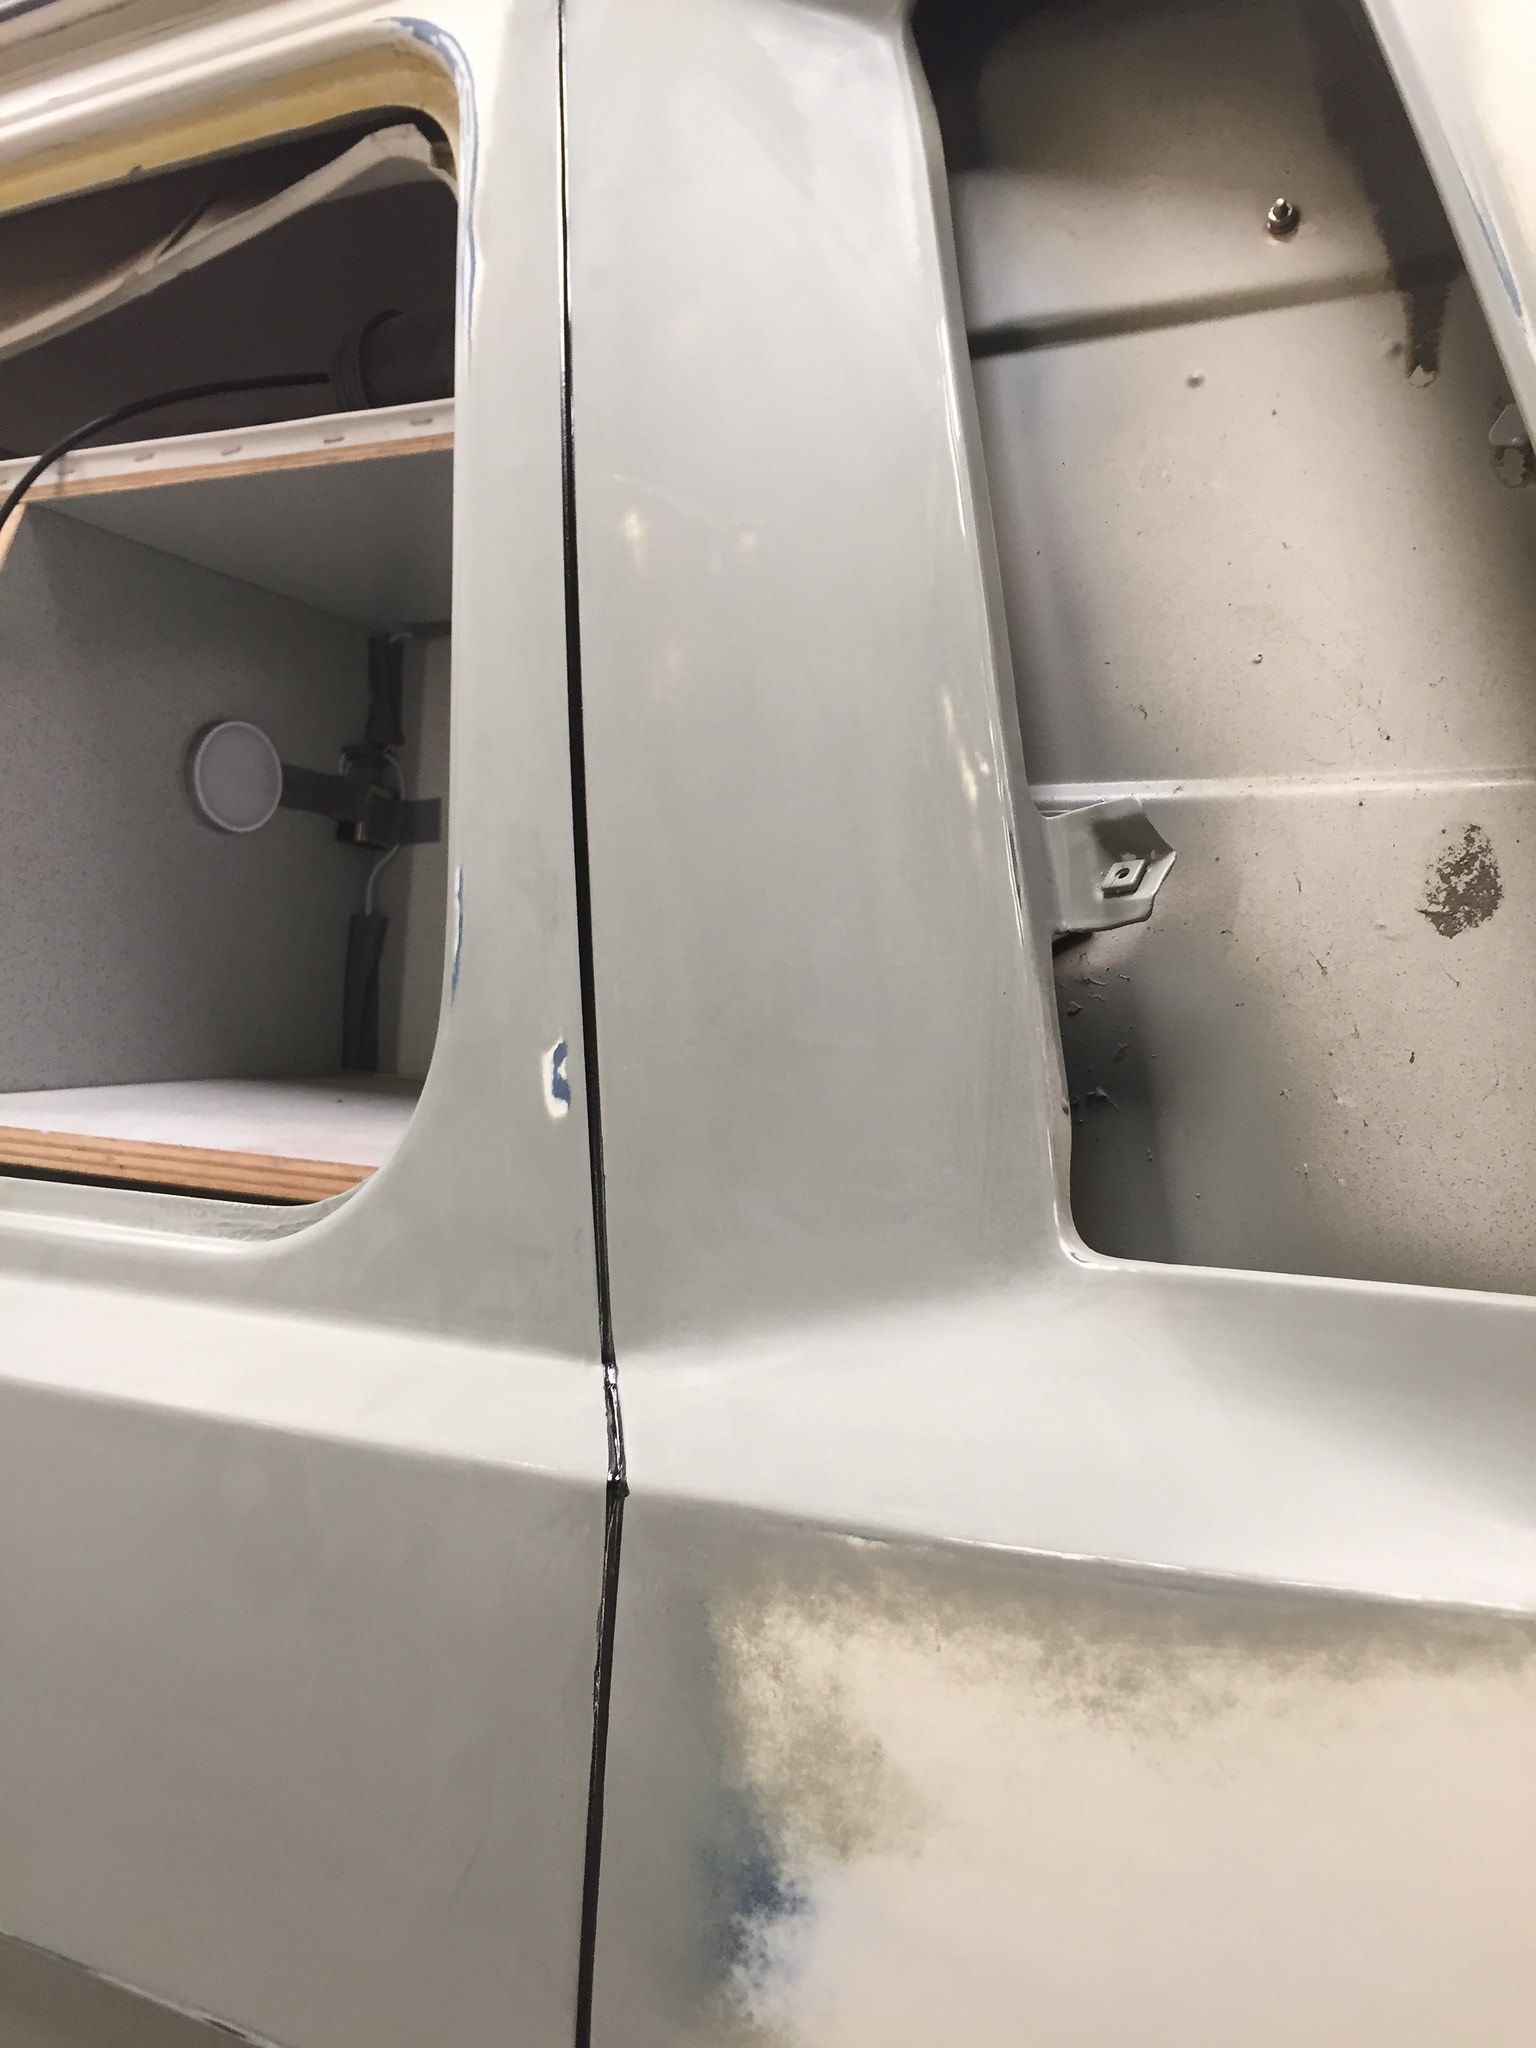
Windows out, cv primered. I then lay a line of masking tape each side of the seams. Polyurethane sealer in, wiped once each way with a wet finger to push in firmly, whip off the tape and voila.
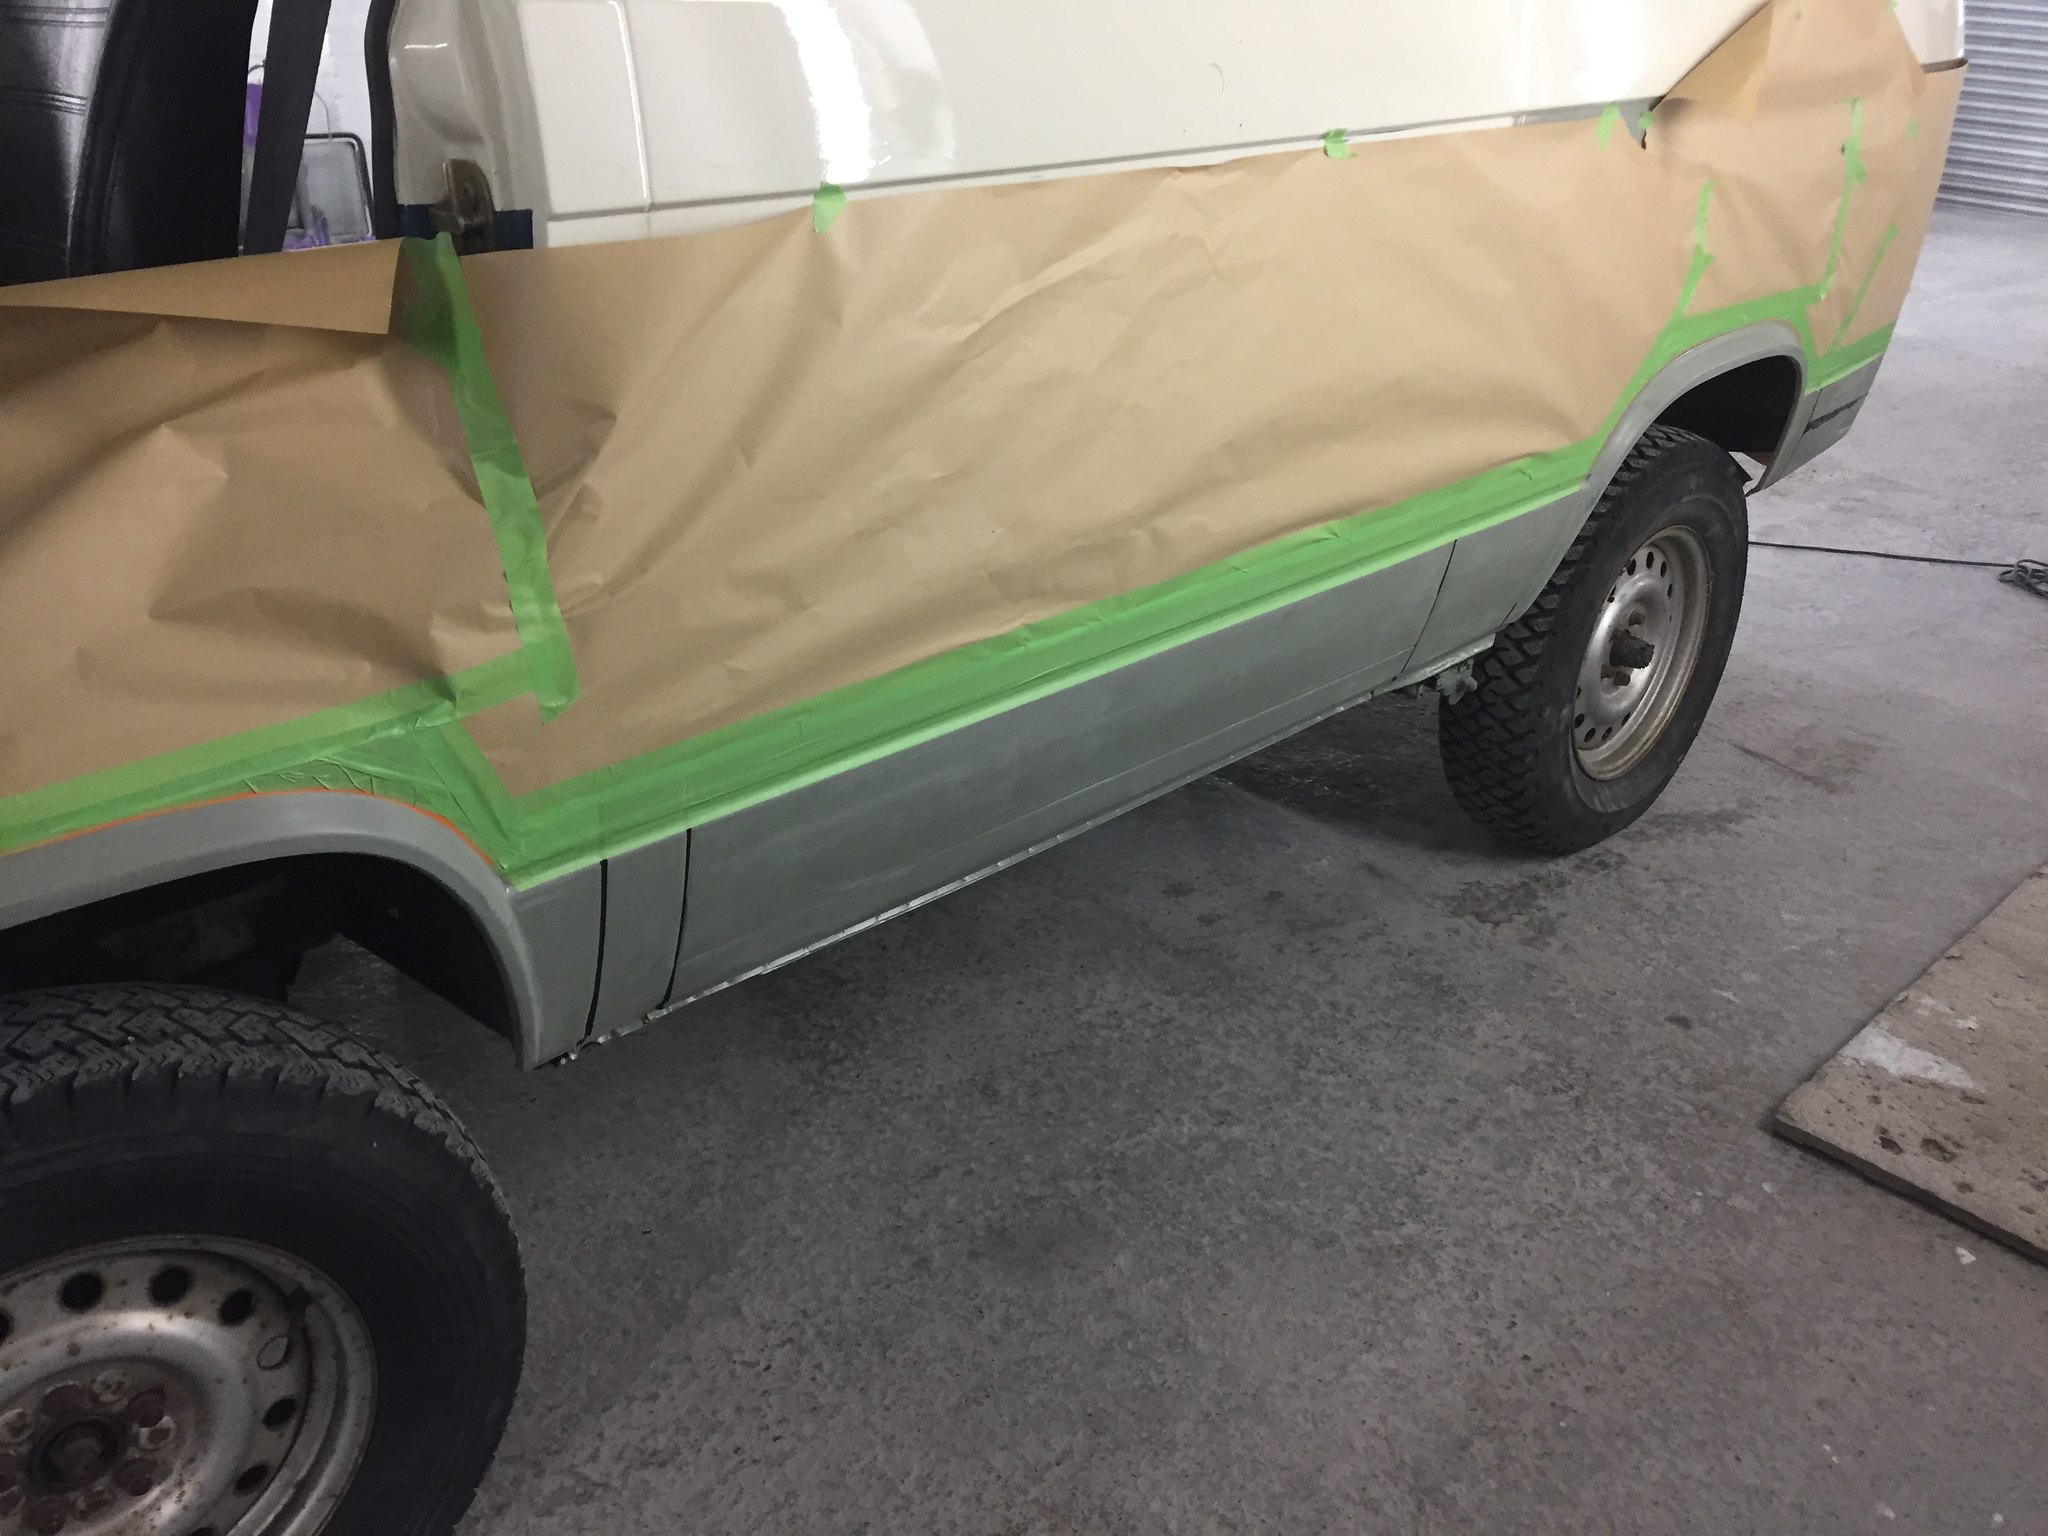
Masked up ready for U pol chipguard. The Kent system is amazing in its variability and gets a factory finish.
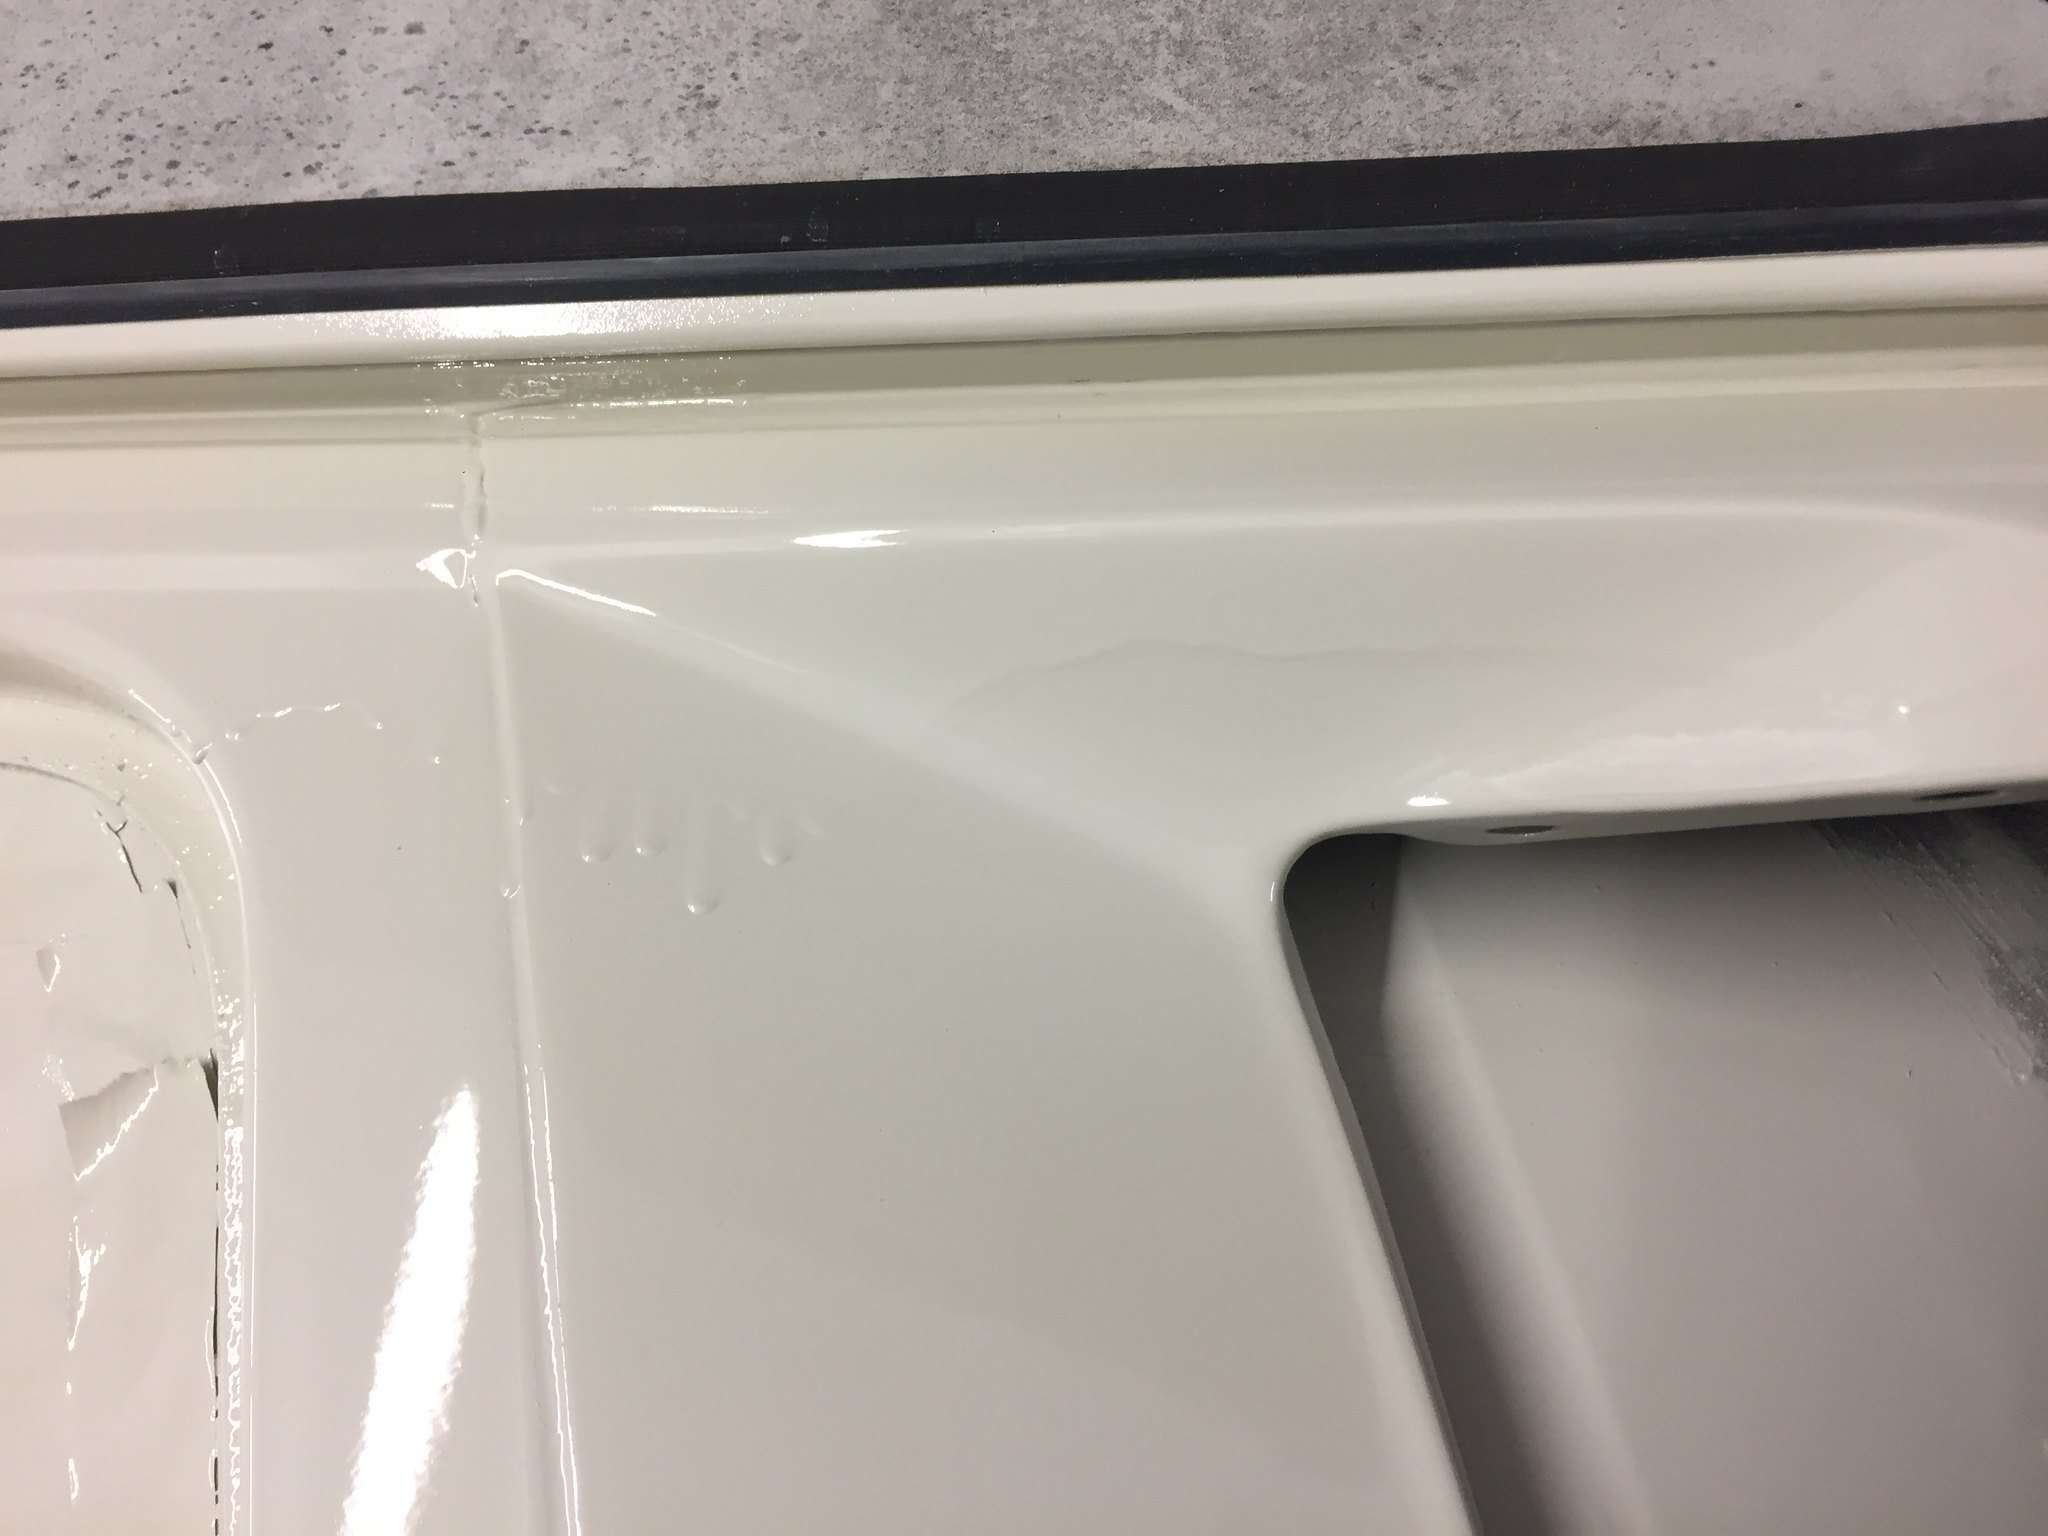
And this is what happens when you paint drunk at 1am, you get sag and runs in the paint, both colours got done because I had an infrared lamp to cure the paint, the van was too tall for the booth. However, I flatted off around the seals and it’ll do the job to protect the paint until I can flat it and probably repaint it.
I’d ran out time to repair the back, so I ground out the filler and painted it over for another day, it was an ugly previous repair but solid. It was a shame really because if the previous repaired had just aimed to get a little straighter instead of throwing it in and relying on filler it wouldn’t have been bad, a little agricultural perhaps.