Page 1 of 1
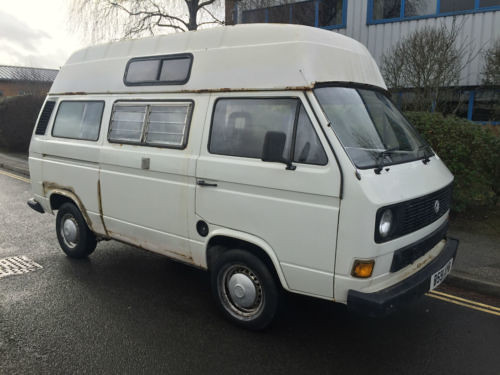
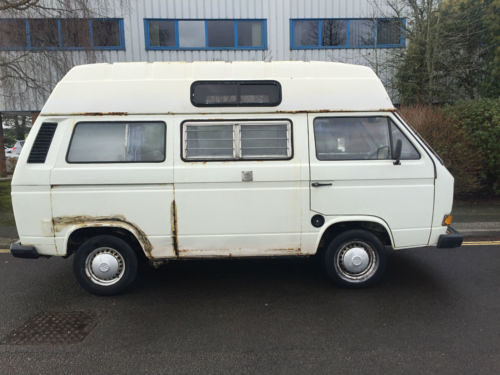
T25 "Marvel" Major Restoration
Posted: 27 Jul 2017, 12:29
by HampdenRor
Hello,
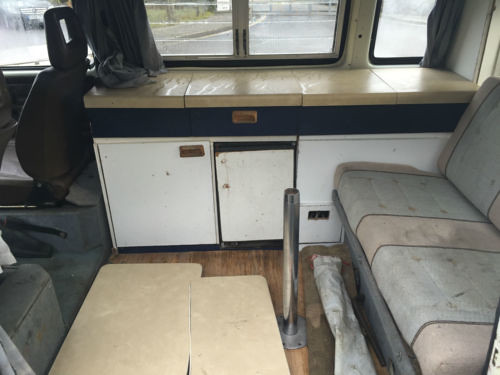
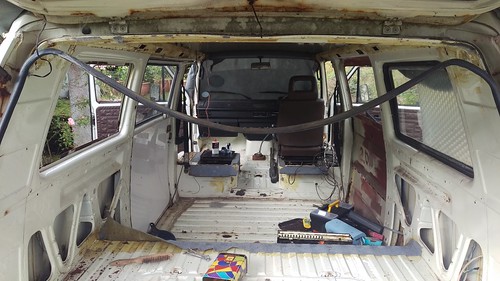
I bought Marv 1 year ago as a newbe to the T25 world, I didn't have much of an idea as what to look for in terms of rot or mechanical but I did tinker with some cars many years ago so felt it was something I was happy to get stuck into. I don't work in the UK so over the last year I have only managed to put in 3 weeks or so back home stripping out the interior to get a better understanding of what I have taken on board, its much worse than I thought. Luckily in the time away I have been able to watch loads of youtube vids and read almost all threads on this site which I must say is awesome. I have no experience of bodywork or welding just a keen sense of determination to save this old girl from the scrap pile.
After much thought I reckon my best bet is to employ someone back home to tackle the worst of the rot and save the more straight forward jobs for my holidays, I must be mental!
Anyway ill update this thread with some pictures over the weekend coving the work I have done so far, just need to get a flickr account setup first. Any messages of encouragement would be greatly received.
Cheers
Ror
*** EDITED TO REMOVE REFERENCES TO PHOTOBUCKET ***
Re: T25 "Marvel" Major Restoration
Posted: 27 Jul 2017, 13:41
by HampdenRor
Re: T25 "Marvel" Major Restoration
Posted: 27 Jul 2017, 19:32
by dbz864
the links dont work
Re: T25 "Marvel" Major Restoration
Posted: 28 Jul 2017, 08:30
by CJH
You need to use the 'IMG' text that Photobucket gives you, and paste it 'as is' into your message.

Or even just the 'Direct' text, and paste it between

The difference between them is that the first method links back to your Photobucket album, and the second links only to the specific photo. But note that Photobucket have recently changed their terms of service, so that only users who pay them a ridiculous amount of money can paste links into forum posts - if you don't pay then others will just see a '3rd party hosting' image. There's a Chrome extension that provides a workaround, but it seems to make both of the above methods behave the same way.
Anyway, before you get too deeply into storing images on Photobucket, I'd recommend you look for another hosting site. There's a thread
here that discusses some alternatives - techpowerup.org and Flickr seem to work well.
Re: T25 "Marvel" Major Restoration
Posted: 30 Jul 2017, 08:33
by HampdenRor
Re: T25 "Marvel" Major Restoration
Posted: 30 Jul 2017, 15:47
by RogerT
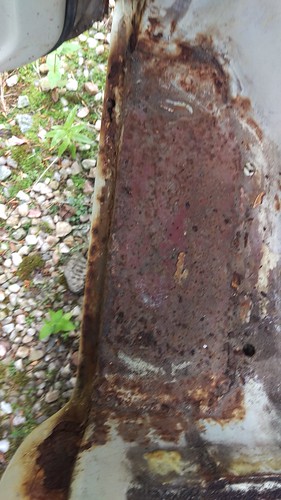
Aye, looks familiar! Have you looked around your rear trailing arm mounts?
Re: T25 "Marvel" Major Restoration
Posted: 31 Jul 2017, 13:44
by HampdenRor
RogerT wrote:Aye, looks familiar! Have you looked around your rear trailing arm mounts?
I didn't take too close a look but the OS looks to be in better condition than the NS, hoping neither will need to be replaced as I know if not done properly can banjax the entire suspension geometry and lead to a hole bunch of issues. On a more positive note the trailing arms don't look too shabby, bit rusted but think they can be cleaned up.
Re: T25 "Marvel" Major Restoration
Posted: 31 Jul 2017, 13:55
by HampdenRor
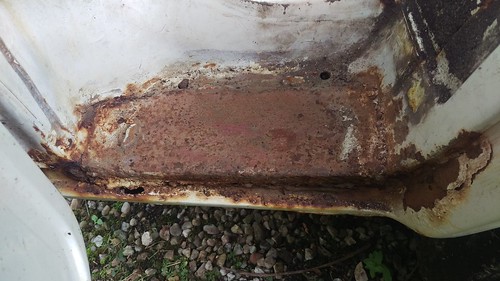
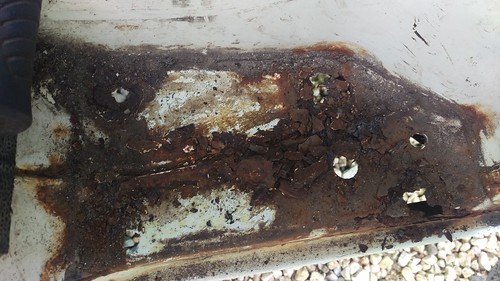
So prior to cutting any rusty metal out (something I have never done before), I thought it would be wise to remove the fuel tank. Not as difficult job as I imagined, surprised to find it looked to be in an ok condition.
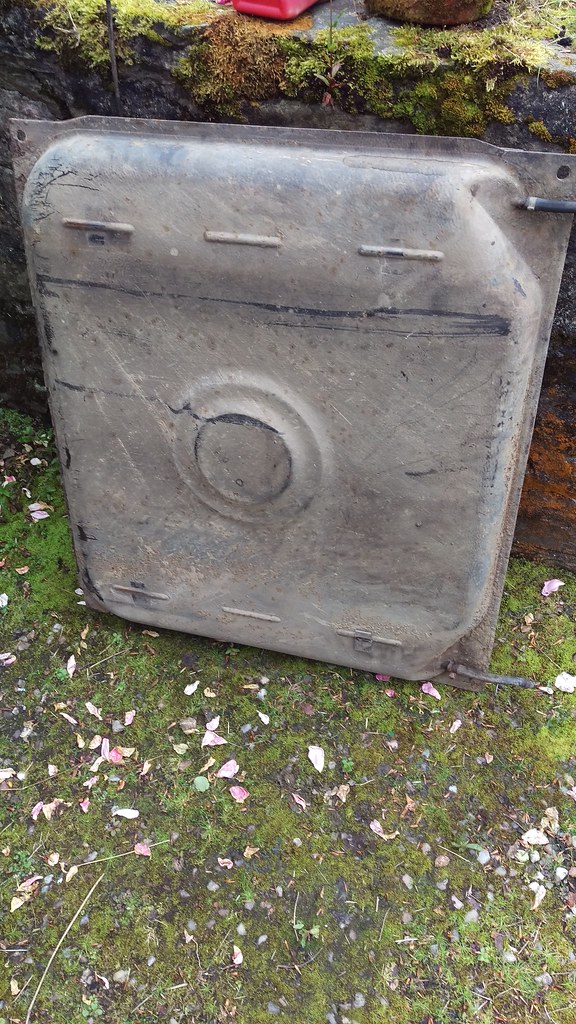
When it comes to replacement I will have to renew all fuel lines and breathers as the hose clips were rusted solid both from the tank and the expansion tanks. Worth doing for piece of mind at the least not knowing the age of the previous ones.
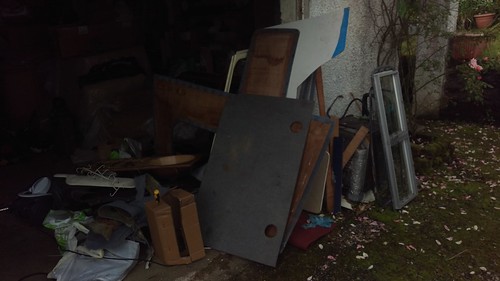
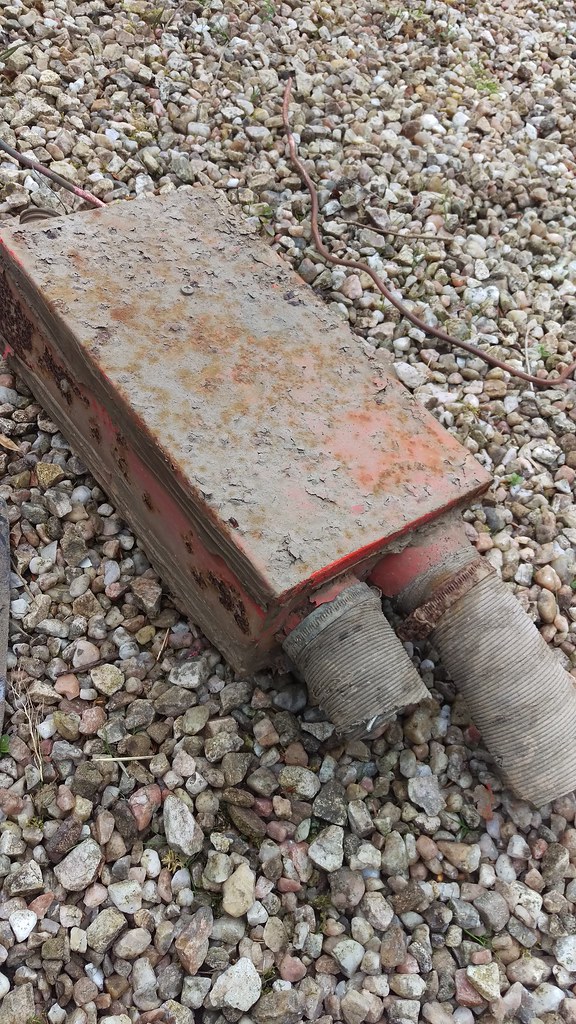
The old heater had not aged as well as the tank unfortunately so out it came.
Re: T25 "Marvel" Major Restoration
Posted: 31 Jul 2017, 14:21
by HampdenRor
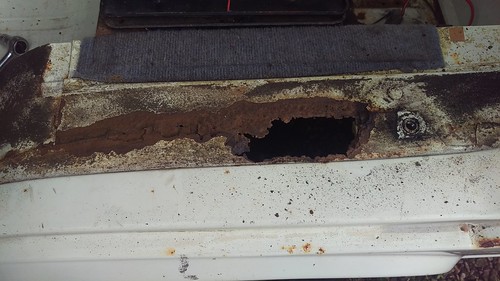
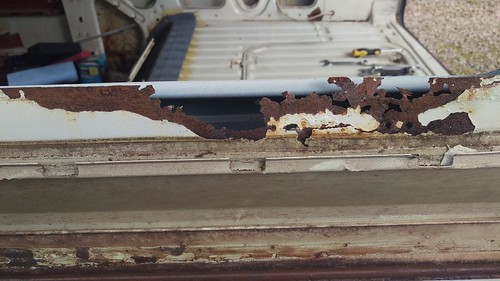
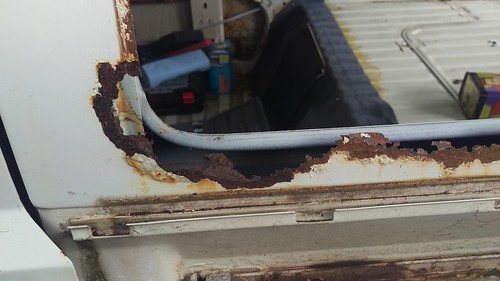
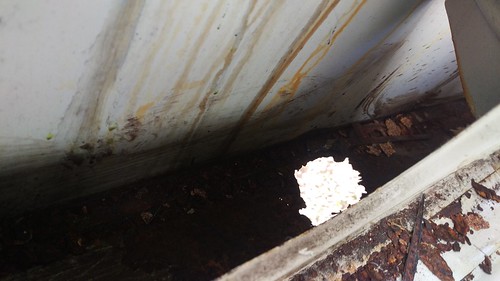
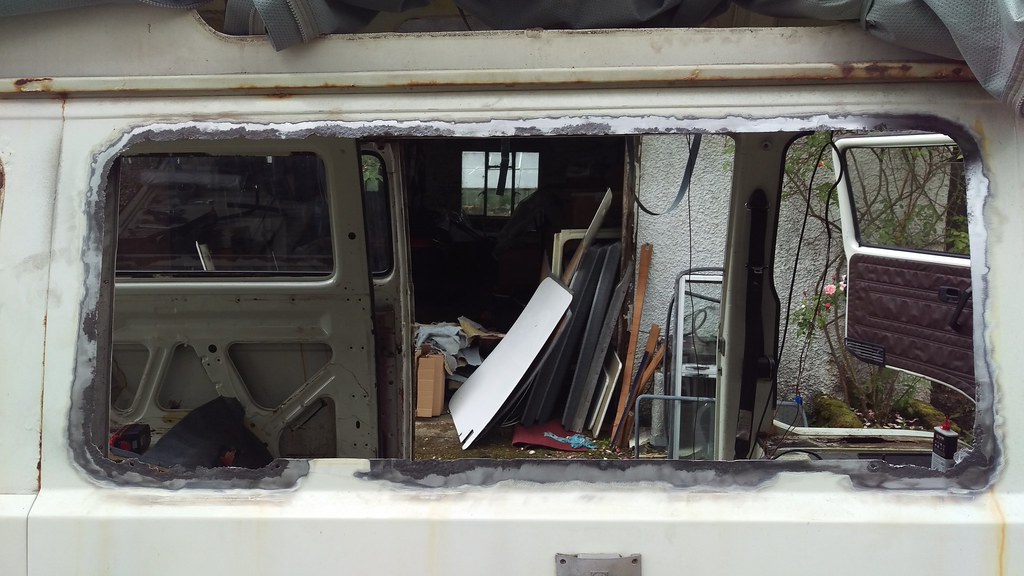
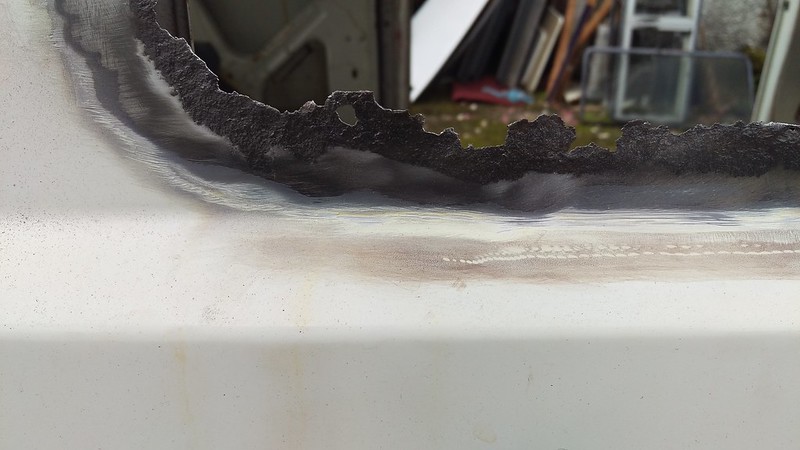
Cutting the window seals with a stanley and removing the glass revealed horrors on both rear and middle surrounds. I left the boot, windscreen, sliding door and front door glass as I was depressed enough by this stage. Would recommend to anyone if you have recently purchased and old van and there is any sign of rust around the windows get them out ASAP. The amount of water which was stuck inside the rubber was a bit of a shock, this is what has eaten away at the window surrounds for years leaving the destruction shown in the pictures above.
First thought was to cut out as much rust as I could before it gets any worse, then acid treat and paint what's left until I can get back to the UK and weld in new metal, once I have learned how to weld that is!
Grinding down the rust was hard work with the drill and wire brush attachment
Re: T25 "Marvel" Major Restoration
Posted: 02 Aug 2017, 12:09
by mshaw1980
My advice to you is buy a 50l compressor and die grinder with tungsten carbide bits. Best tool I have bought this year, especially as I am only learning bodywork / welding this year. The tungsten carbide bits go through rust / steel like a hot knife through butter.