So, its been a while... Over a year since I actually did anything on the van...
But I finally managed to stockpile sufficient enthusiasm and time to spend some time on it... so figured it was time to resurrect this thread.
First thing was to clean all the pigeon muck off the van, as some had taken to nesting in the roof of my workshop last spring, and were back again this year. The birds have now been dis-suaded and the holes in the roof blocked so hopefully it will stay clean. The van however rewarded me for ignoring it by not starting - see
thread on starter motors...
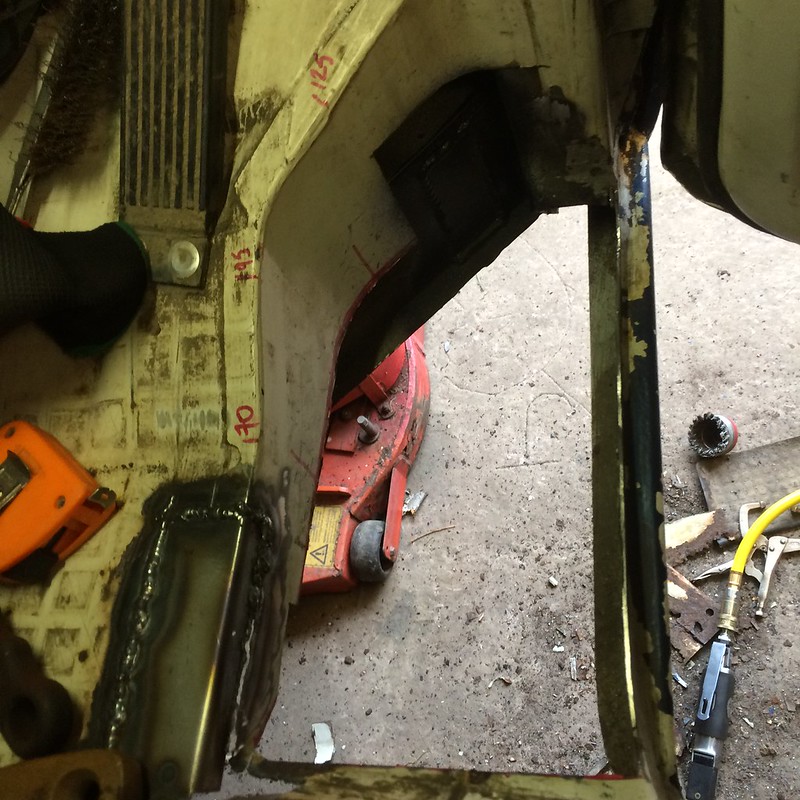
Anyway, van duly pushed out, pressure washed, and pushed back into the workshop for more attention. Bird muck now gone, and even some of the flaky blue paint removed too. Grand.
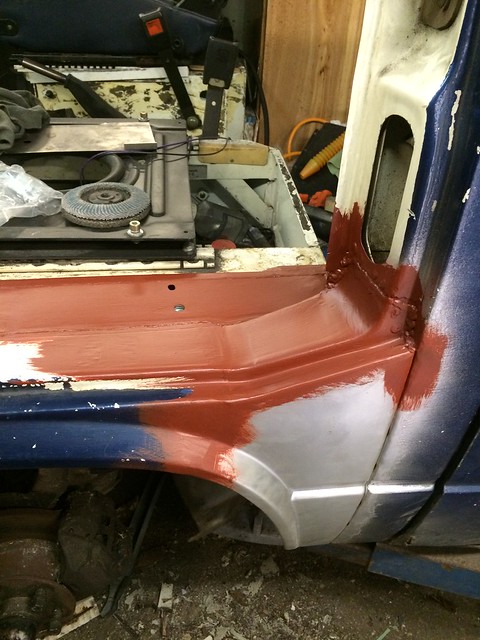
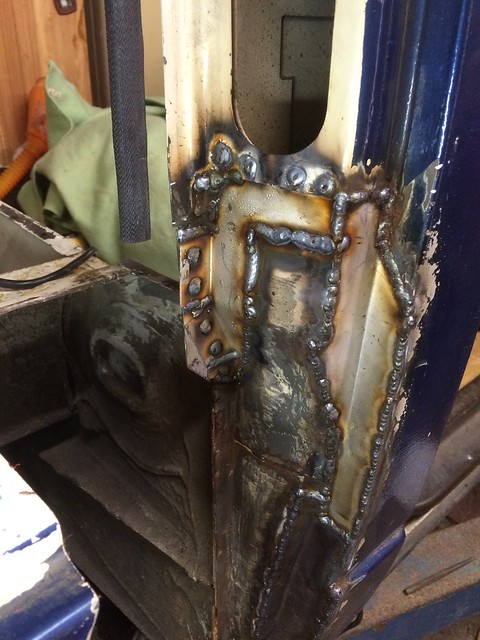
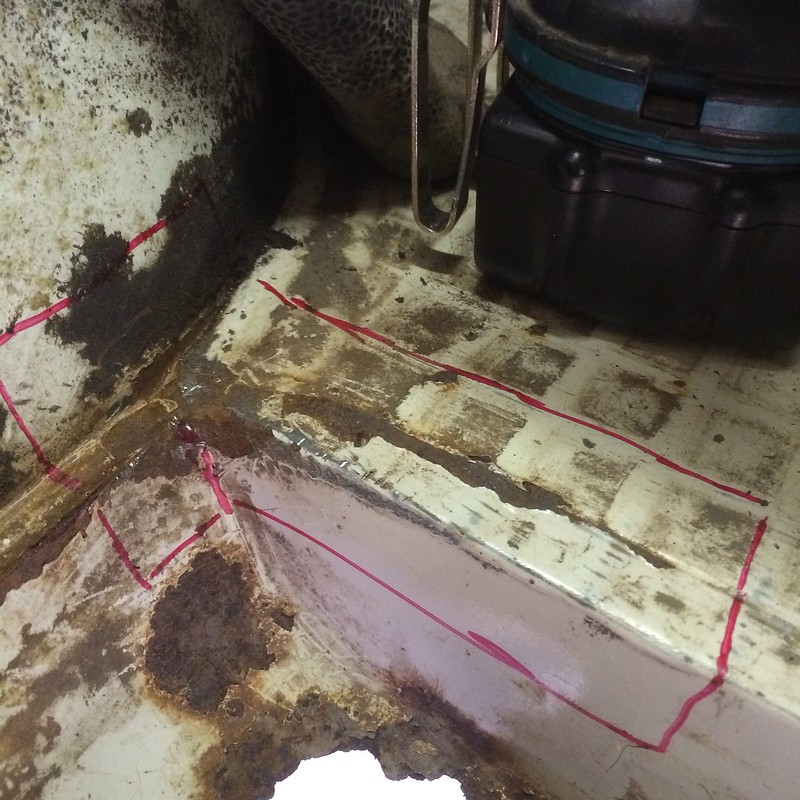
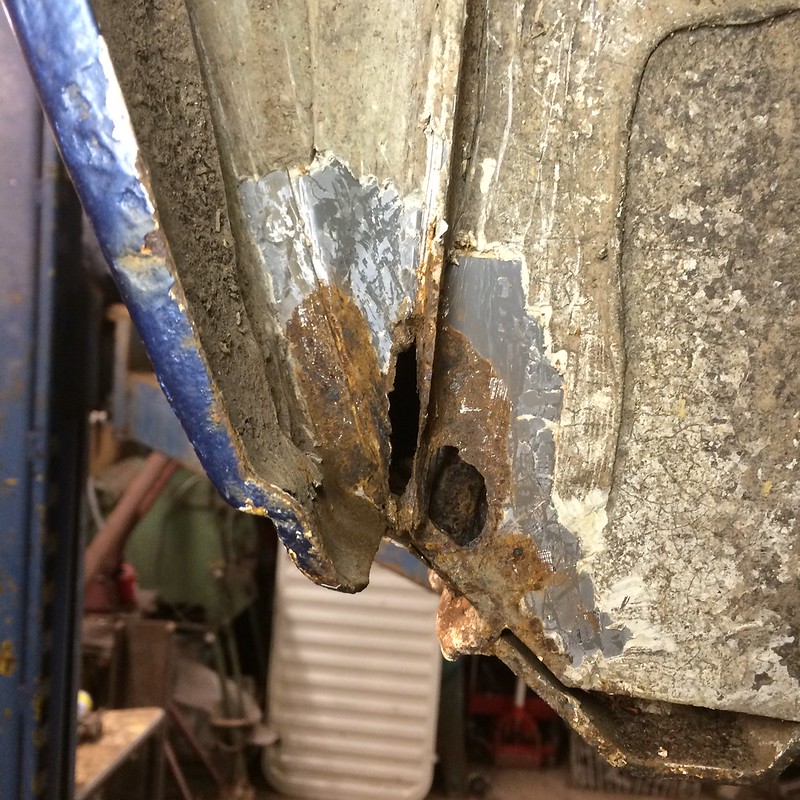
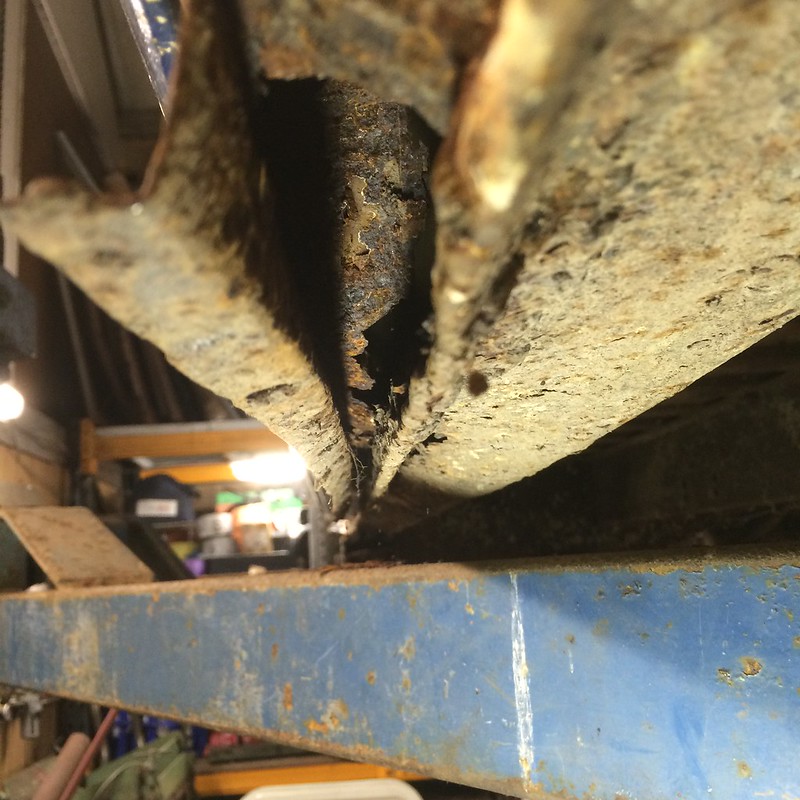
So, First thing to do was finish off fixing the passenger side - Step and wheel arch pretty much complete, just a couple of holes in the floor to do:
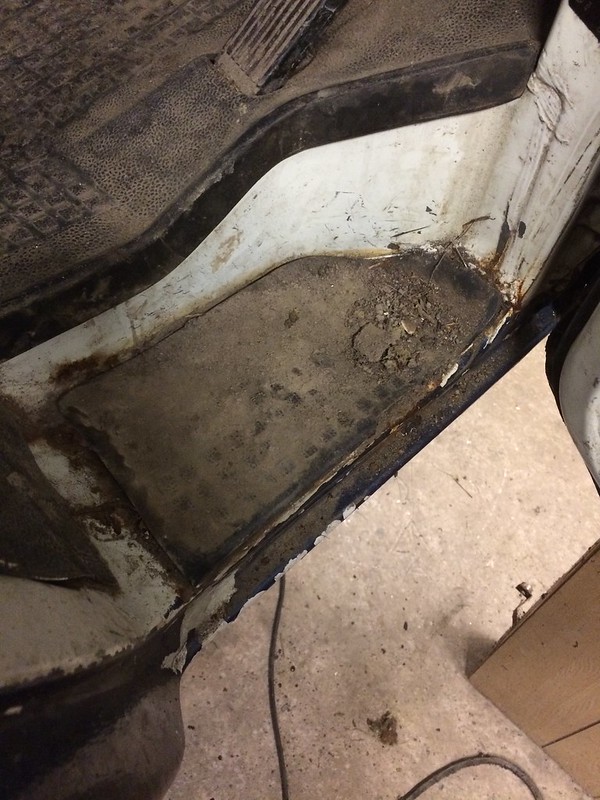
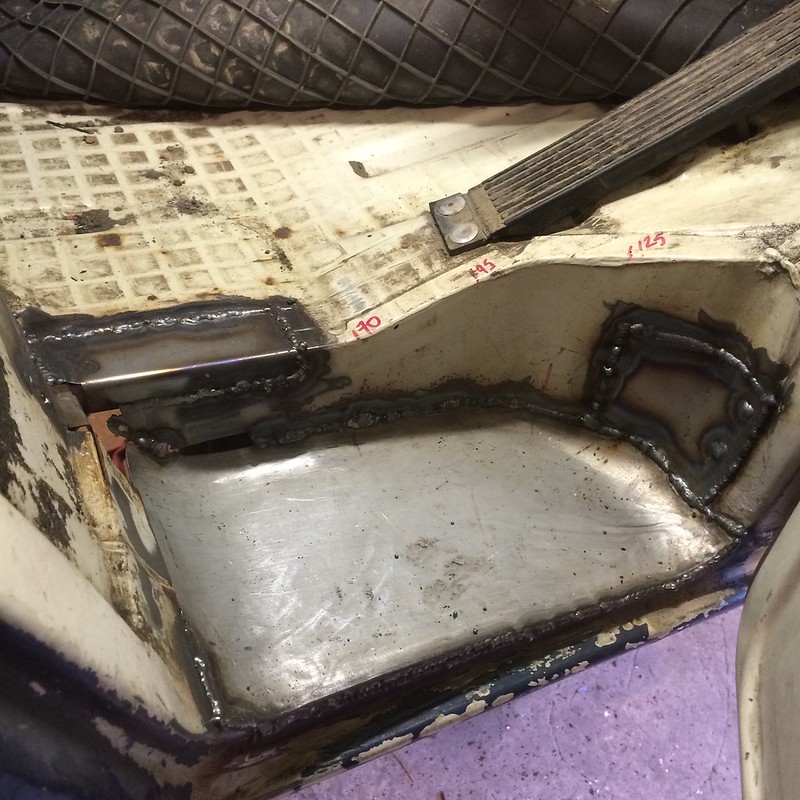
This is what it ended up like with a bit of primer on:
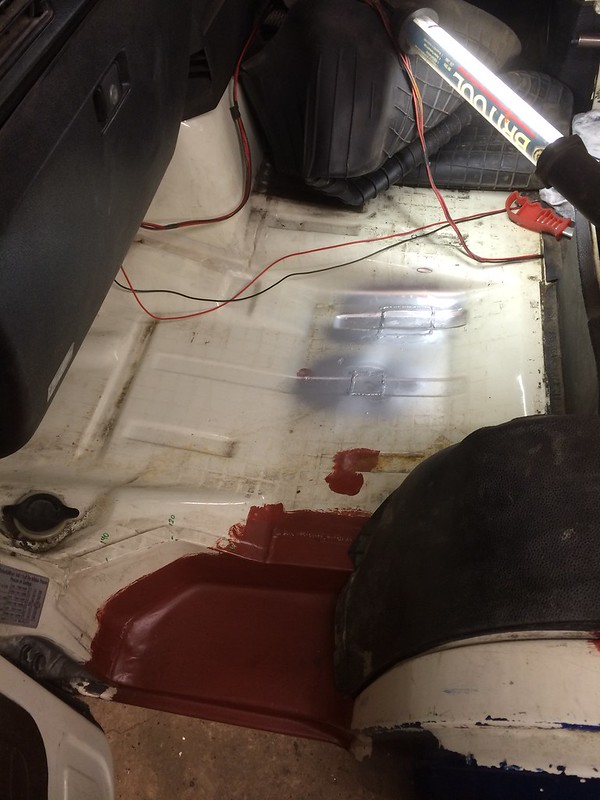
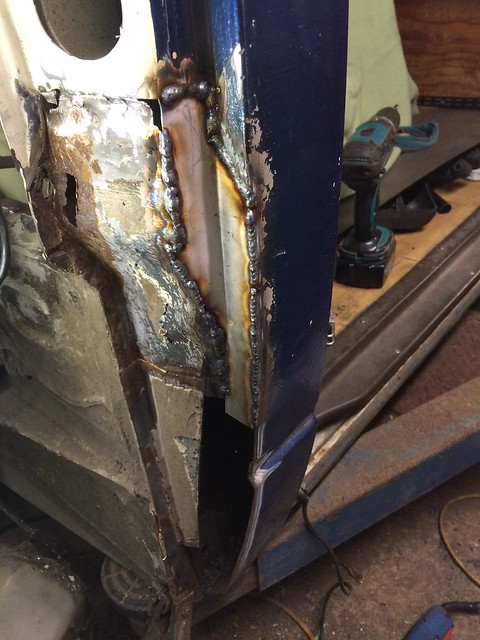
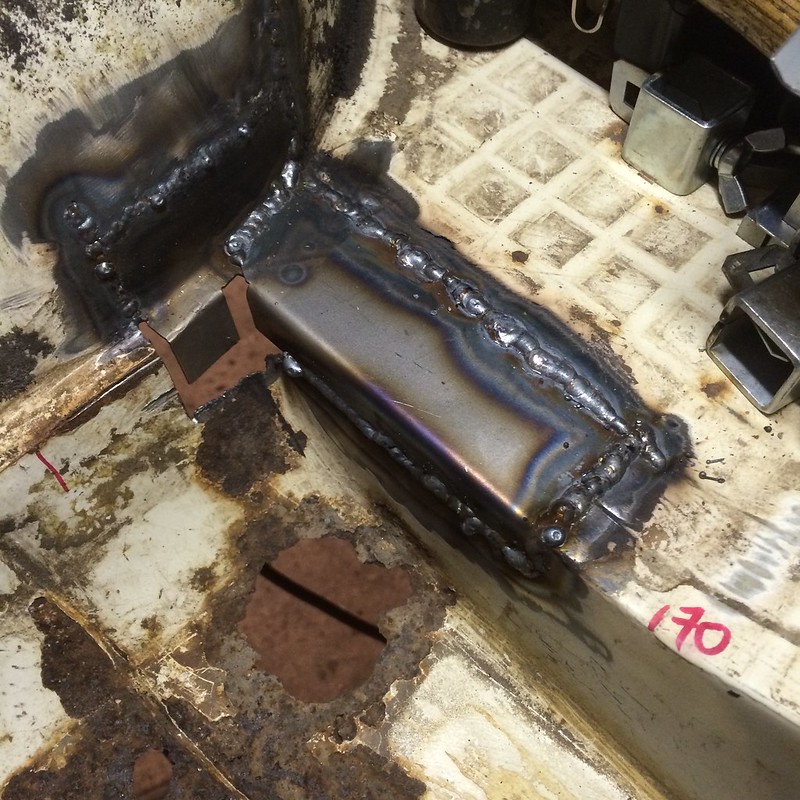
Welds only roughly cleaned up as they will be under the mat, so never seen.
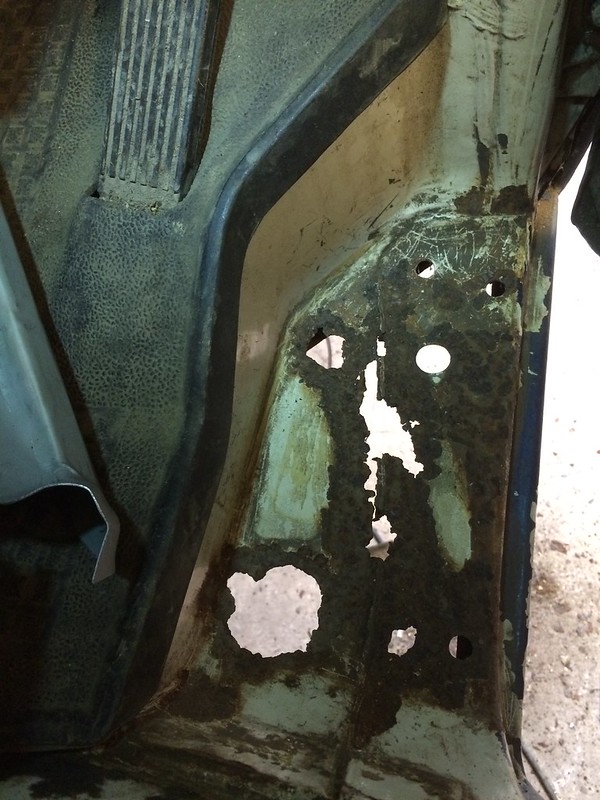
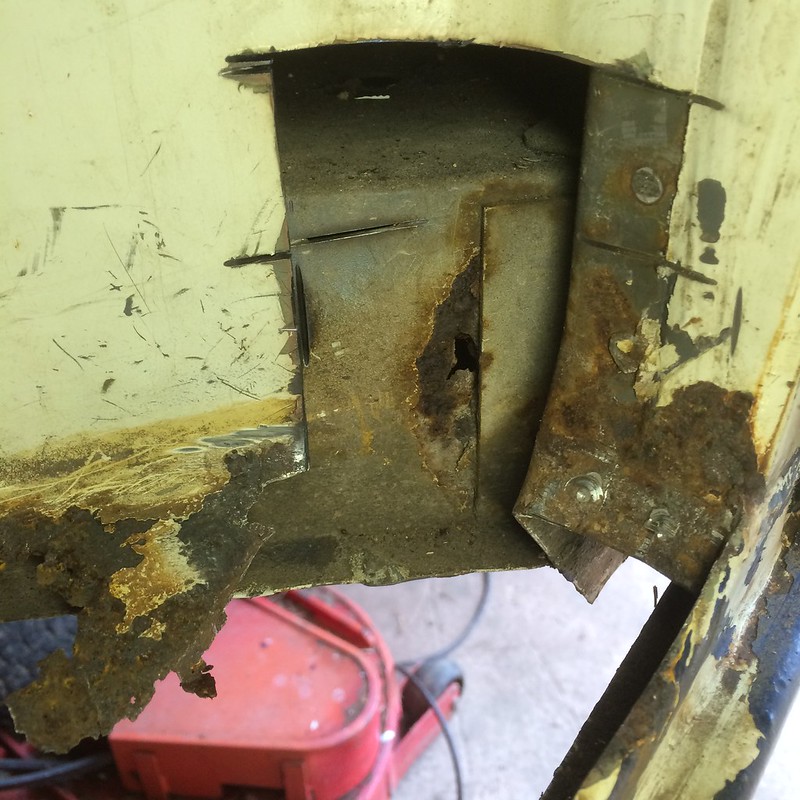
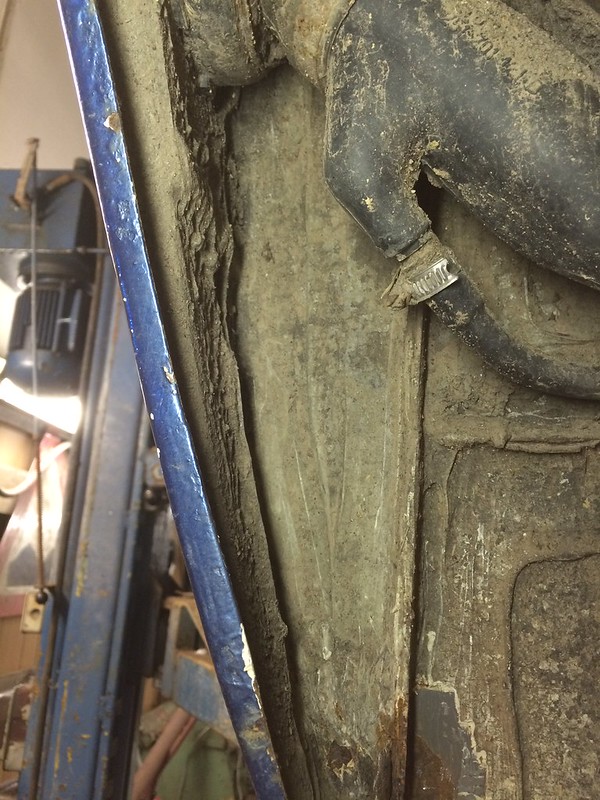
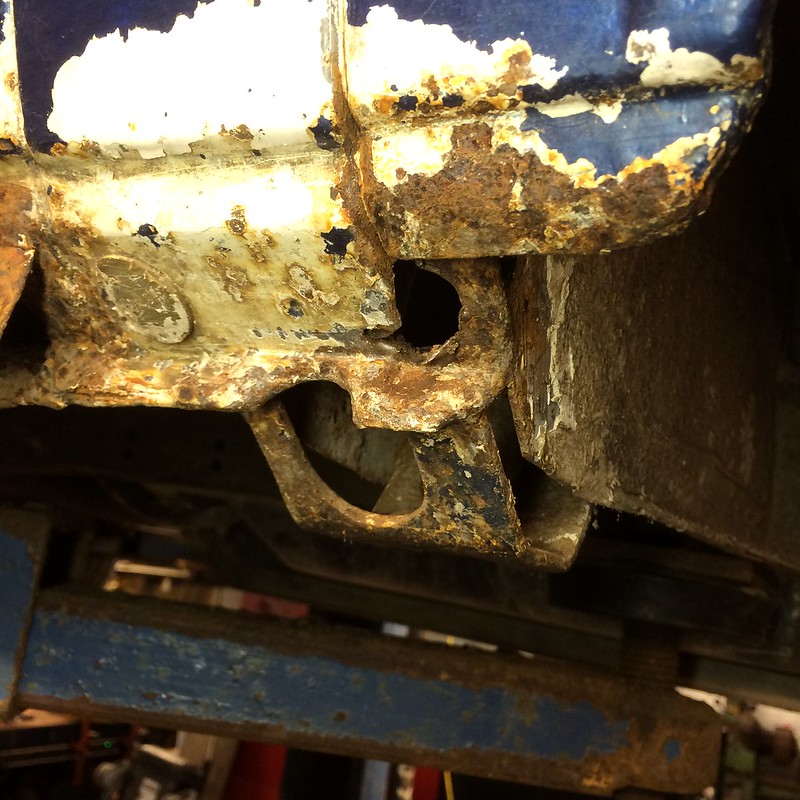
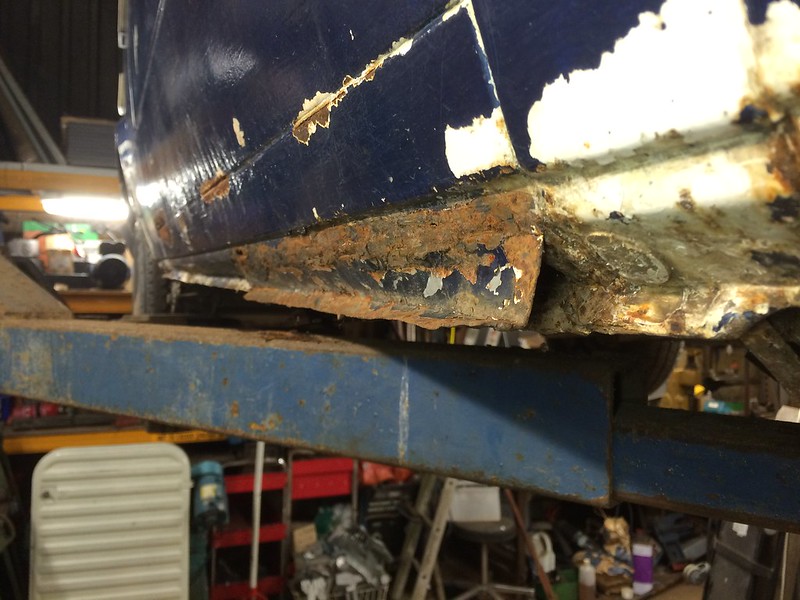
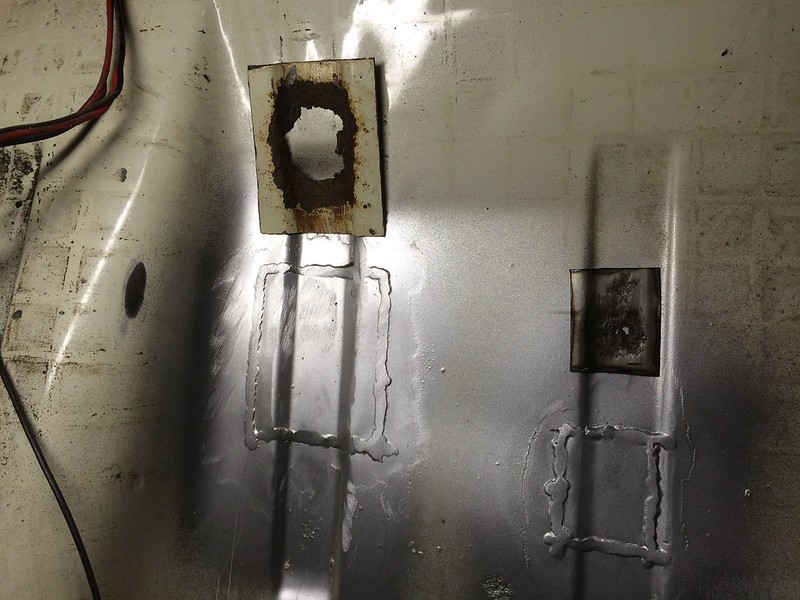
Forgot to take a picture of before, so here is one with the bits I cut out:
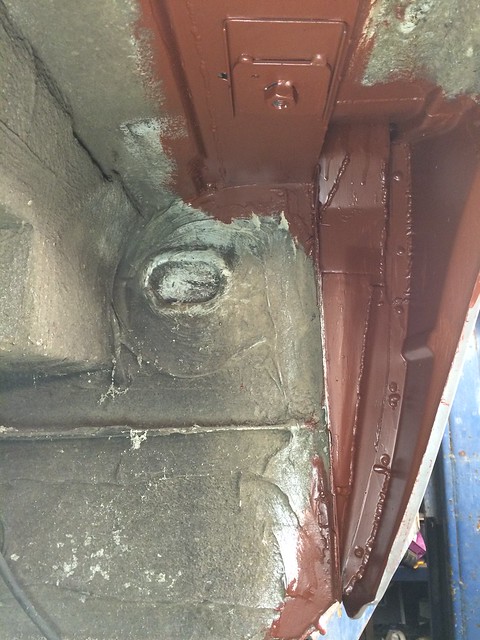
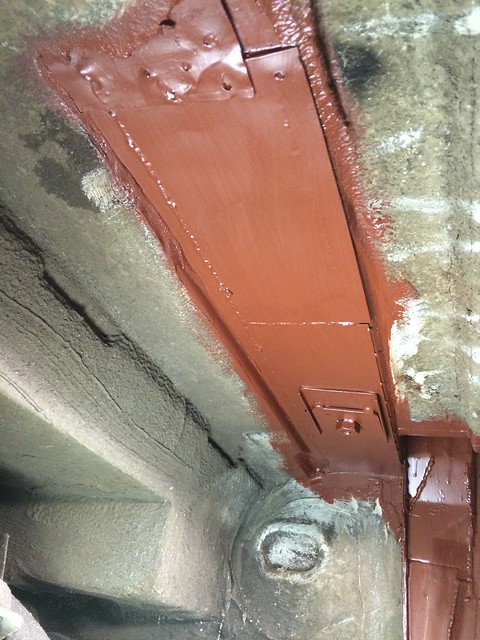
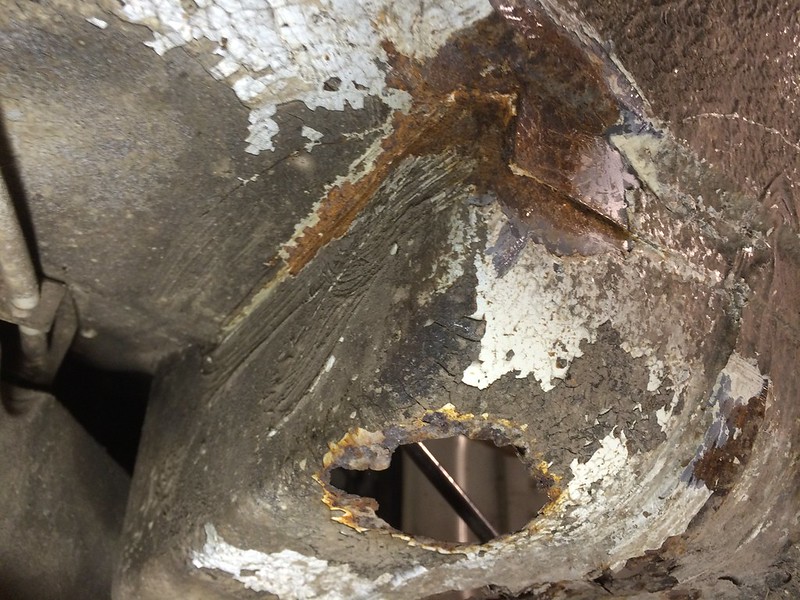
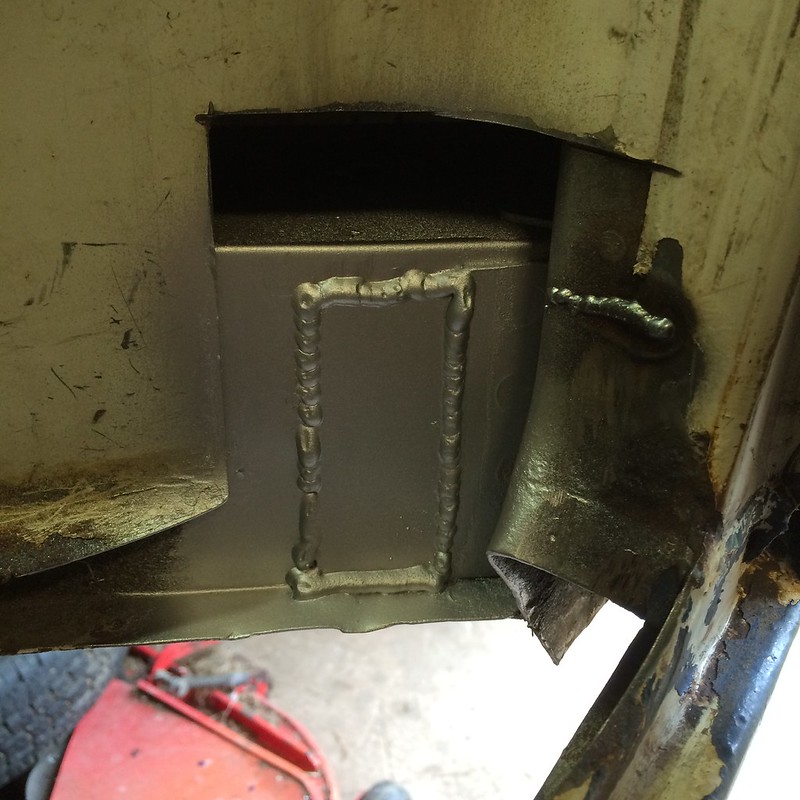
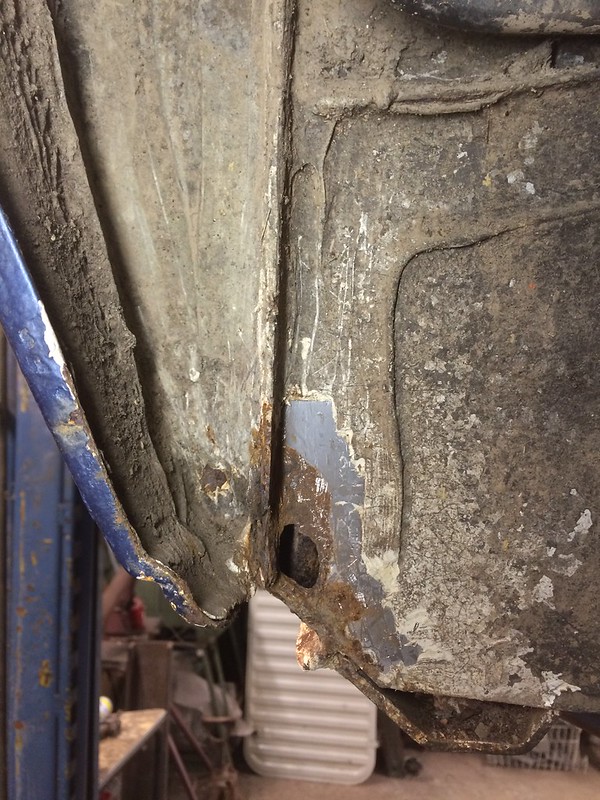
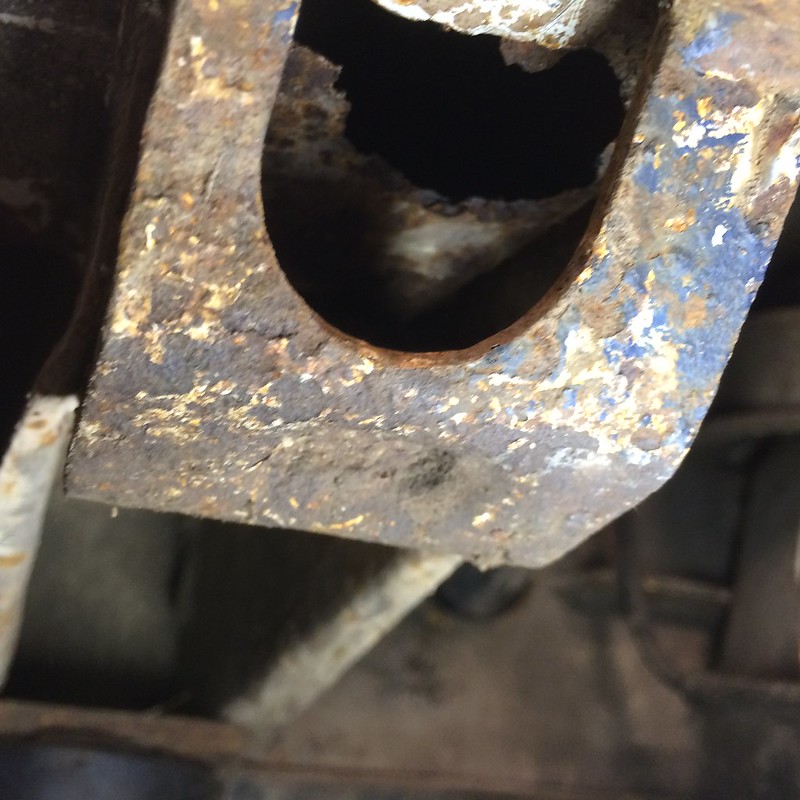
and how it came out underneath:
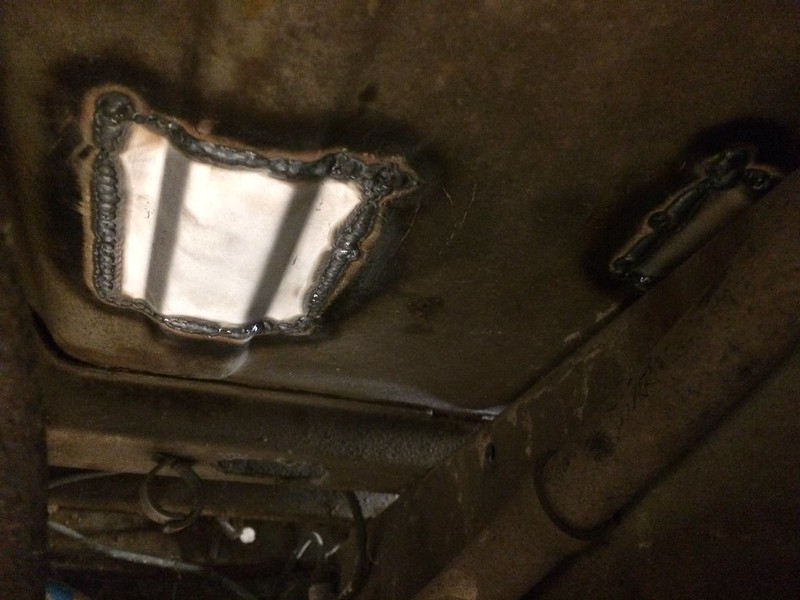
Some seam sealer and top coat and all good I think.
Not much progress, but I thought it might be worth adding how I made the repair sections.
Making such a small fold is actually quite difficult, moreso when you factor in that there is another one very quickly to form the channel.
I ended up making a form tool for the small flypress I found in the scrapyard late last year:
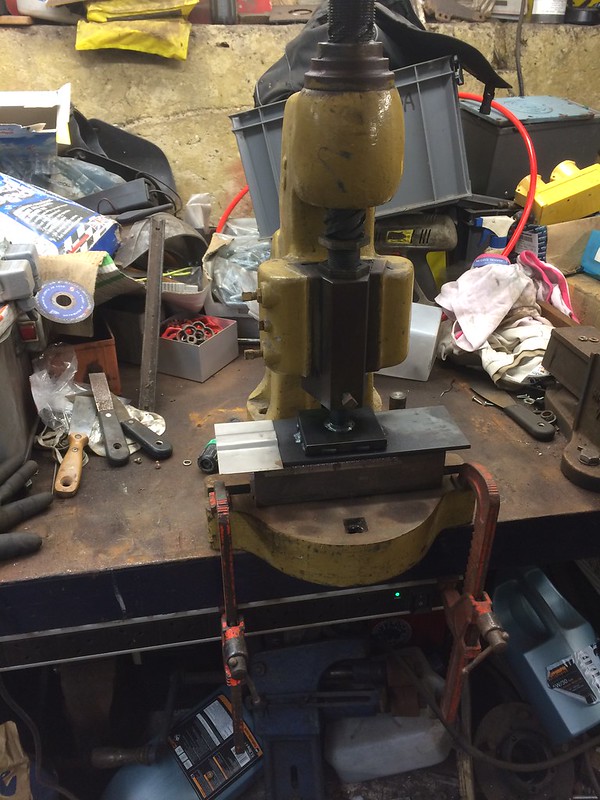
Please excuse the state of my bench...
The tool looks like this:
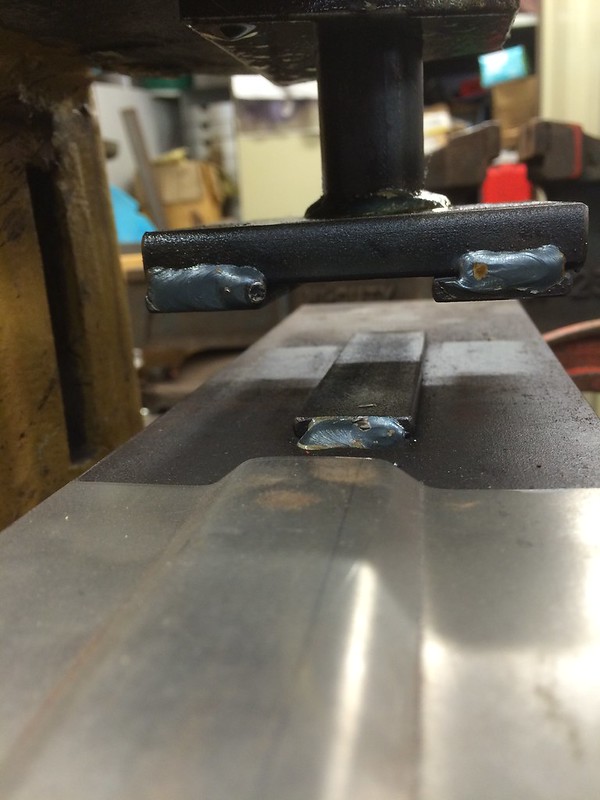
It is essentially just a piece of 25mm x 5mm thick flat bar that presses the new steel between to other pices of the same material. The same could be achieved in a vice or using other forming methods. I thought it quite lilkey that I would find other bits of floor in a similar state so didn't mind spending the time making the tool.
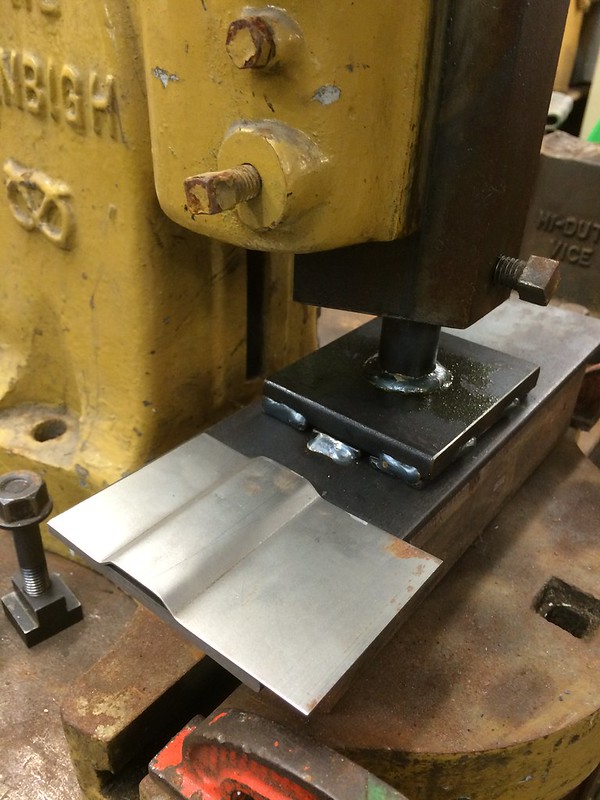
It comes out like this:
So, next is up I am going to attack the driver side step, and wheel arch. Hopefully the next update wont take a year to materialise....