Page 3 of 6
Re: MBCamper's Restoration
Posted: 04 May 2014, 19:33
by mbcamper
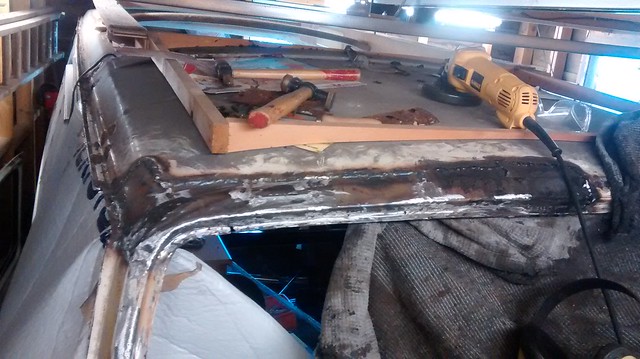
Made some progress today! Lots of effort cleaning out between the exposed seams. Seeing what it's like between the seams when you open it up shows all the hidden rust in ALL vans! No such thing as a rust free van... however the seam in my rear wing ARE rust free for now!
The rear panel I got from JK is a good fit all around.
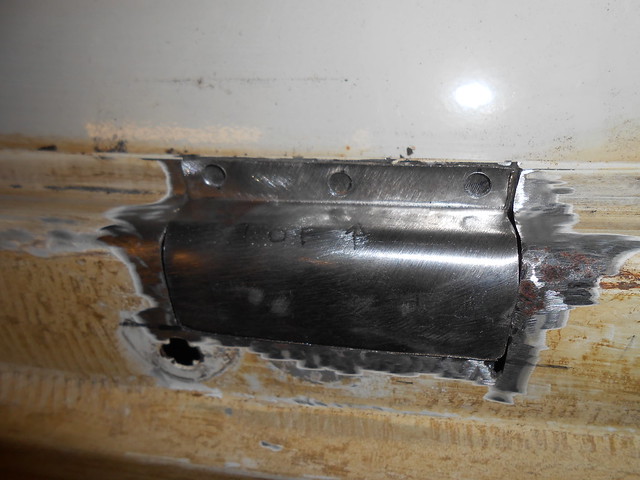
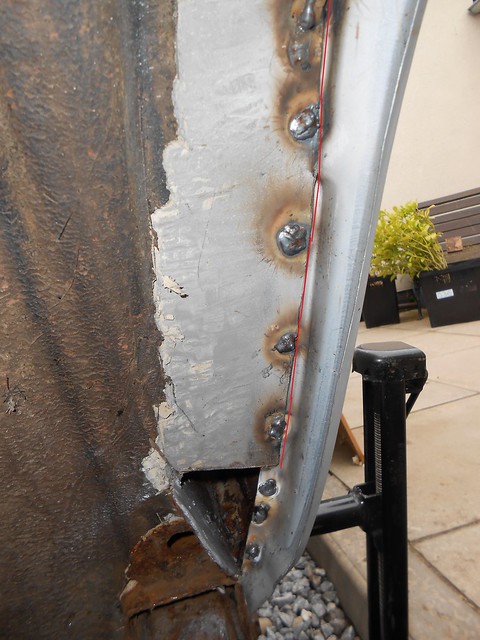
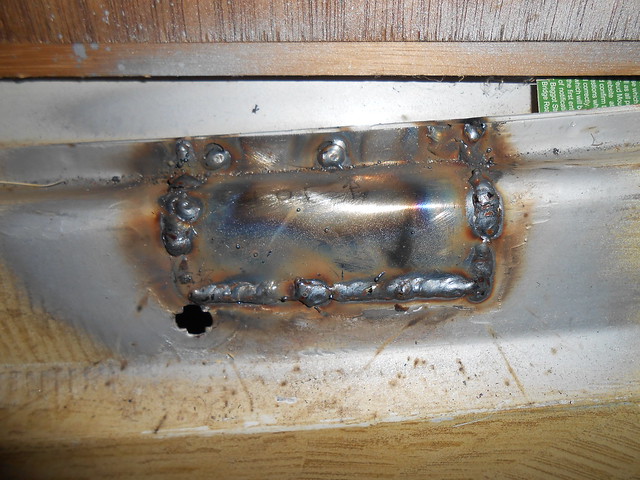
Puddle welding where the old spot welds were:

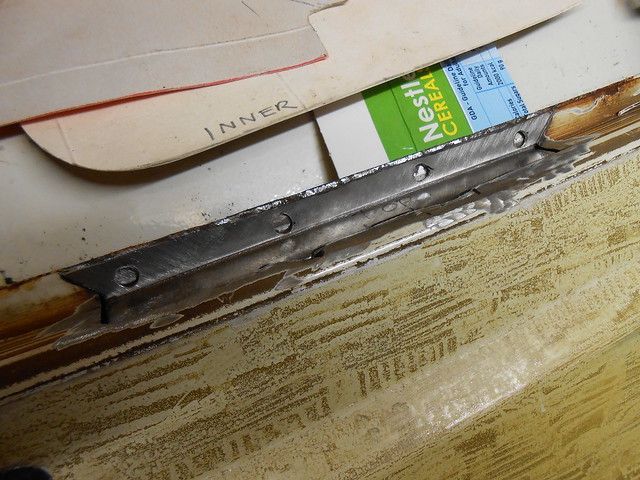
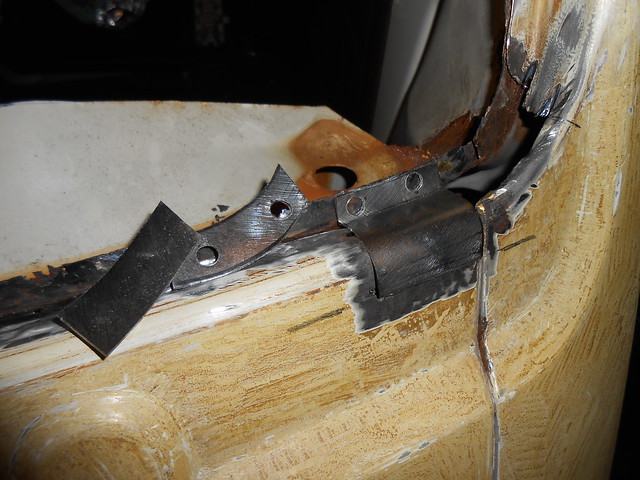
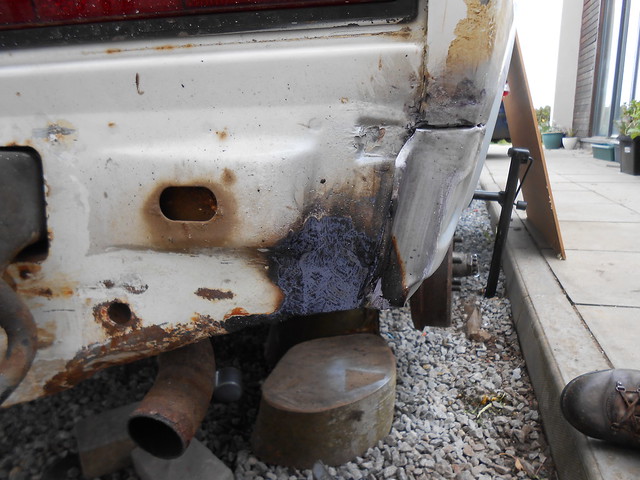
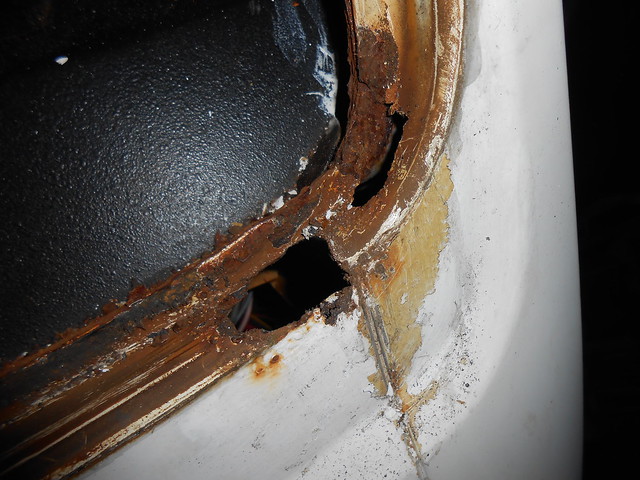
I've also fixed up the area around the mains power hole:

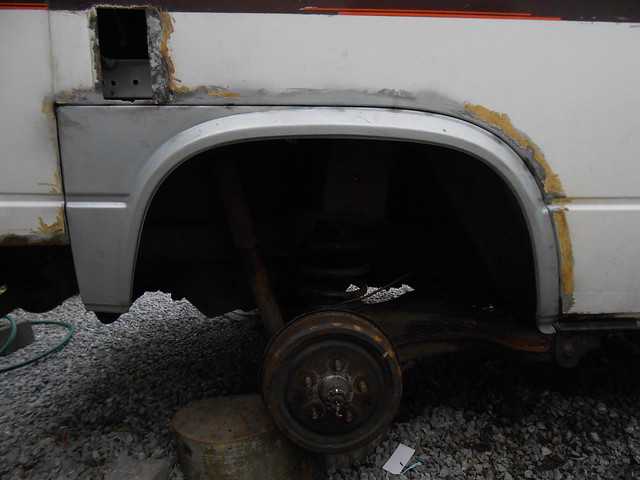
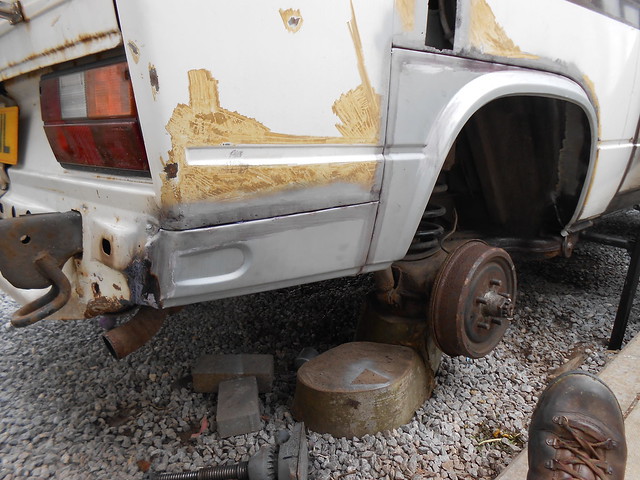
So tomorrow I'll tackle this:

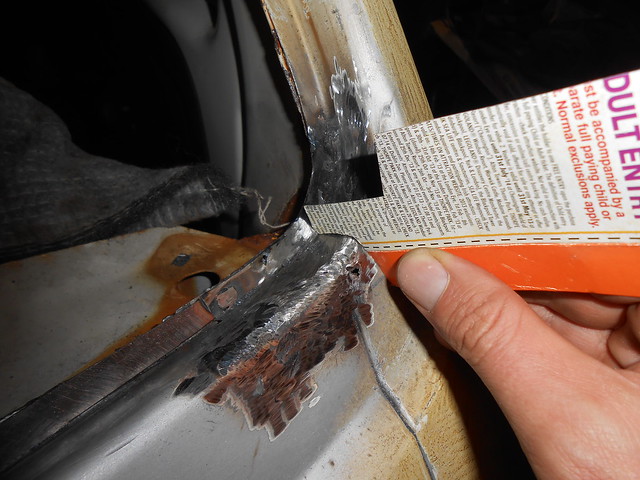
So my question (probably to Mr MM) is what do I do with the edges on the inside around the inside of the wing? Some sort of sealant before I apply paint? IE the red line on the photo below:
Re: MBCamper's Restoration
Posted: 05 May 2014, 19:43
by mbcamper
Upside-down welding is a nasty business!

Ended up grinding back and going over it again to sort this out

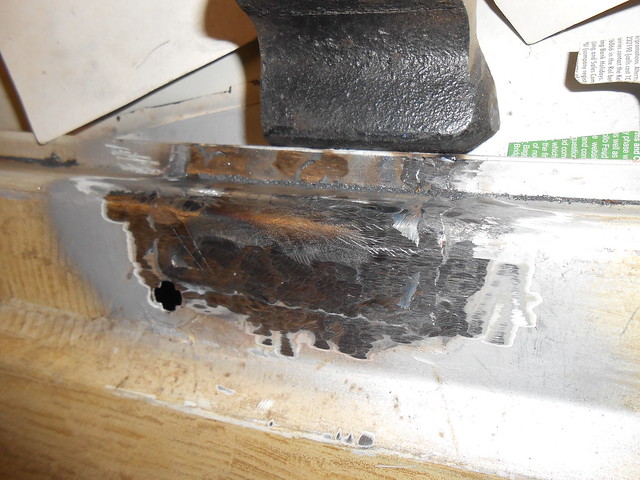
Anyway once cleaned up I had some more upside down puddle welding to do so finish off the quarter lower panel:
And finally a bit of patching of the rear panel:
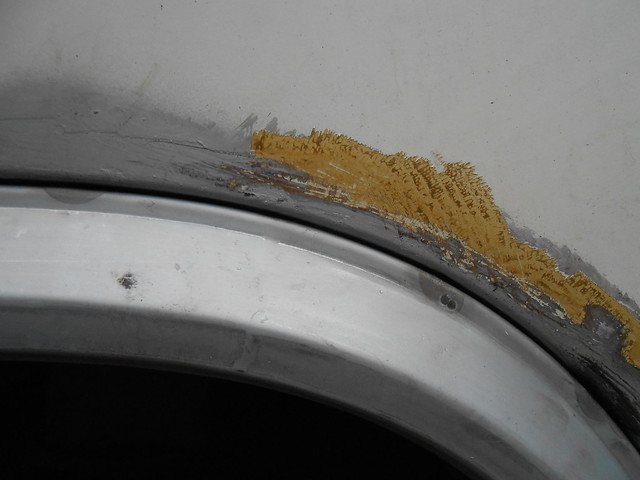
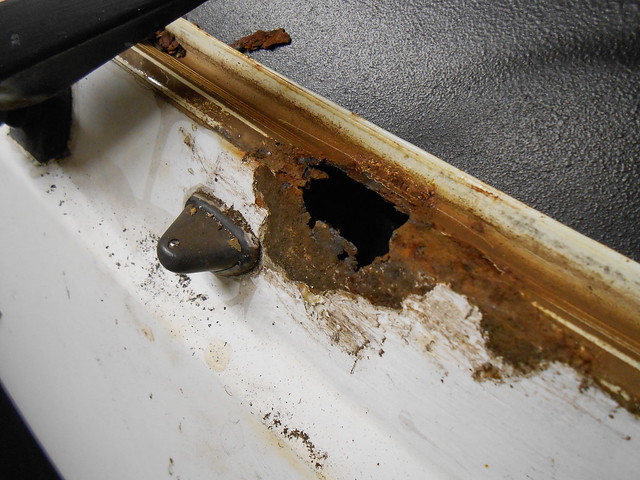
A bank holiday well utilised so what next...some protective paint on the new metal and then maybe I'll tackle the suspicious looking brown marks around this window:

So who has done this before? I'm thinking that I need:
- new seals (PM on it's way to MM)
- remove furniture from inside van, curtains etc.
- yet more welding

Re: MBCamper's Restoration
Posted: 05 May 2014, 21:45
by Plasticman
well im pleased with the way you did the rear arch , nice to see you have followed the method and now you have a neat tight seam. wish more would do it this way including some so called pro firms,never mind welding in the seam outside.
also i bet you found the arch held itself in place nicely and it was a doddle to puddle weld through the holes you made in removal.

get a tin of teamac high zinc, about £12 and it will do all your van. then when dry use brush on seam sealer, even halfwits supply a reasonable one for about £15
mm
Re: MBCamper's Restoration
Posted: 05 May 2014, 21:46
by Plasticman
oh and when you remove the slider cover post up a pick and can then advise
mm
Re: MBCamper's Restoration
Posted: 06 May 2014, 21:19
by max and caddy
Can I suggest you get a flap disc rather than using a grinding disc...much neater...looks like you getting the hang of tit ok though..

Re: MBCamper's Restoration
Posted: 19 Jun 2014, 18:42
by mbcamper
Re: MBCamper's Restoration
Posted: 19 Jun 2014, 19:10
by mbcamper
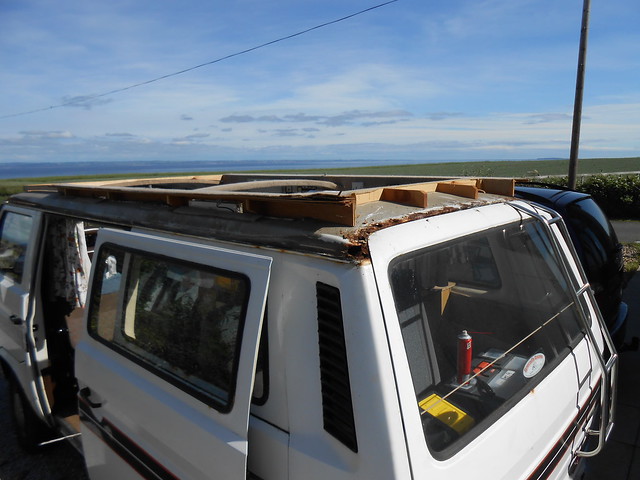
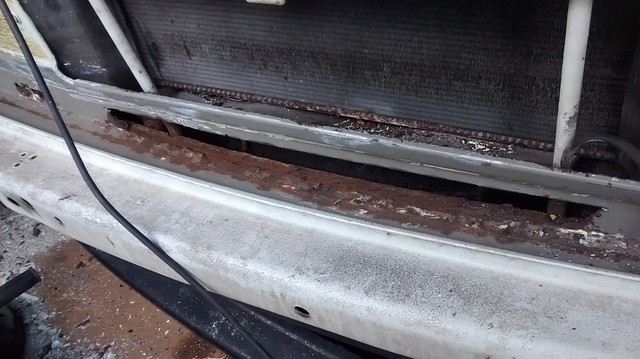
Once on the garage I remove the tailgate and windscreen (which cracked whilst removing it)
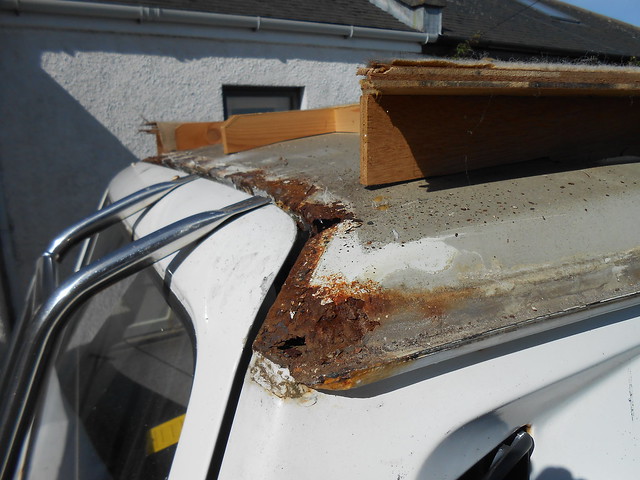
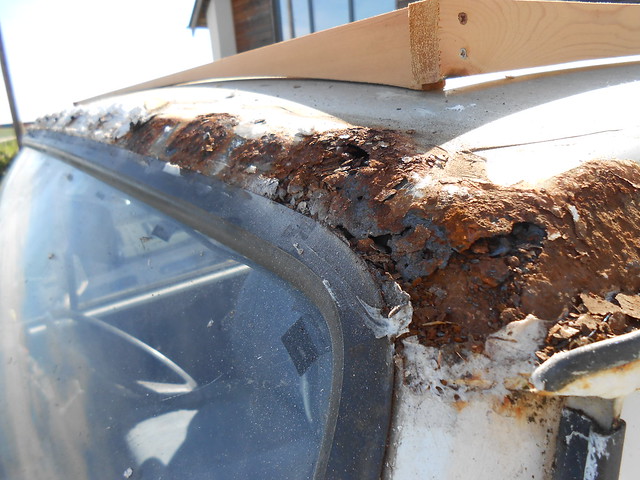
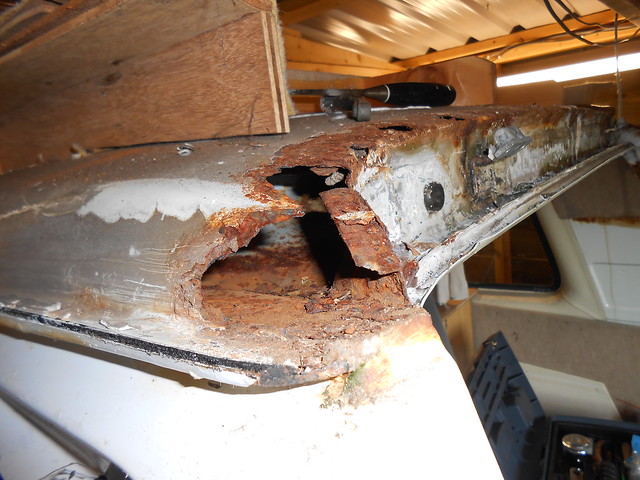
Here are some more detailed pictures of the mess:
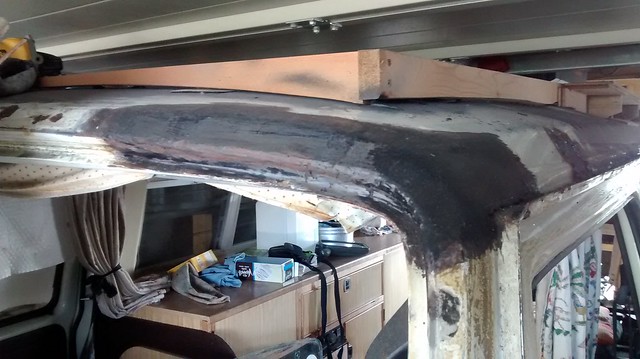
Rear corner:
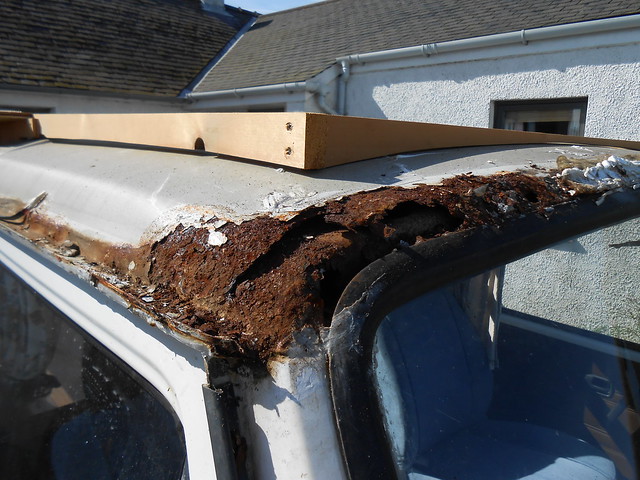
Around the windscreen area:
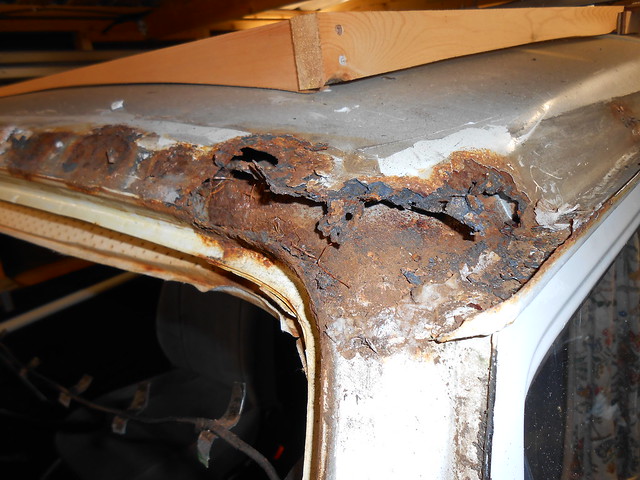

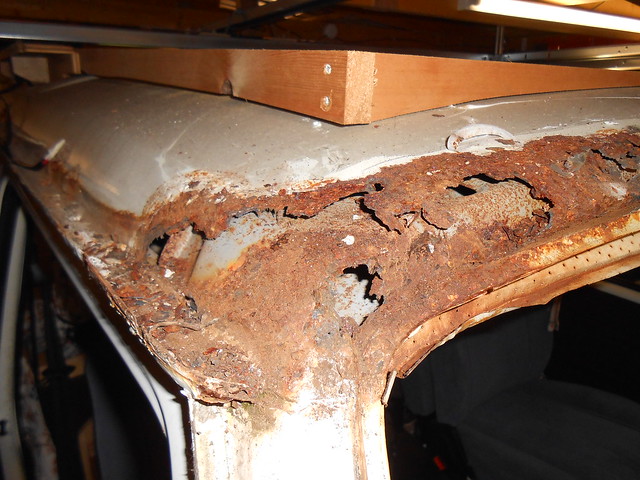

What a mess! It could be patched by making up my own panels but I'm wondering if anyone would sell me a cut of the top front few inches of the roof and the same for the back? Does anyone have any recommendations on someone who might be able to supply cuts?
Thanks
Mark
Re: MBCamper's Restoration
Posted: 25 Jun 2014, 20:53
by mbcamper
Re: MBCamper's Restoration
Posted: 25 Jun 2014, 21:26
by Plasticman
however you nend up doing the screen surround , just make sure you get the profile spot on , filler if you need to but if its wrong it will pee water in.
tell me how did you break the screen,? rubbers are only 30 ish and you need to use them in your situation, just cut the old out.cant help with breakers up your way but they must be about, but looking ok so far
mm
Re: MBCamper's Restoration
Posted: 26 Jun 2014, 19:13
by mbcamper
In breaking the windscreen I don't think I was treating it badly. I basically cut around the outside of the rubber seal so the screen could be pushed out from inside. However when I was doing this a crack appeared (not under much stress as it was coming out easily) and spread up the entire screen

. I think I was just unlucky.
So I did some welding today, which is the first welding I've done since purchasing my auto-darkening welding mask:
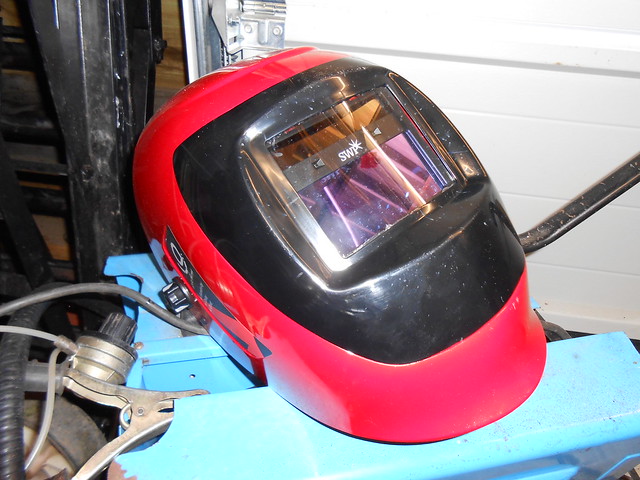
I don't know why I didn't get one of these before! The difference is just amazing; welding just got 100 times easier:
Okay it's not as tidy as some can do on this forum, but I was pleased with it!
After tidying up it looked like this...as suggested by MM I've been checking the profile as I go along with my cardboard windscreen edge checker! I must get some of those flapper disks as "max and caddy" suggested!
So on with cutting out rot, making cardboard templates, trial fitting and welding in new metal...
Re: MBCamper's Restoration
Posted: 26 Jun 2014, 21:06
by Plasticman
thats the way

, you wont get that much better with a mig ...you should put a linky up for the hat as a few folk recently have been inquiring about them
mm
Re: MBCamper's Restoration
Posted: 27 Jul 2014, 13:23
by Highroller
Mark,
There is someone selling a complete tiptop roof on the vw t25 Facebook club for £100 and will deliver anywhere for cost.
Re: MBCamper's Restoration
Posted: 27 Jul 2014, 15:23
by Dazco
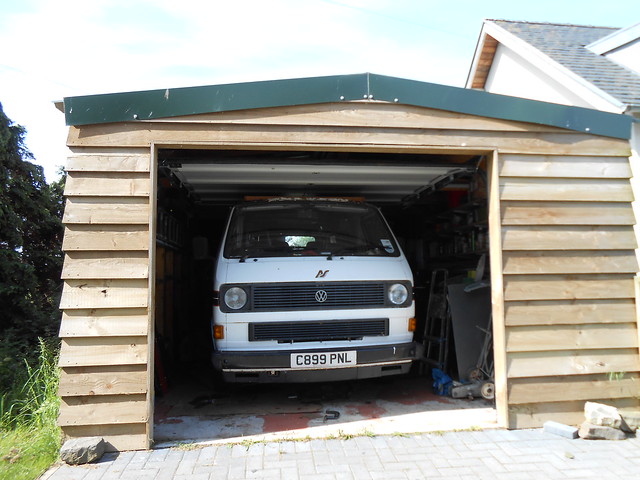
Looks like its coming on well . Lucky you can get it in the garage.
Re: MBCamper's Restoration
Posted: 27 Jul 2014, 17:49
by mbcamper
Oh I wish that tintop had turned up a month ago, I would have snapped it up!
I spoke to a couple of people about getting roof cuts and once I mentioned I'd like the cuts delivered to Scotland they went quiet on me... understandable I suppose.
So... in-between been send abroad for work, school holiday activities and Commonwealth Games stuff I've been going for Gold with my MIG welder.
It's the kind of fabrication which takes a long time as you need to make sure that you get that windscreen profile as close as you can... the test will be refitting the screen!
So the windscreen surround is pretty much complete, I'm on the hunt for more areas to weld... it's not hard:
It's not that bad compared to what I've dealt with on the roof, but the challenge here is that my angle grinder will not reach in to get that grot out!
Re: MBCamper's Restoration
Posted: 27 Jul 2014, 20:22
by Dazco
I used a 9" grinder ( in a post somewhere by cov kid I fink)