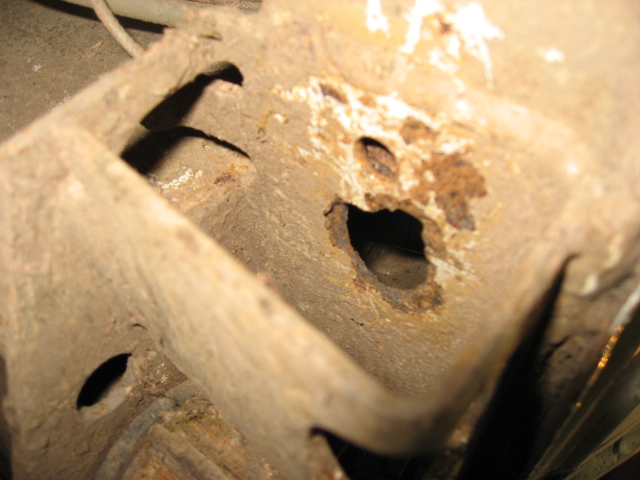
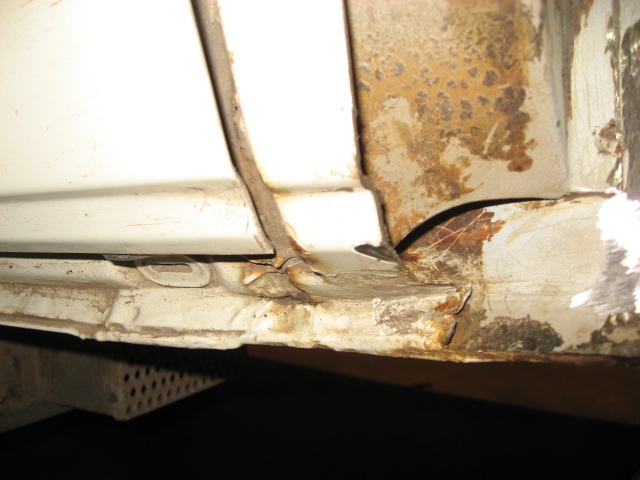
The rest of the chassis leg and JP is absolutely fine with no rust at all.
So clearly there was going to be some work required, and I opted to do it from the top. Now I'll admit that chassis welding is not my strong suit, and this was going to involve some cutting away to get to, as it can't sensibly be done from underneath, and anyway my overhead welding normallly just produces chicken 5h1t.
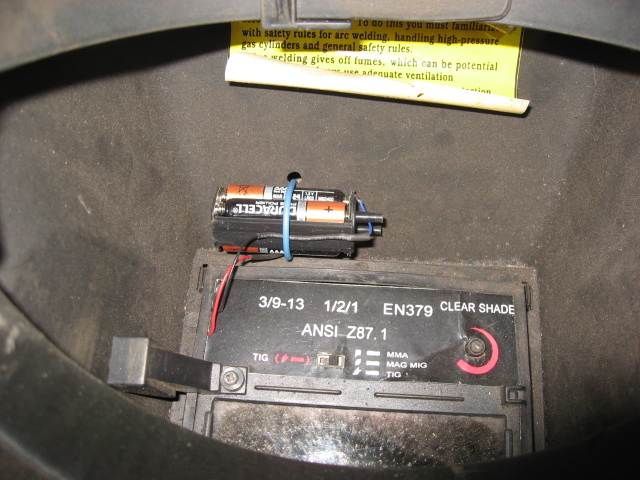
Then I found the batteries in my auto helmet were flat and non-replaceable, so I grafted on the battery pack from my bike headlight.
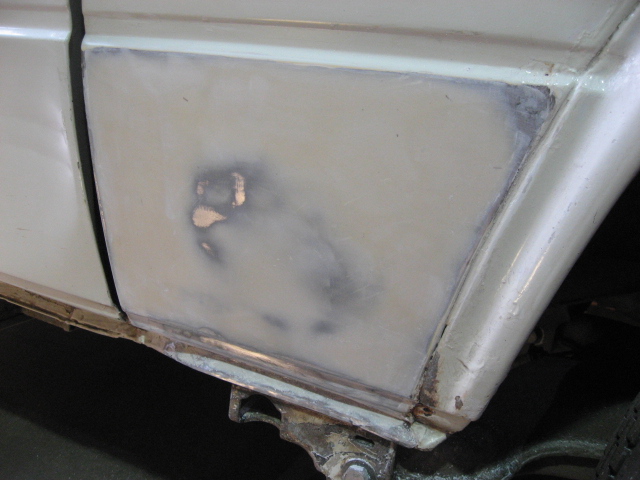
I cut away a perfectly rust free panel to get inside, and was mighty surprised at what I found.
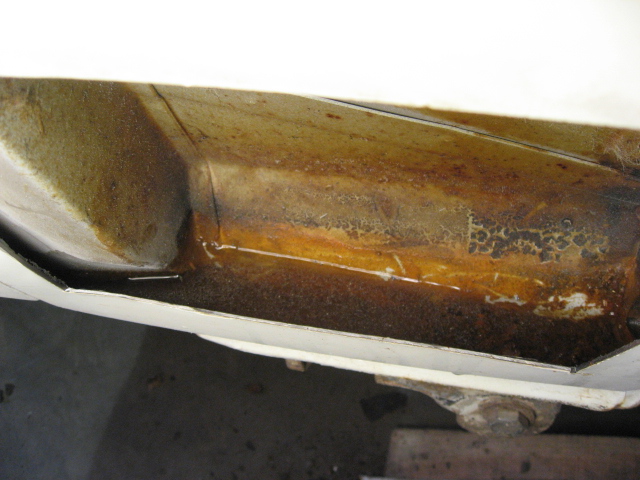
Now the van has been in the garage all winter, and last got wet before Christmas, so I can't figure out how the void filled up with clean water, how it didn't leak out, or why there was absolutely no rust inside. Even the bottom of the C post has it's original paint.
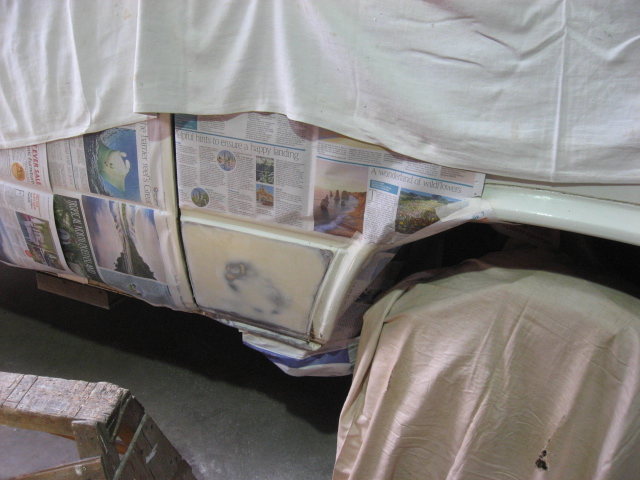
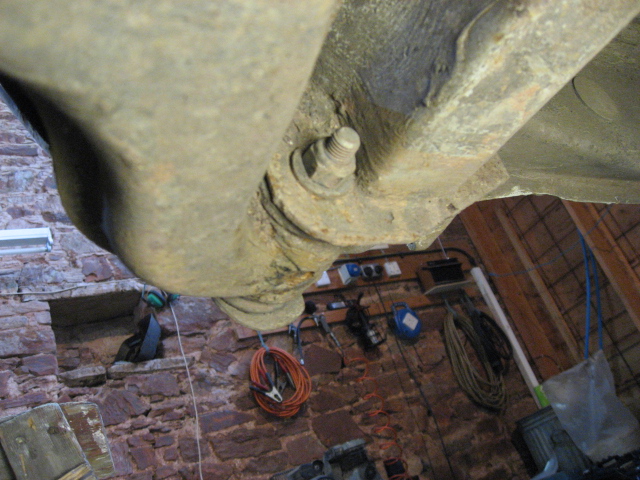
So I cut a hole through another rust free panel to get to the inside of the jacking point. Very annoying.
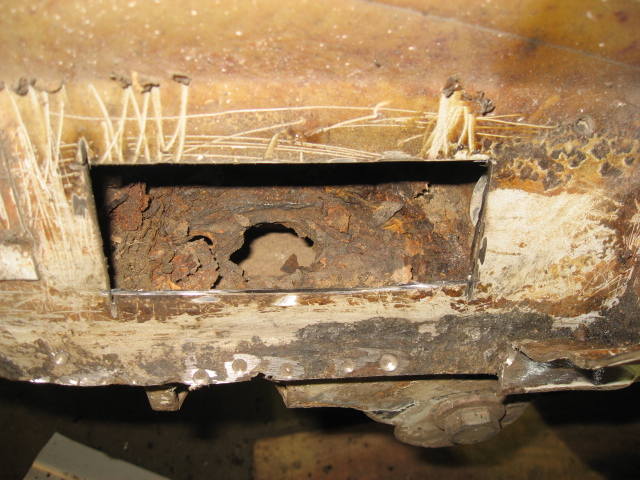
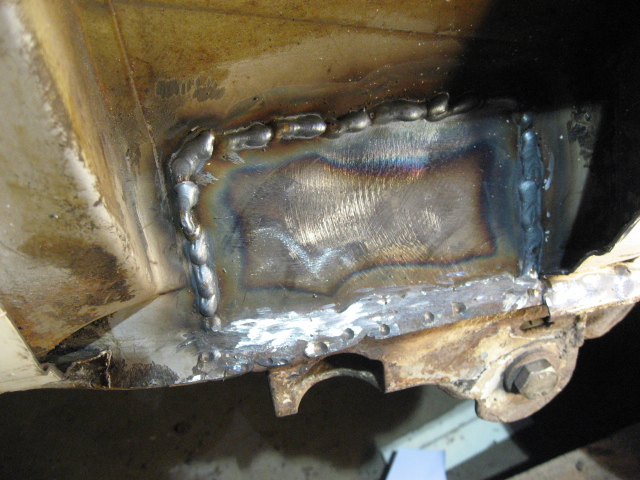
Cutting the rot out of the jacking point was a case of chipping away every bit of rust, grinding with rotary files of various shapes, and then using a chisel and hacksaw blade to make a roughly rectangular hole.
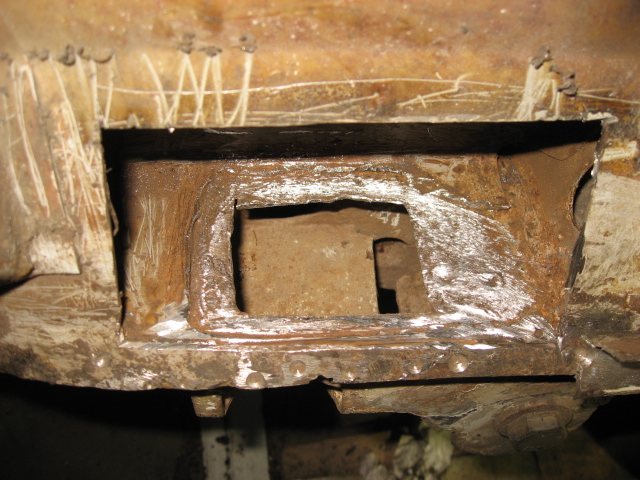
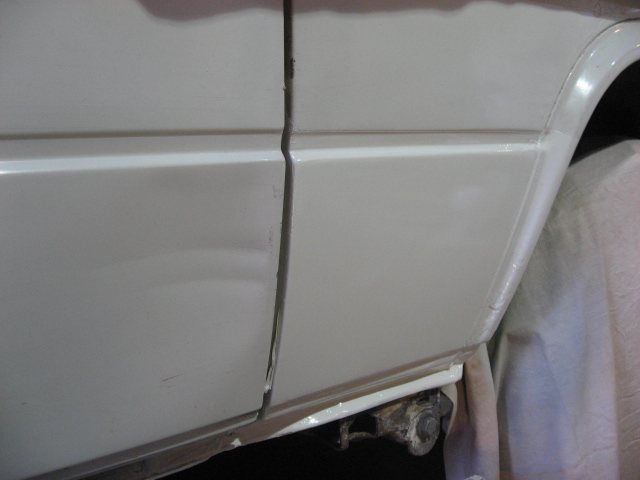
The edges of the hole are not full thickness metal, so a 3mm patch was welded into the hole..........
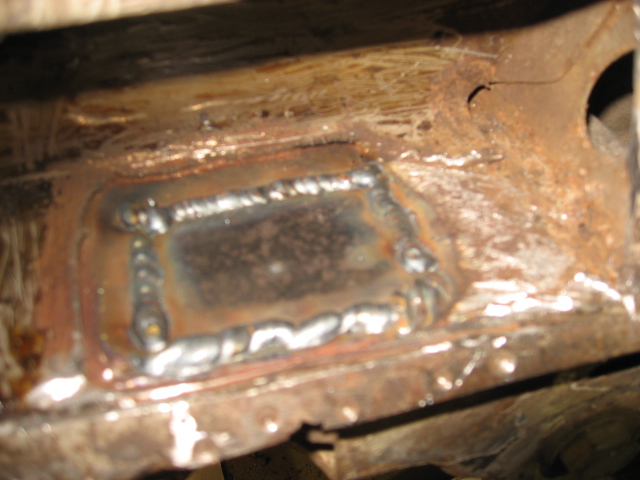
................and then beads of weld were added to make the whole lot up to full thickness, and join to the strong factory welds around the edges of the JP.
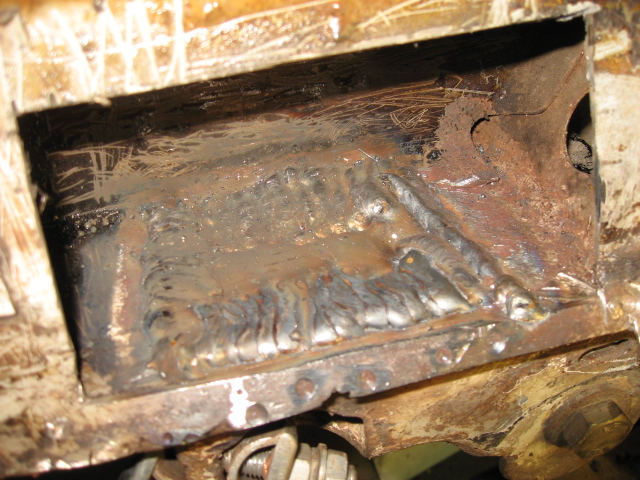
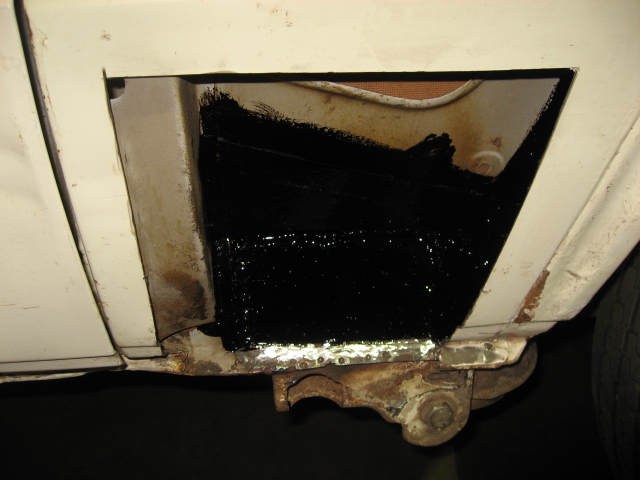
A coat of paint inside, then the outer hole was patched with a piece of 2mm.
More paint, now it's ready for a new section of panel.
The next question is what to do about fitting the new lower rear wing section when I get it. I'm reluctant to disturb the seams, both front and rear are rust free. I'm tempted to cut a Schofields short repair panel and joggle the edges to fit the hole, then just patch it into the hole. Whatever I do I'm going to have a join at the top edge, so a smear of filler will be required anyway. I can puddle the bottom edge no problem. This way I can waxoil the patch from the access in the wheel arch. Any thoughts anyone?