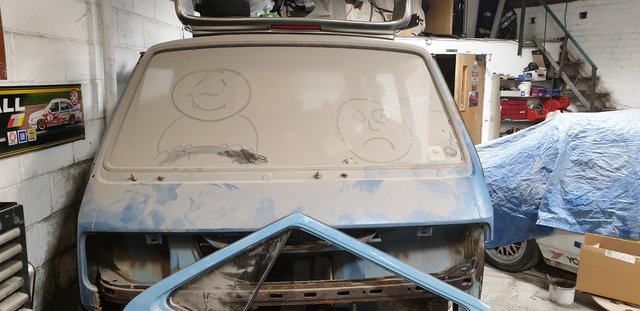
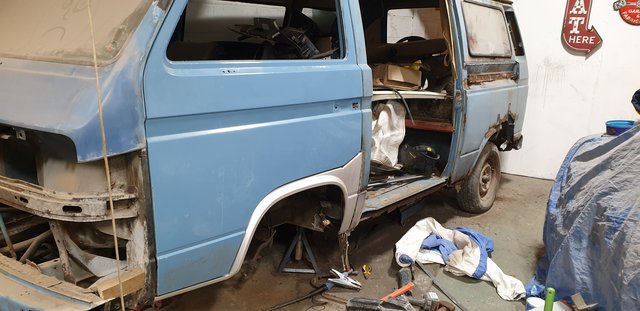
Here we go, my homework in progress.
Some before and after shots.
Amazingly it was mainly just filth and surface corrosion, so easily stripped and cleaned - sort of.
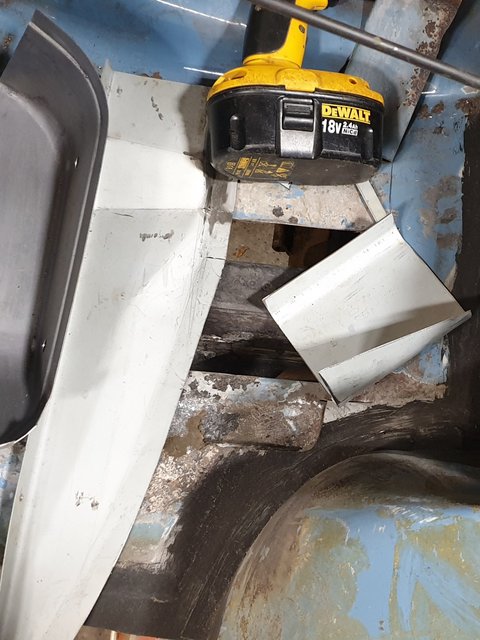
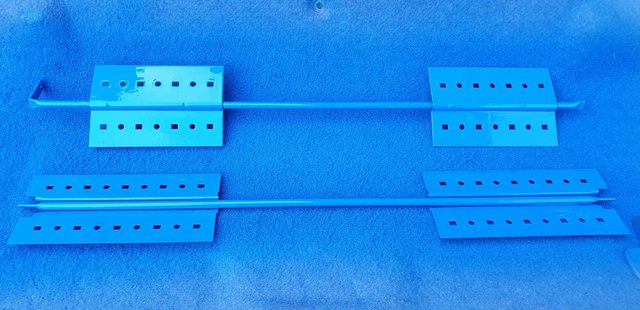
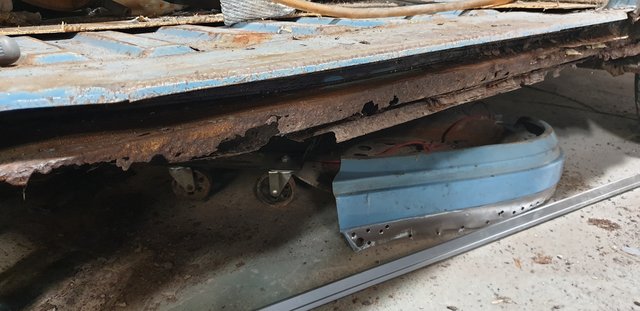
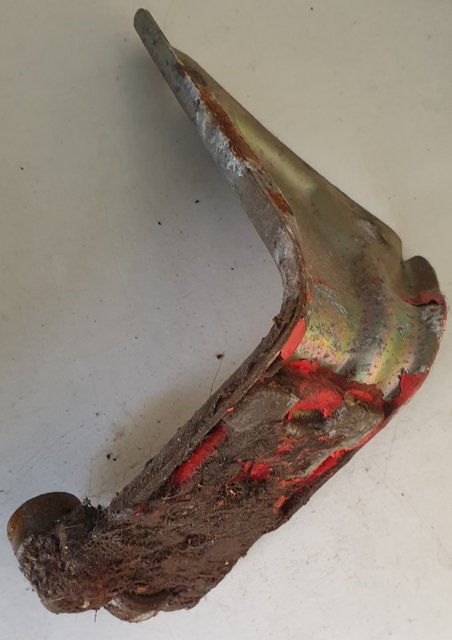
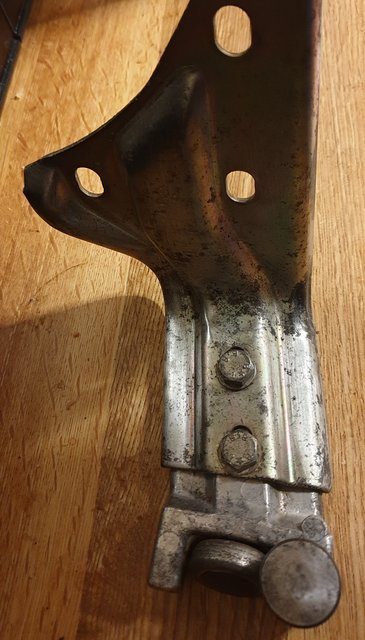
1 - Bottom arm and rollers.
Before -
Caked in red paint (?) and bathroom sealant (?)
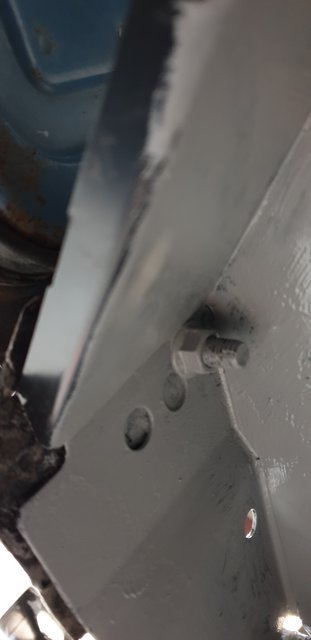
After -
Much cleaner. Not perfect but serviceable.
Will need new rollers and a circlip.
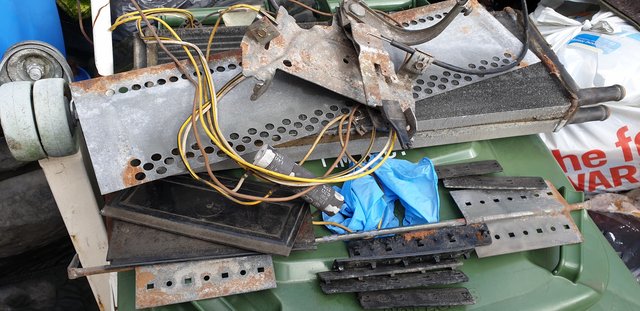
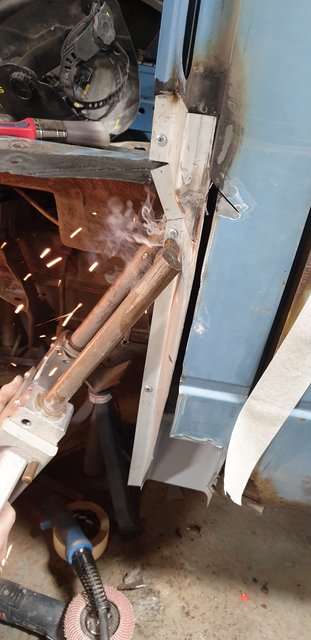
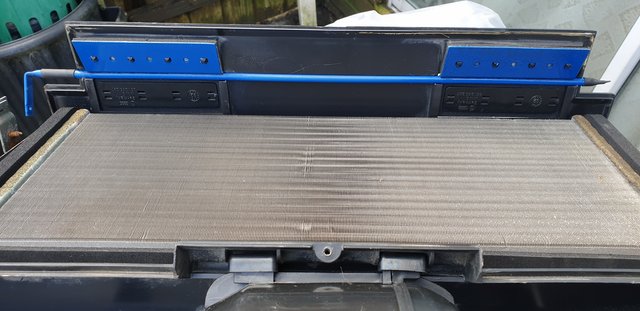
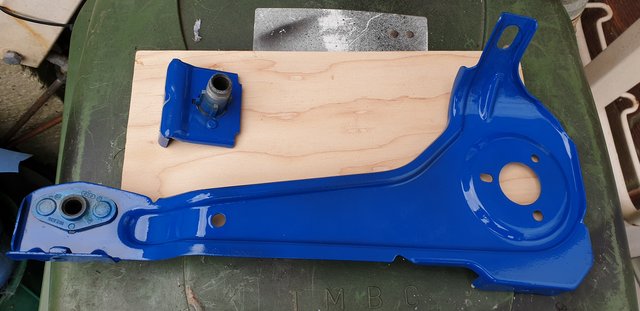
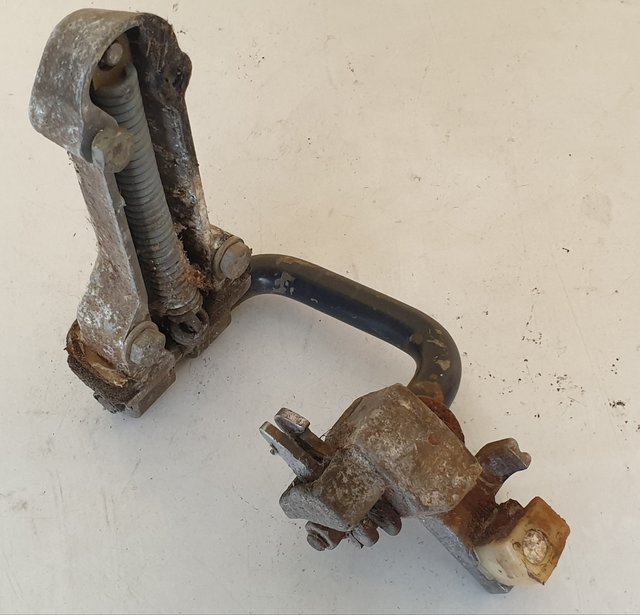
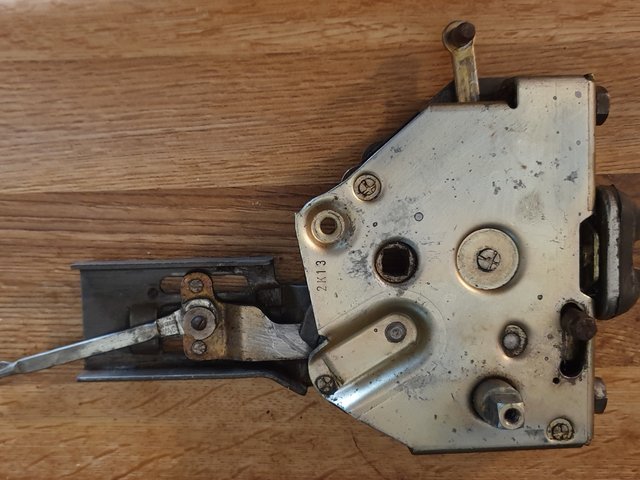
The middle runner and sliding-door hinge.
Before -
The part with all the hooks and roller on was seized solid.
The roller also had a chunk of runner rail rusted into it's grooved profile.
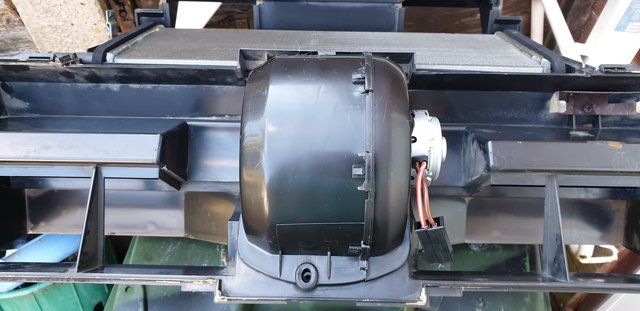
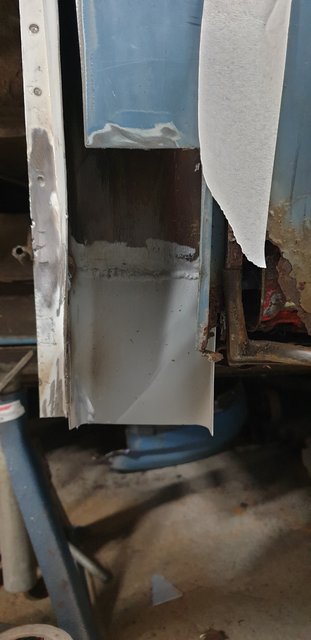
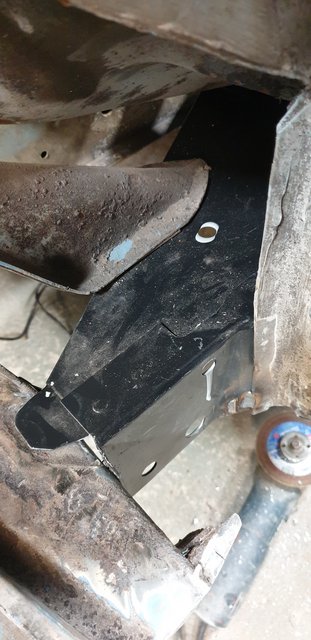
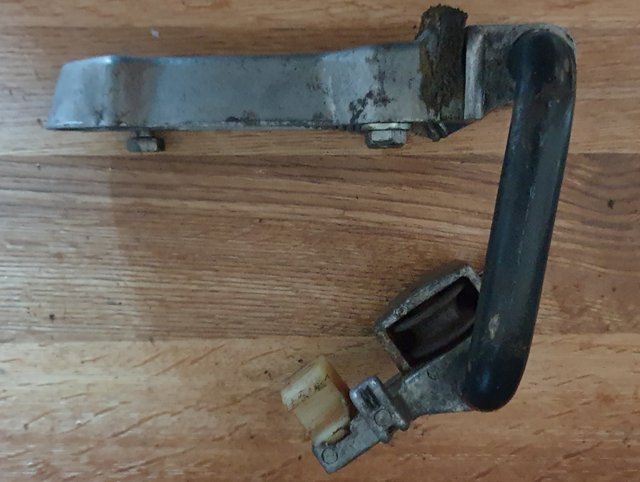
After -
In much better overall fettle, and the roller mount now pivots freely.
That roller still needs replacing... May as well replace the nylon guide block too.
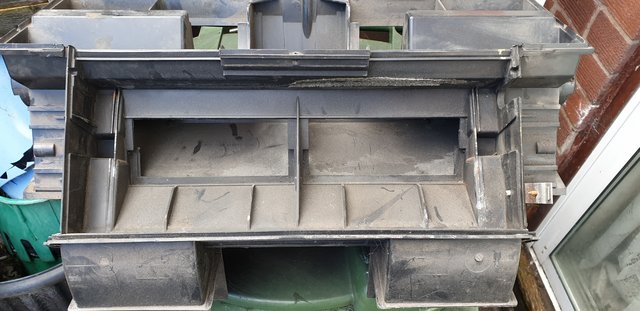
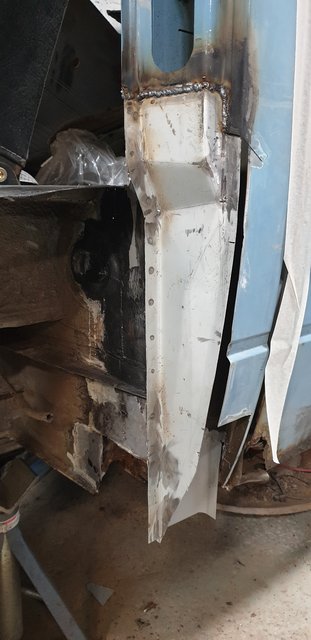
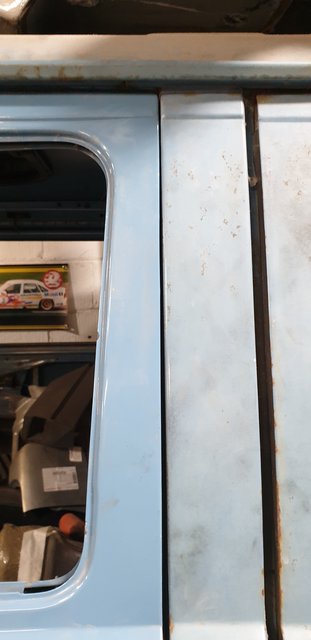
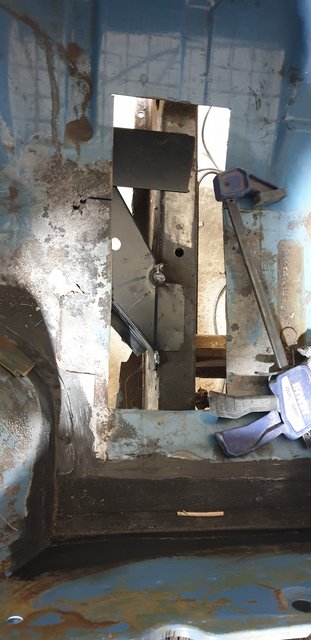
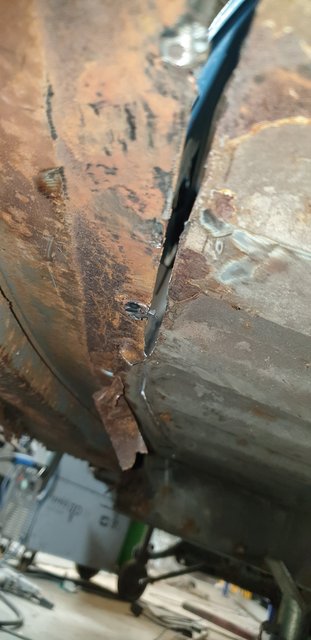
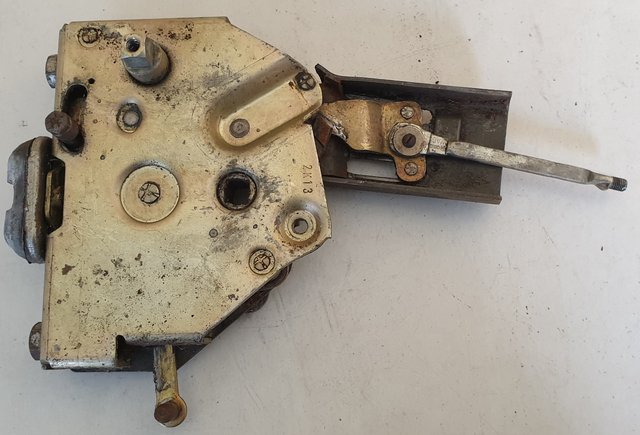
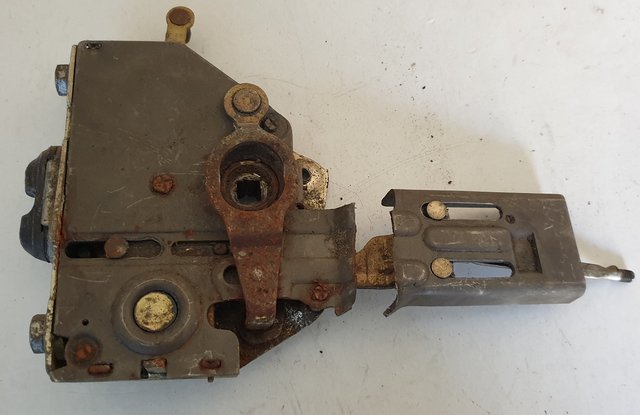
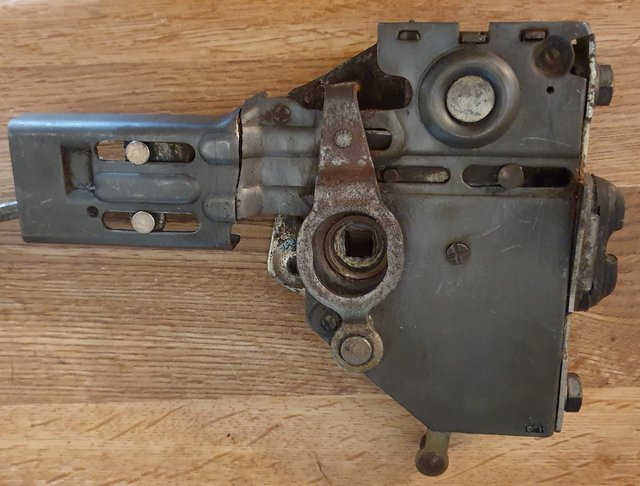
Sliding-door lock remote mechanism.
Before -
Just generally dirty, and that broken plate.
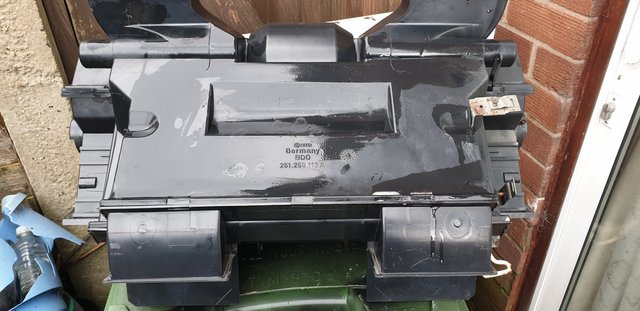
After -
Not much to get access to.
Mainly needs a new lock pin and that metalwork welding.
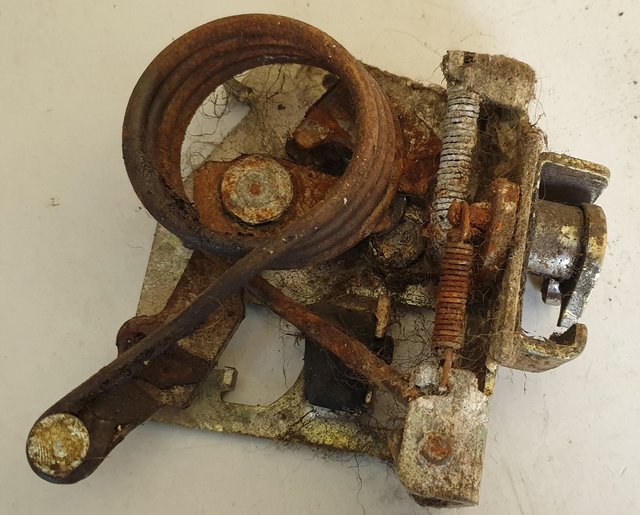
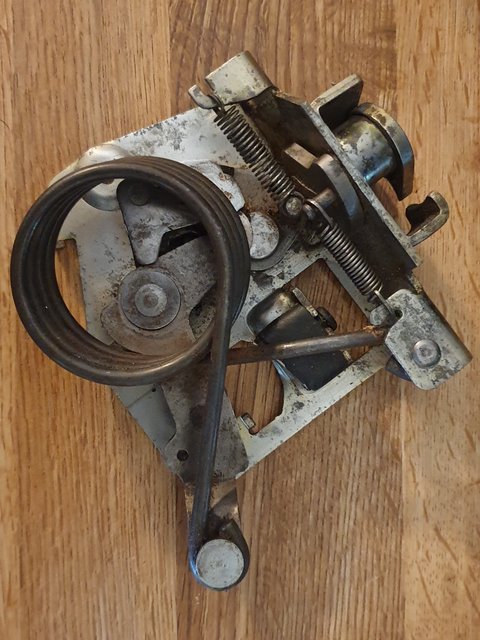
And finally the locking catch mechanism.
Blimey that spring is fierce.
Before -
As with everything else - mainly just filthy and surface corrosion.
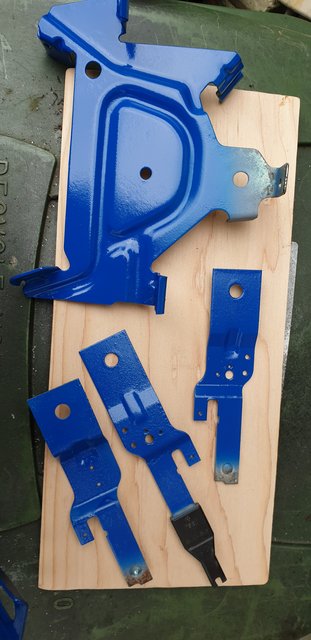
After -
Cleaned and checked over...
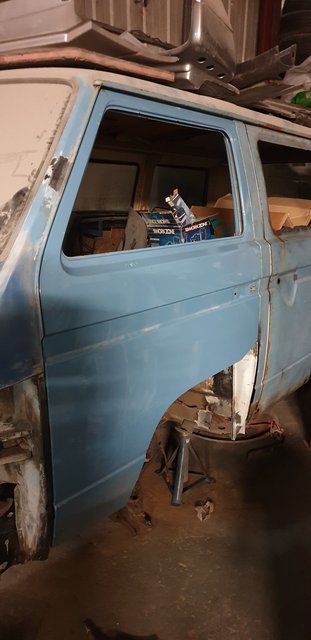
1983 Tin Top with a poorly DF and 4 speed DT box.
1987 Electrics and a DJ engine.
Maybe one day I might get it finished